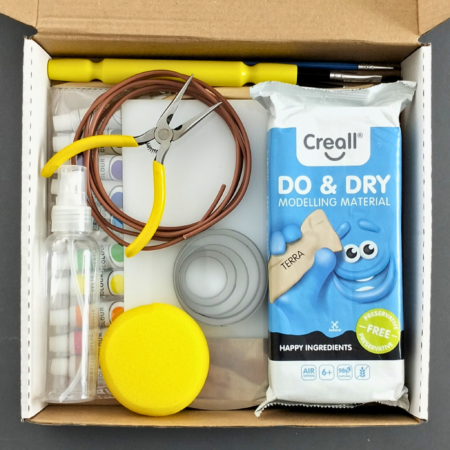
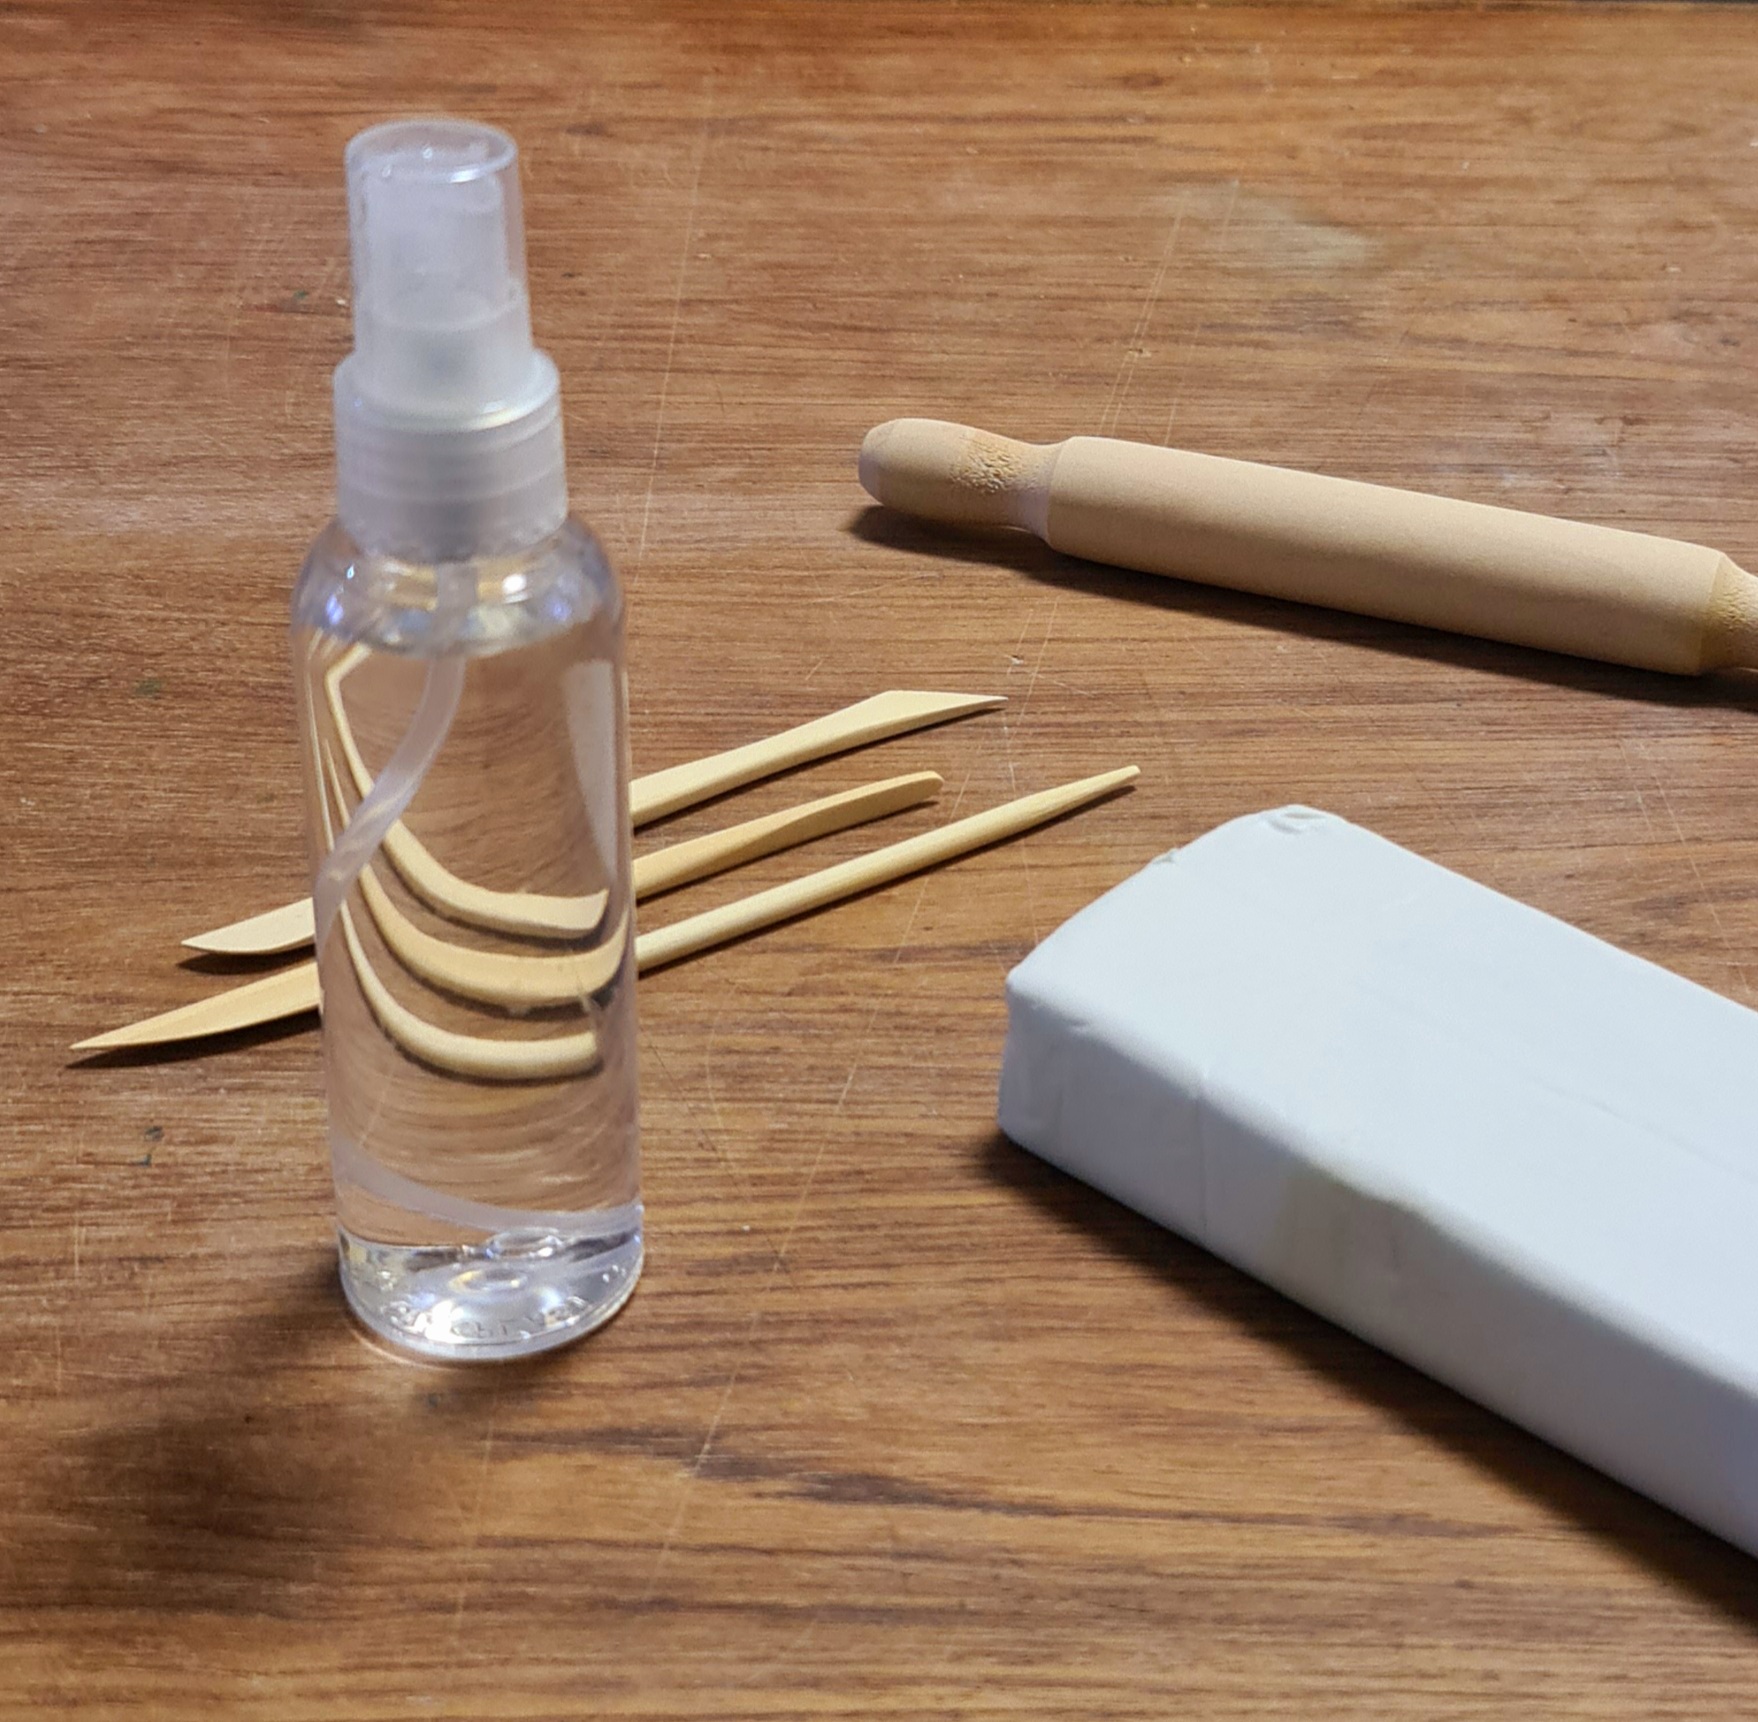
Equipment and materials needed to make an owl keychain
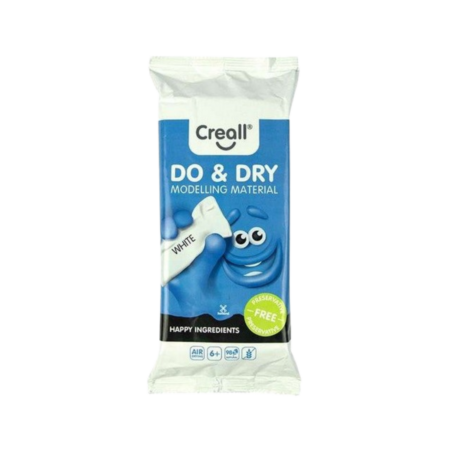
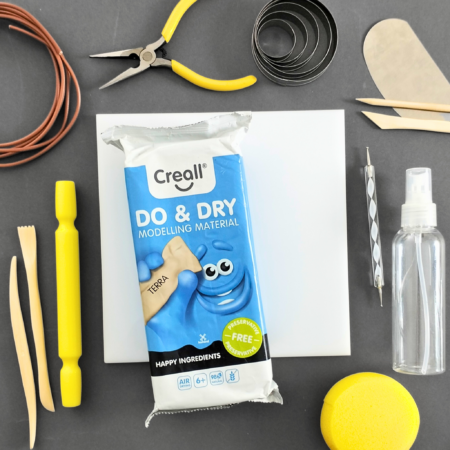
- White Dry & Do clay
- Work surface
- Various sculptural tools for designing details
- Rolling pin for rolling clay
- Water spray Or water in a glass
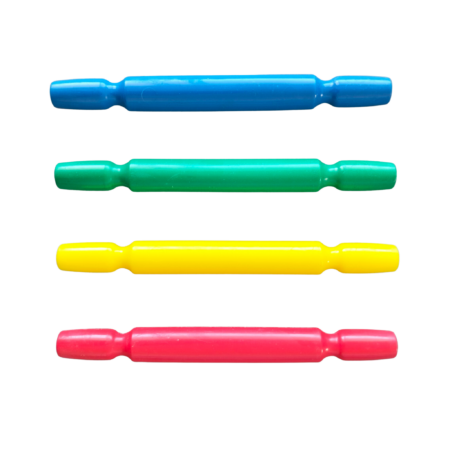
- Key Chain
- Strong plastic glue
- For coloring: Gouache / Acrylic, a brush and a jar
Explanation of dry clay and tips for work »
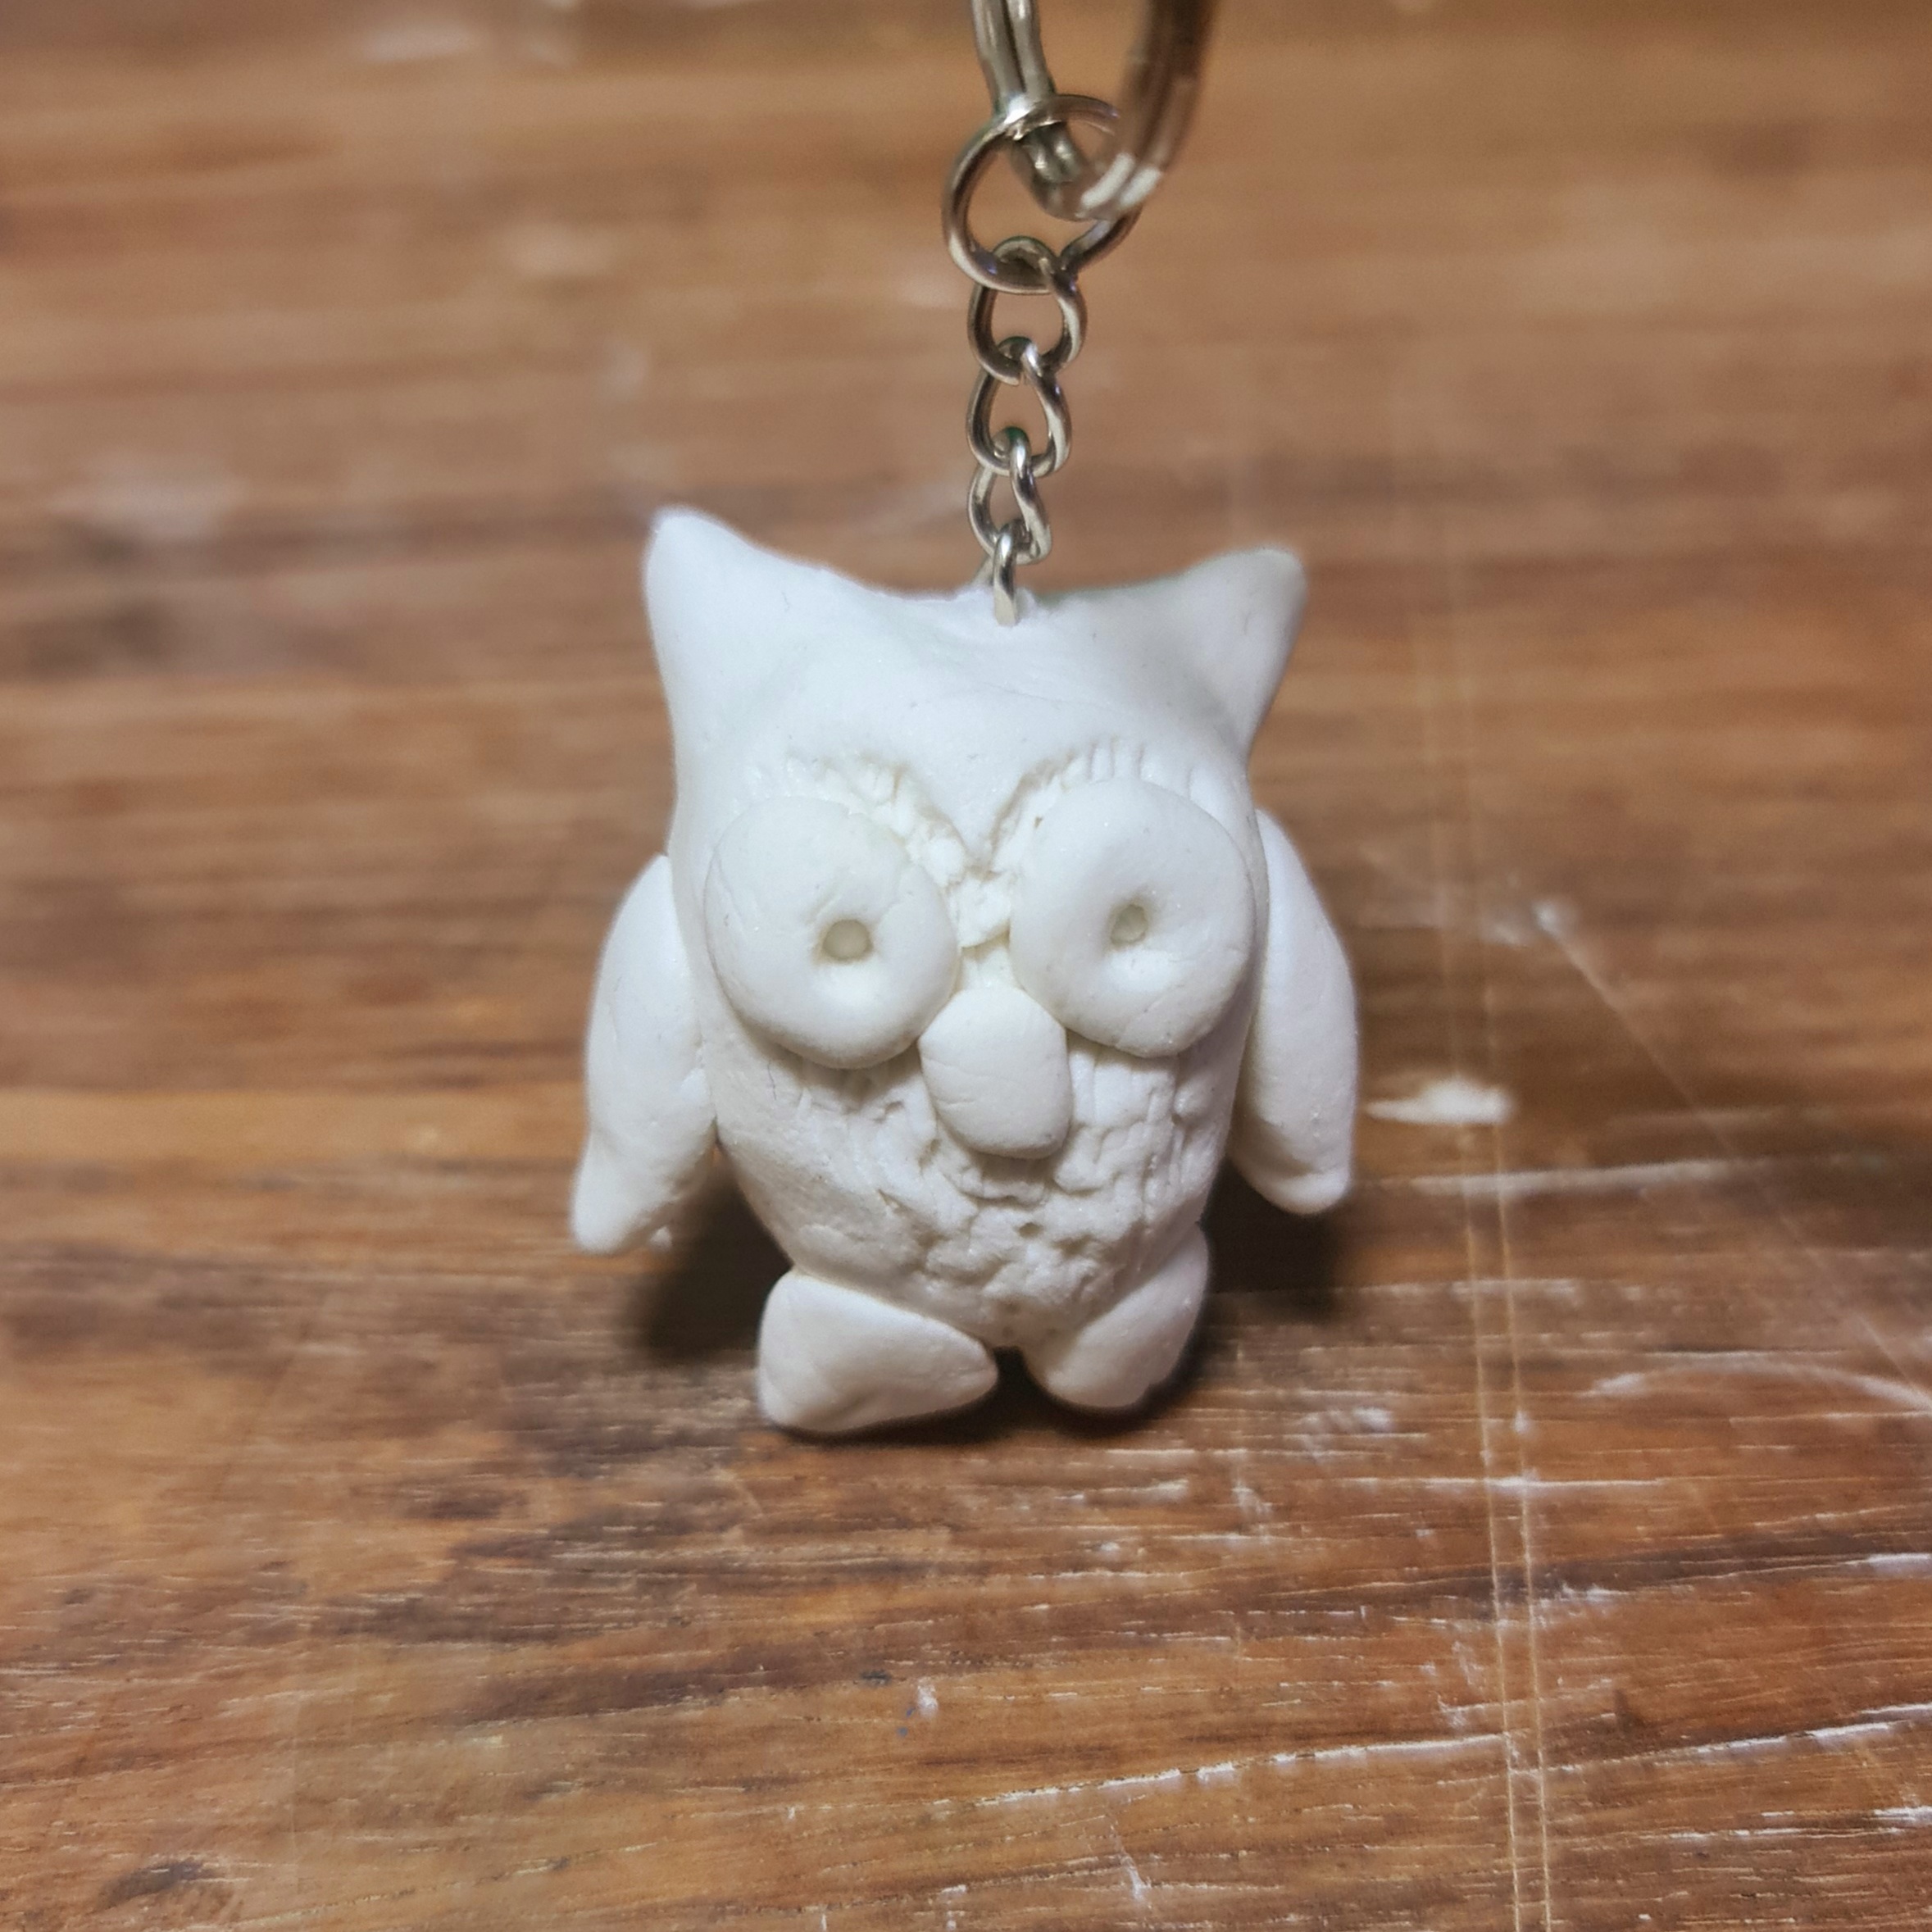
Step-by-step clay clay owl sculpture
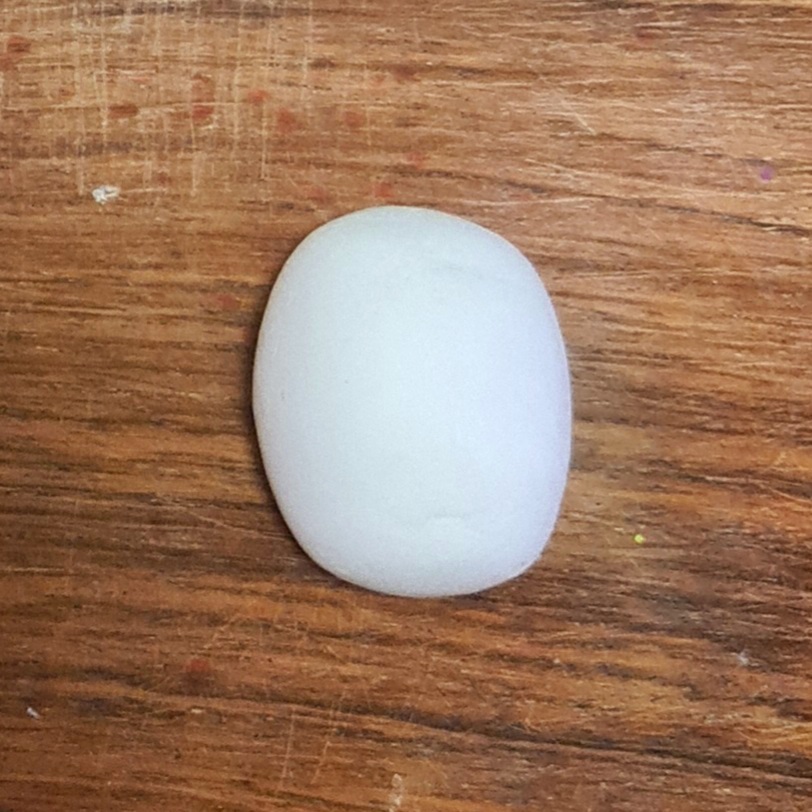
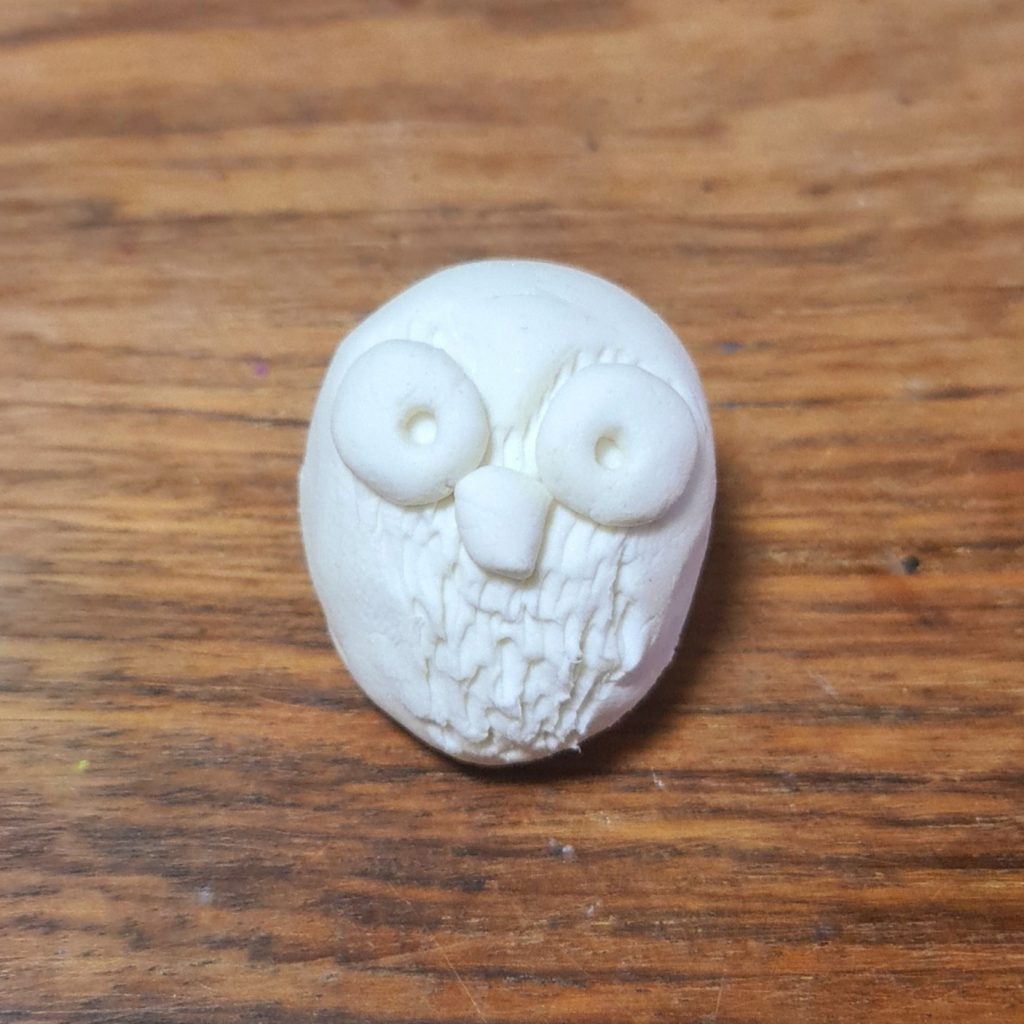
1. Prepare an elliptical ball for the owl's head / body.
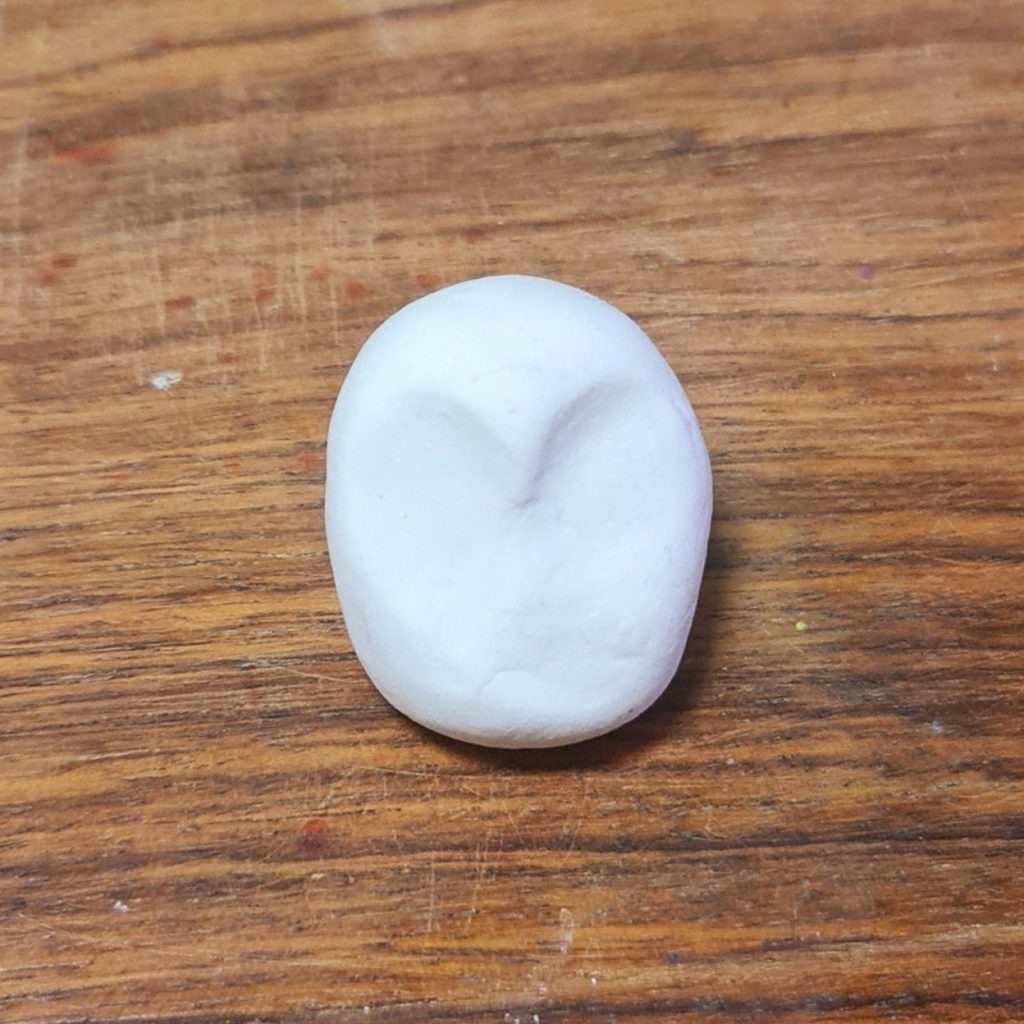
Press with two heart-shaped fingers on the ball.
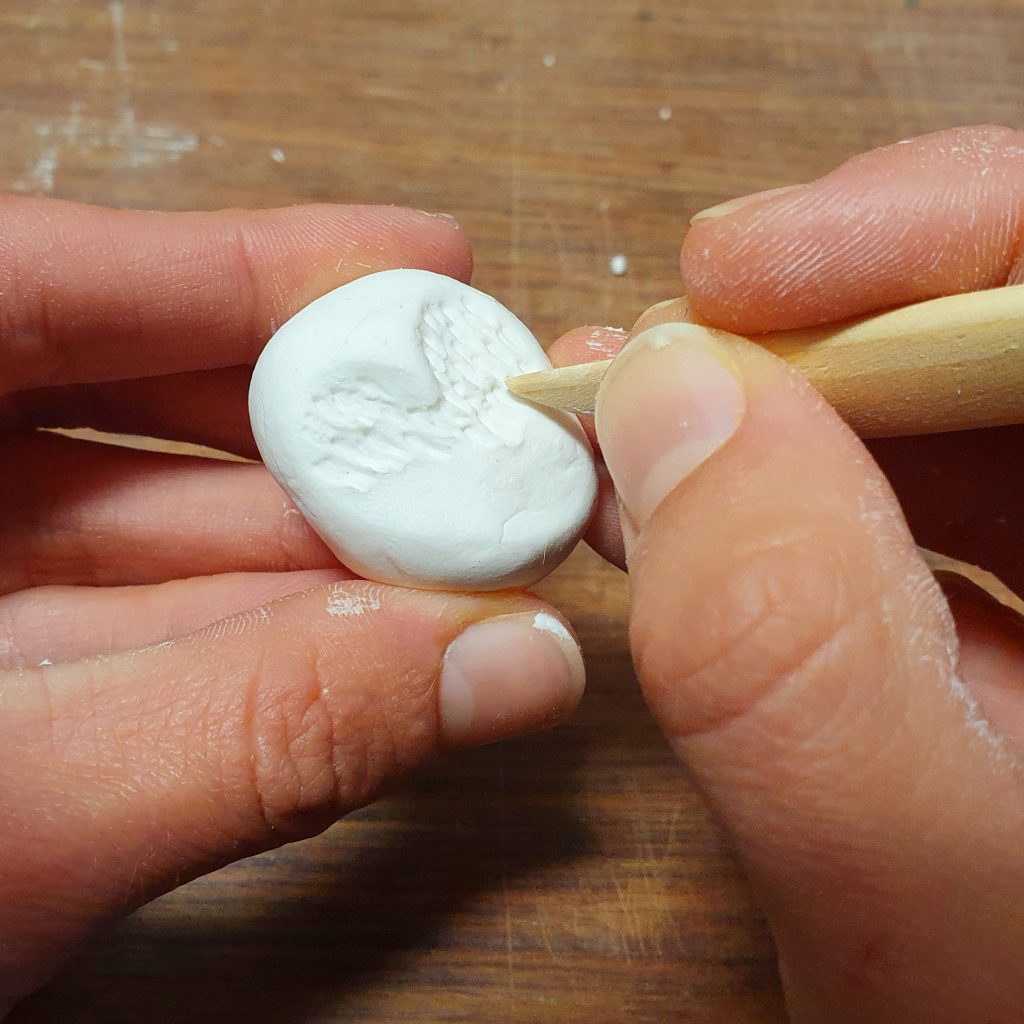
3. Make fine slits on top of the heart for a feathery look.
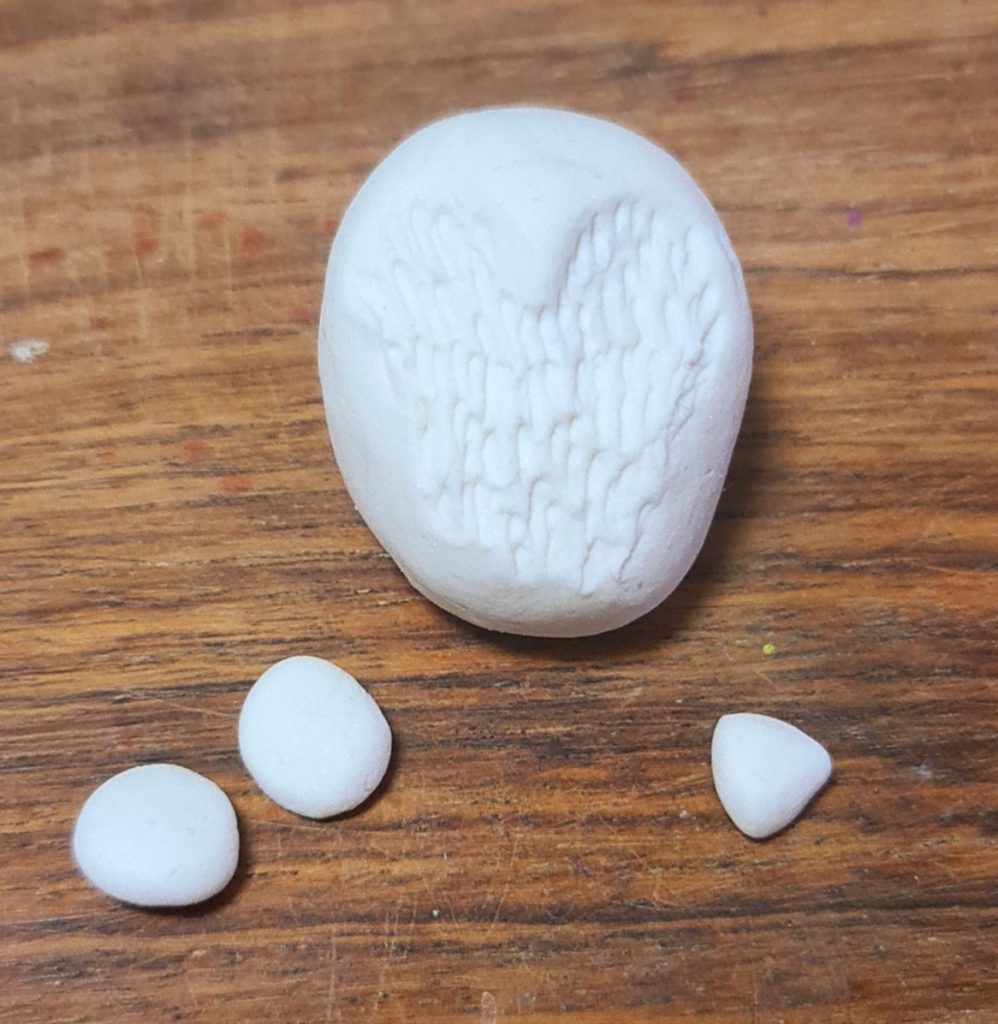
4. Prepare 2 small balls for the eyes and a small triangle for the beak.
5. Glue the parts to the owl's body with a little water. Create pupils using a sculpting tool.
Prepare 6 triangles for the ears, 2 round triangles for the wings and 2 smaller round triangles for the legs.
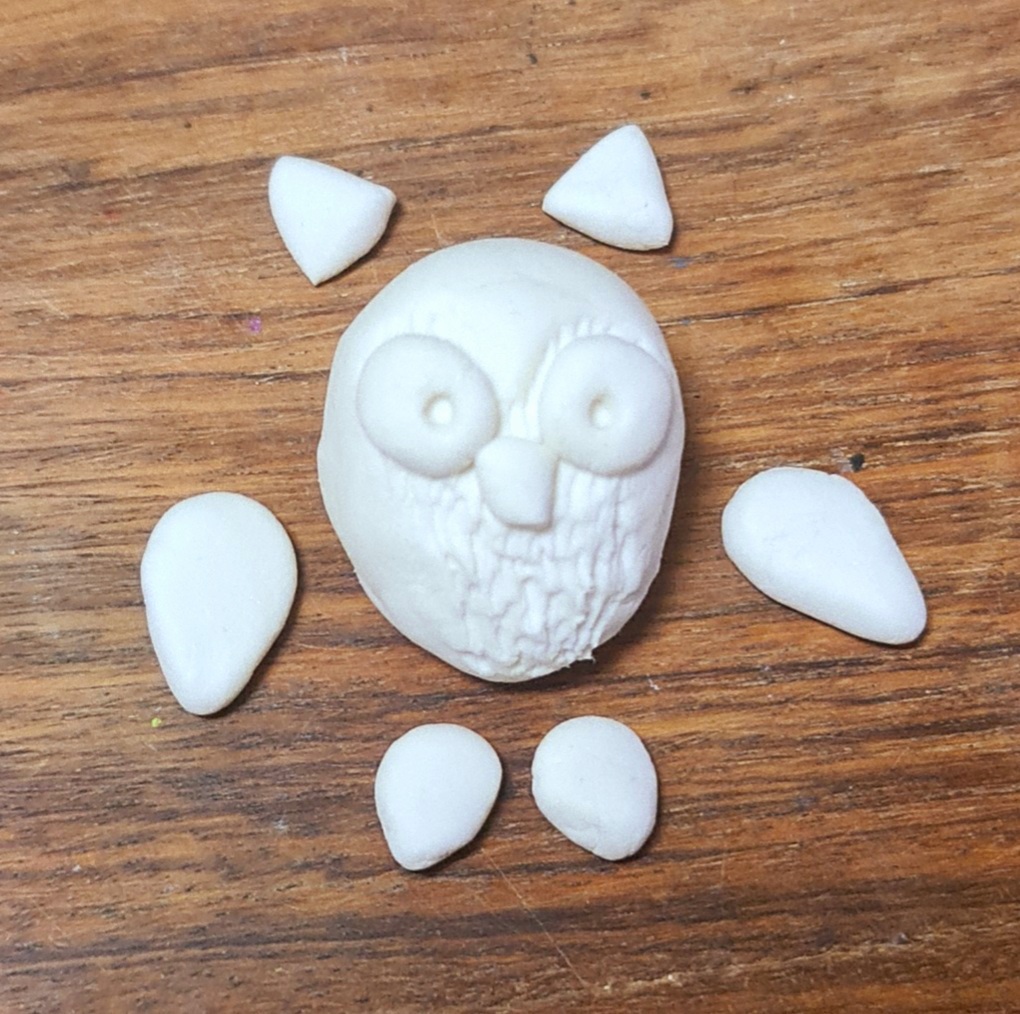
7. Make slits on the owl's legs and glue all the parts to the body with a little water.
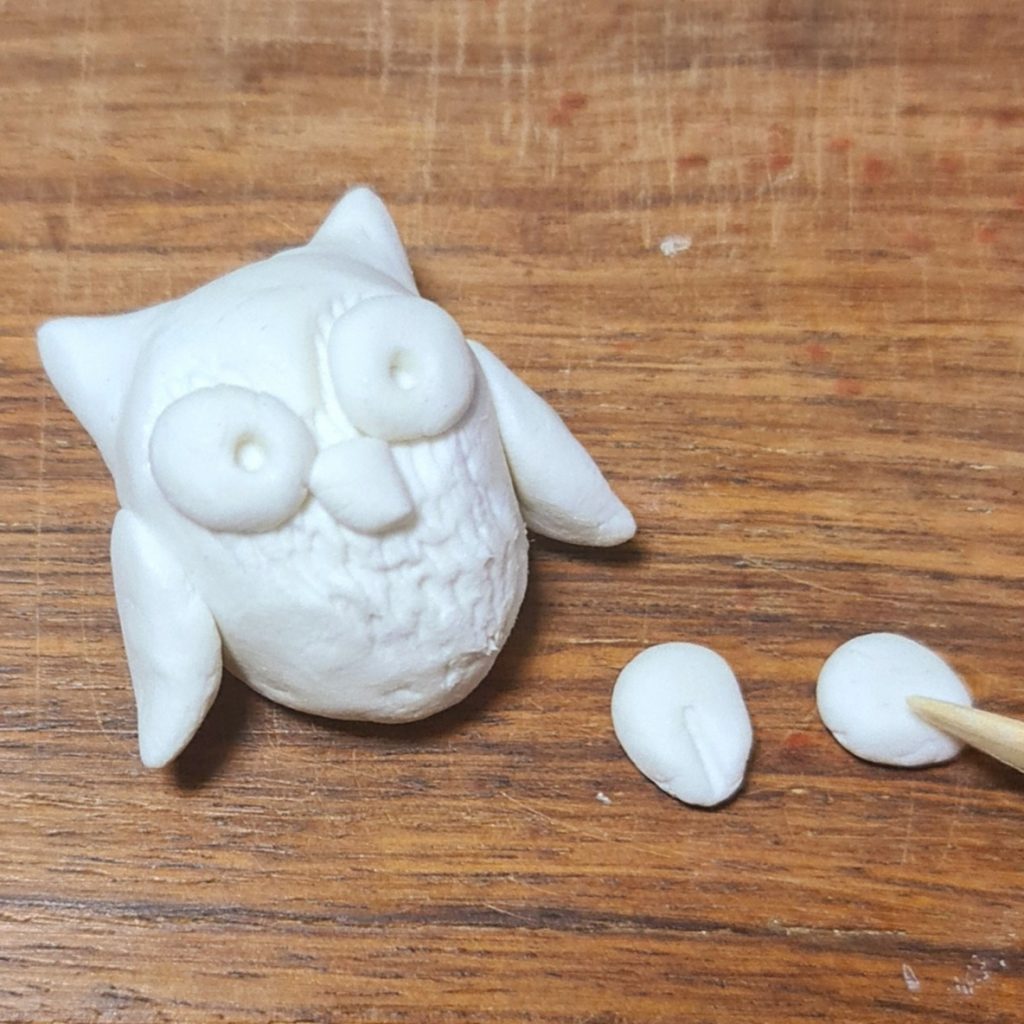
8. Now the first owl is ready. Using a tool with a thick rounded head, make a hole in the owl's head and insert the end of the keychain into it. Squeeze the clay to close the hole. At the end leave to dry.
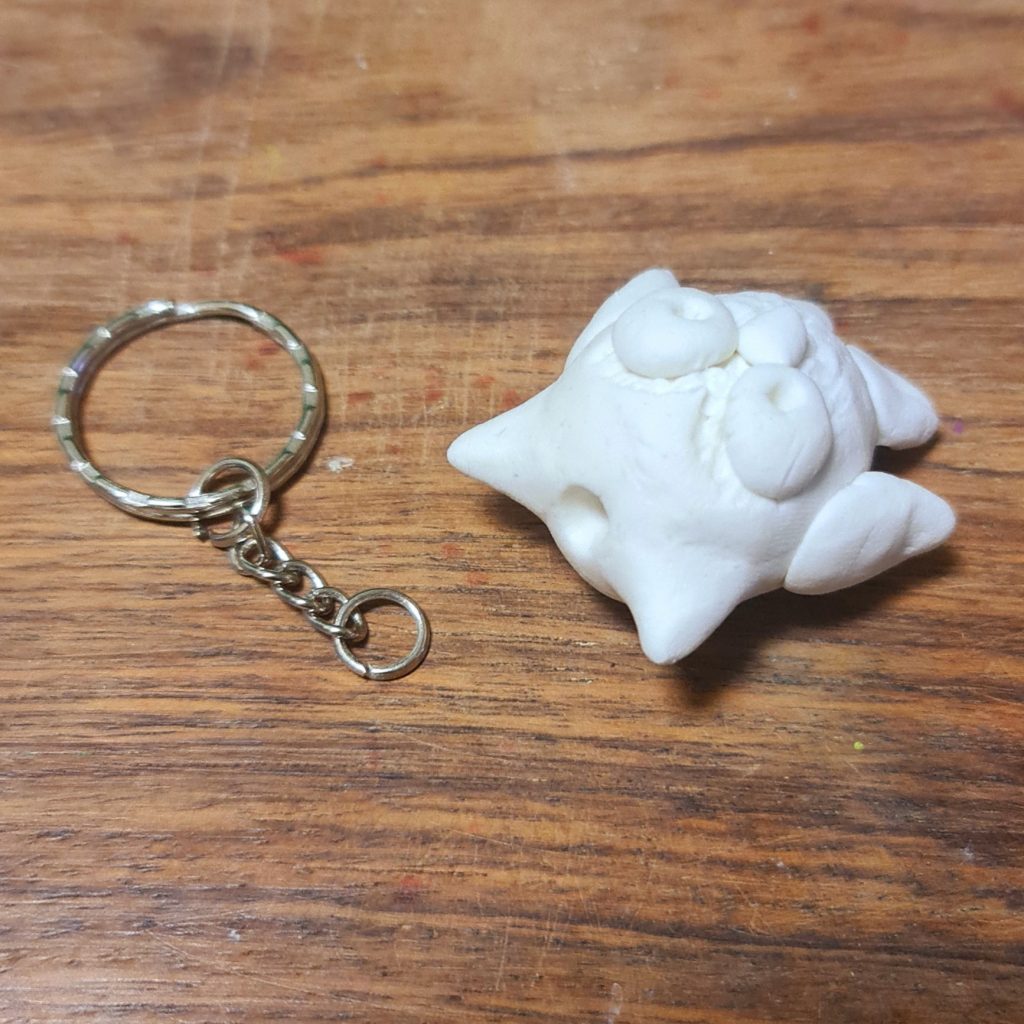
9. After the owl is dry (for about 24 hours) you can move on to painting. Dry clay can be painted with gouache, acrylic or spray paint. When finished, let it dry and then attach it to your keychain ור

Owl sculpture for additional works
The owl figure is loved by the DIY community and is suitable for many creations. The example in this guide is of a keychain made of clay clay, but in fact you can use the above steps to sculpt an owl from other materials and for different purposes - for example to sculpt figures for a door sign, frame for a picture, magnet or even Owl menorah Sitting on a tree branch.