Menorahs can be made from a variety of materials, but when you want to sculpt a menorah it is best to do it from clay. Natural ceramic clay would be excellent for this purpose, but it would be necessary to fire it in a ceramic oven so that it would also be possible to preserve the menorah. For creating a holiday for children it is enough to use dry clay that dries in the air and does not require burning. Here is a breakdown of the materials required to create and examples of menorahs.
The piece is suitable from the age of 9 independently, under the age of 9 accompanied by an adult. Enjoy the creation! ♥
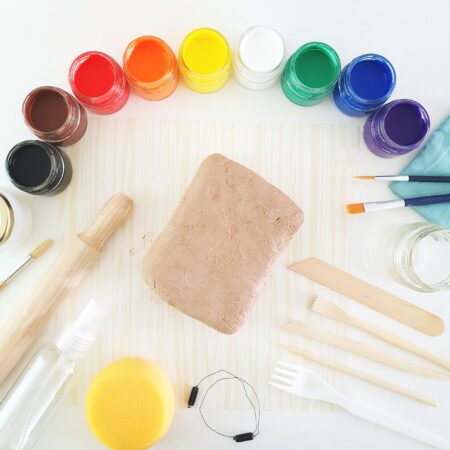
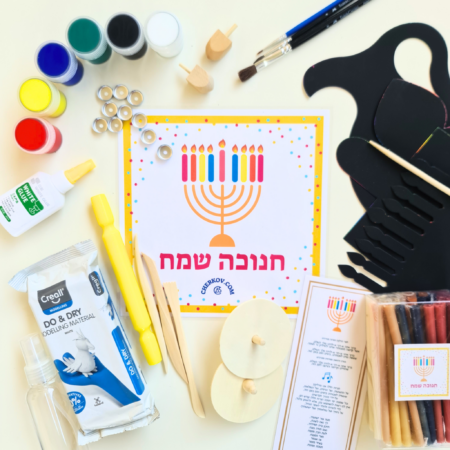
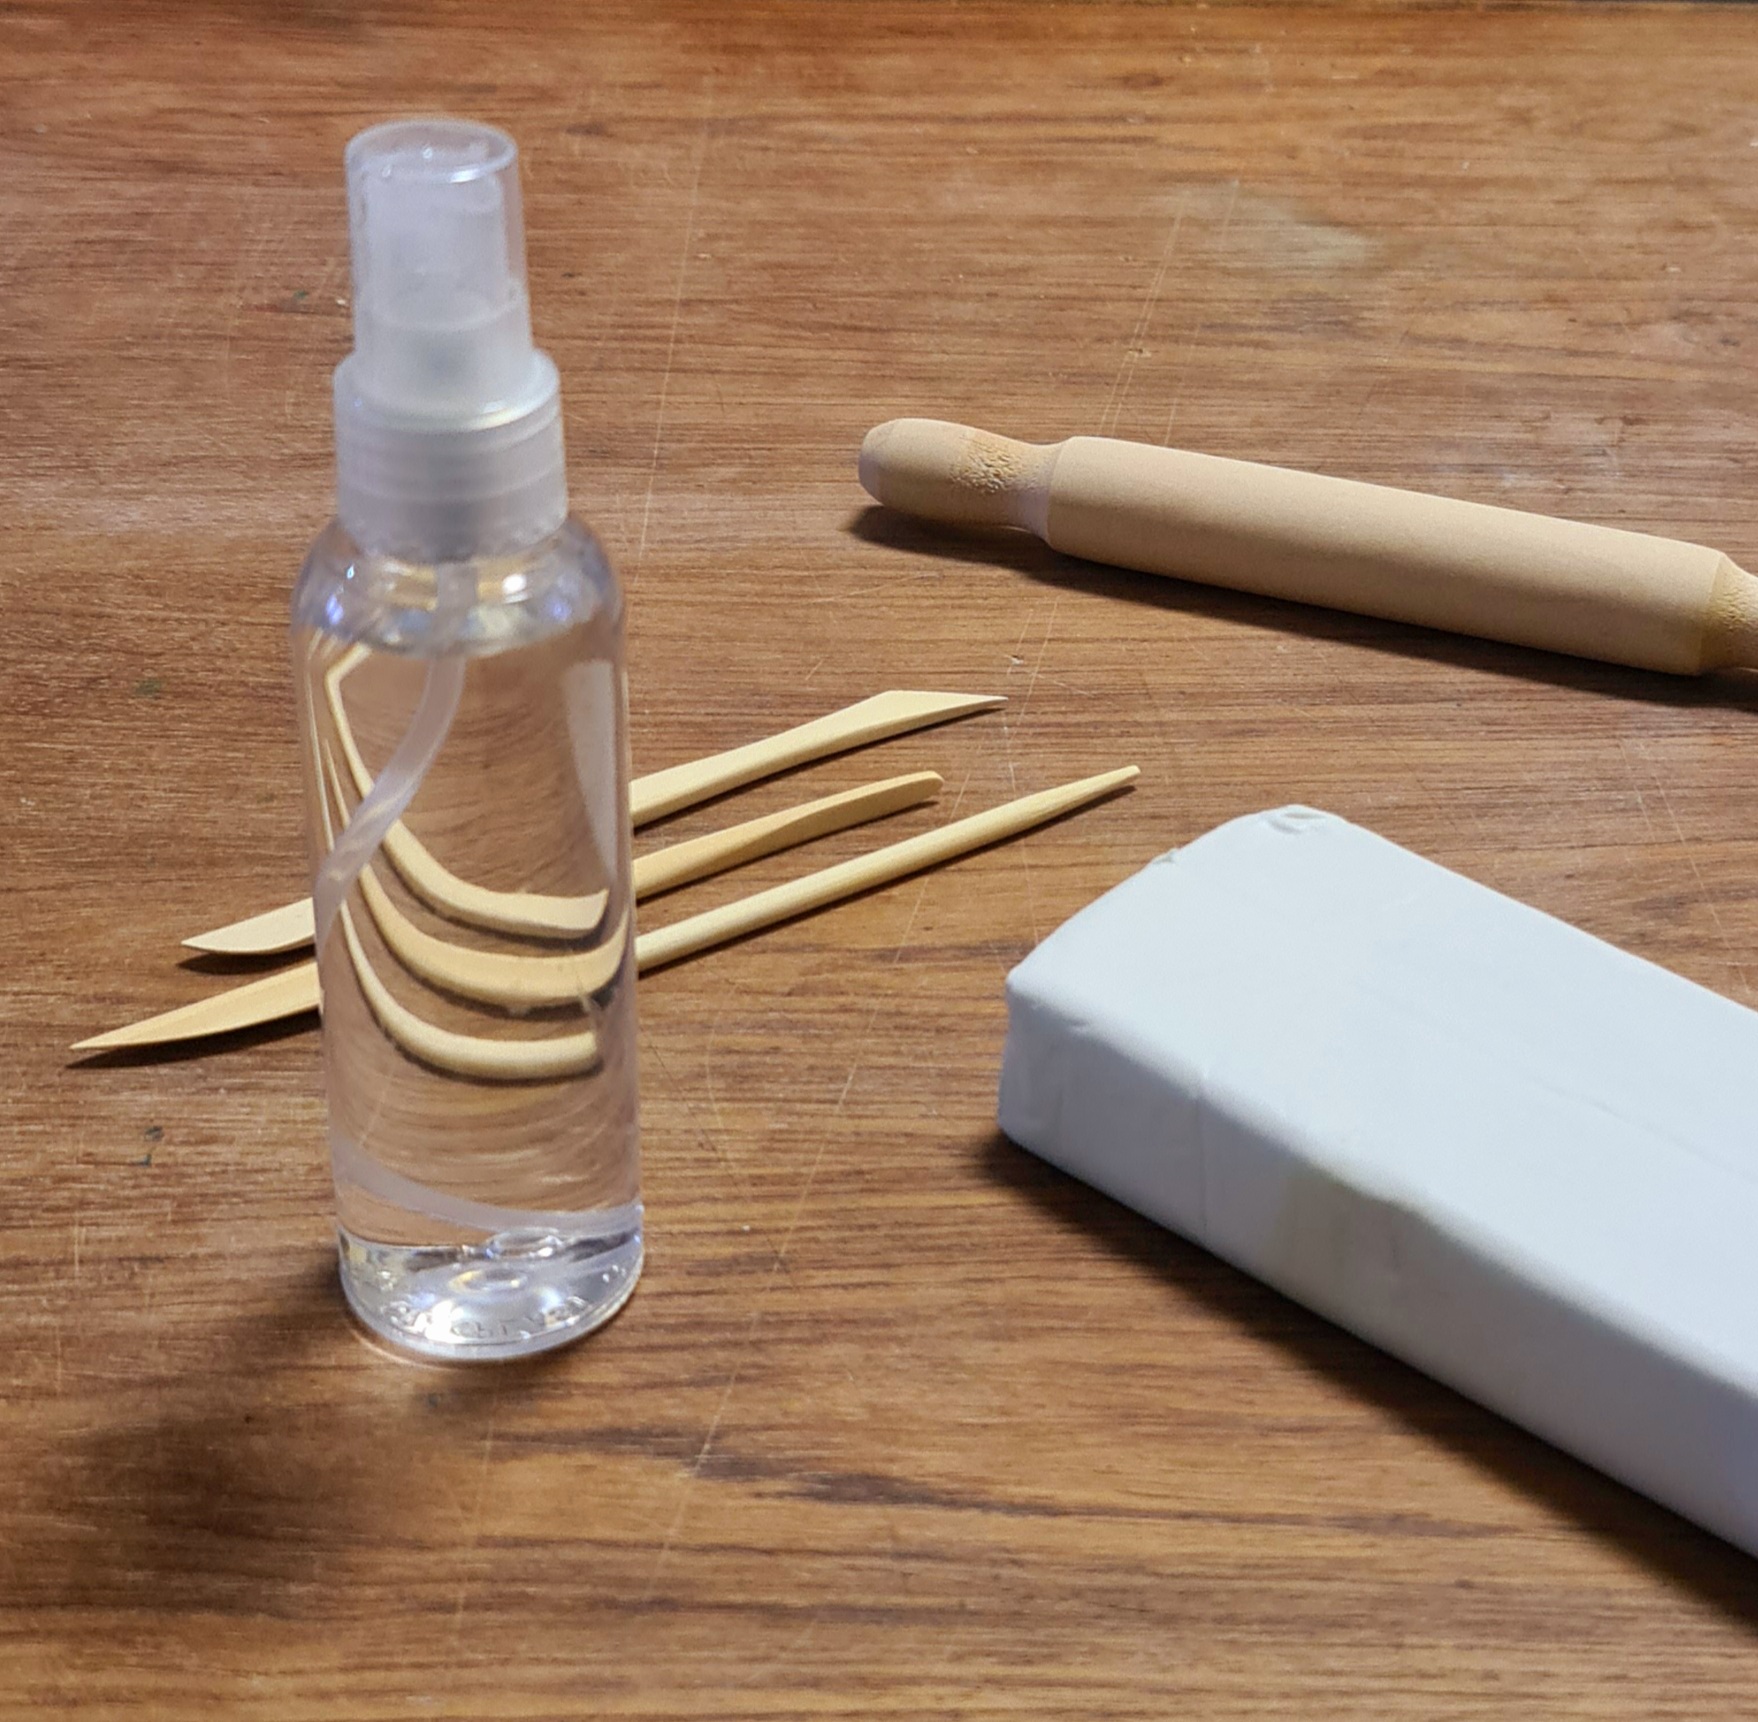
Chanukah sculpting from dry clay - necessary equipment and materials
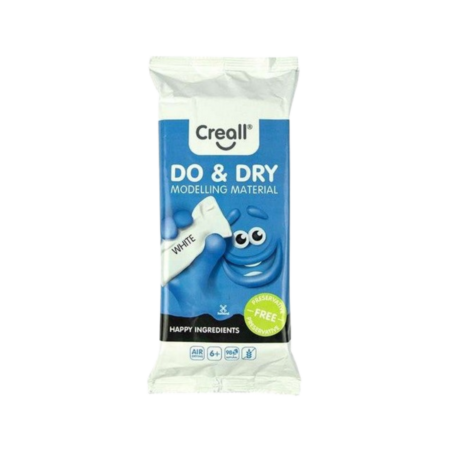
- White Dry Do & Dry clay 500 g
- Work surface
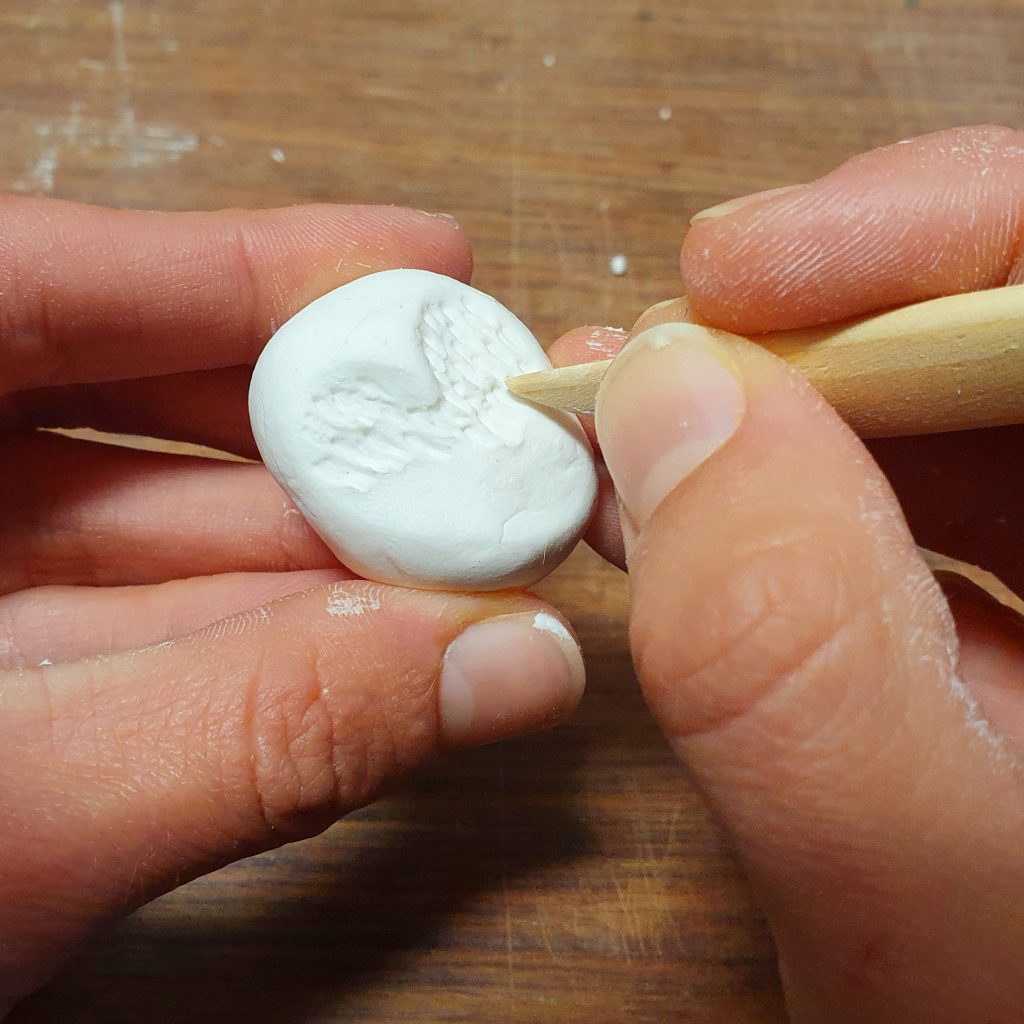
- Various sculptural tools for designing details
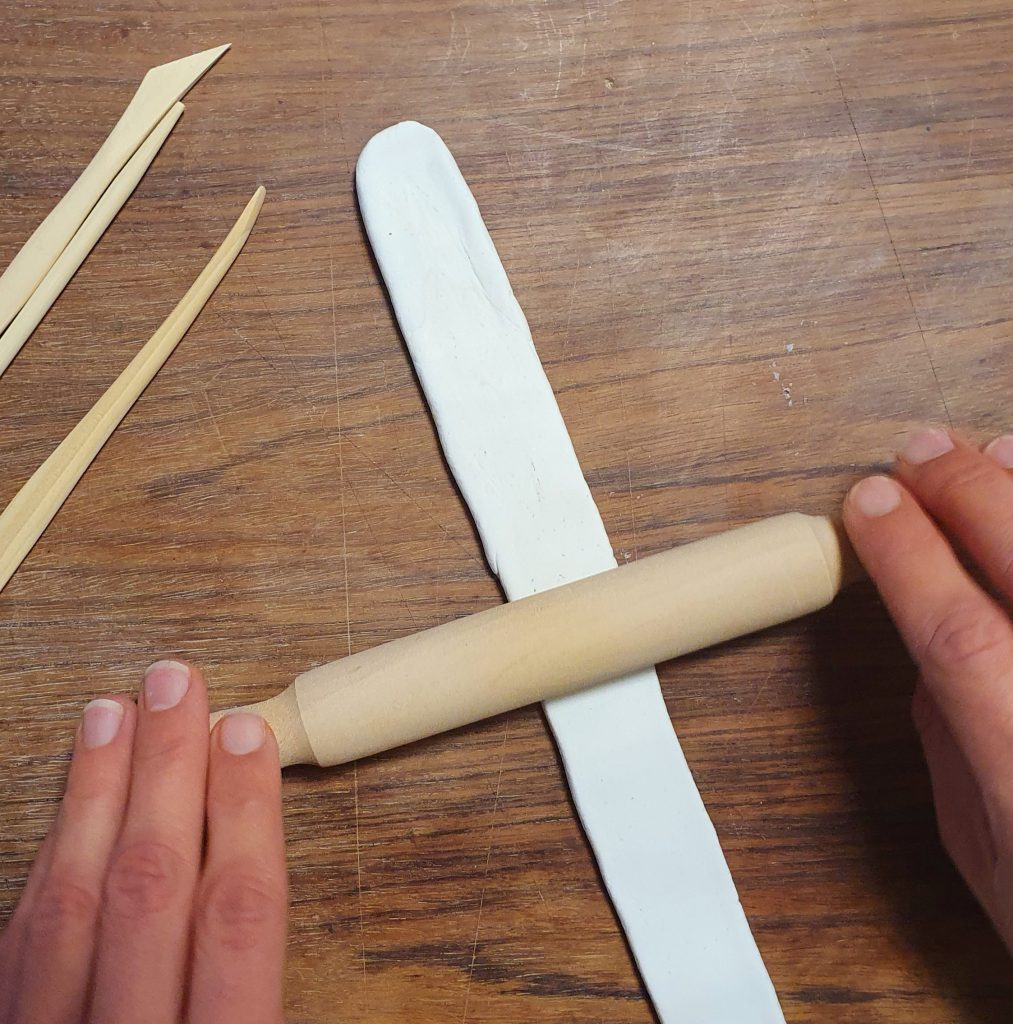
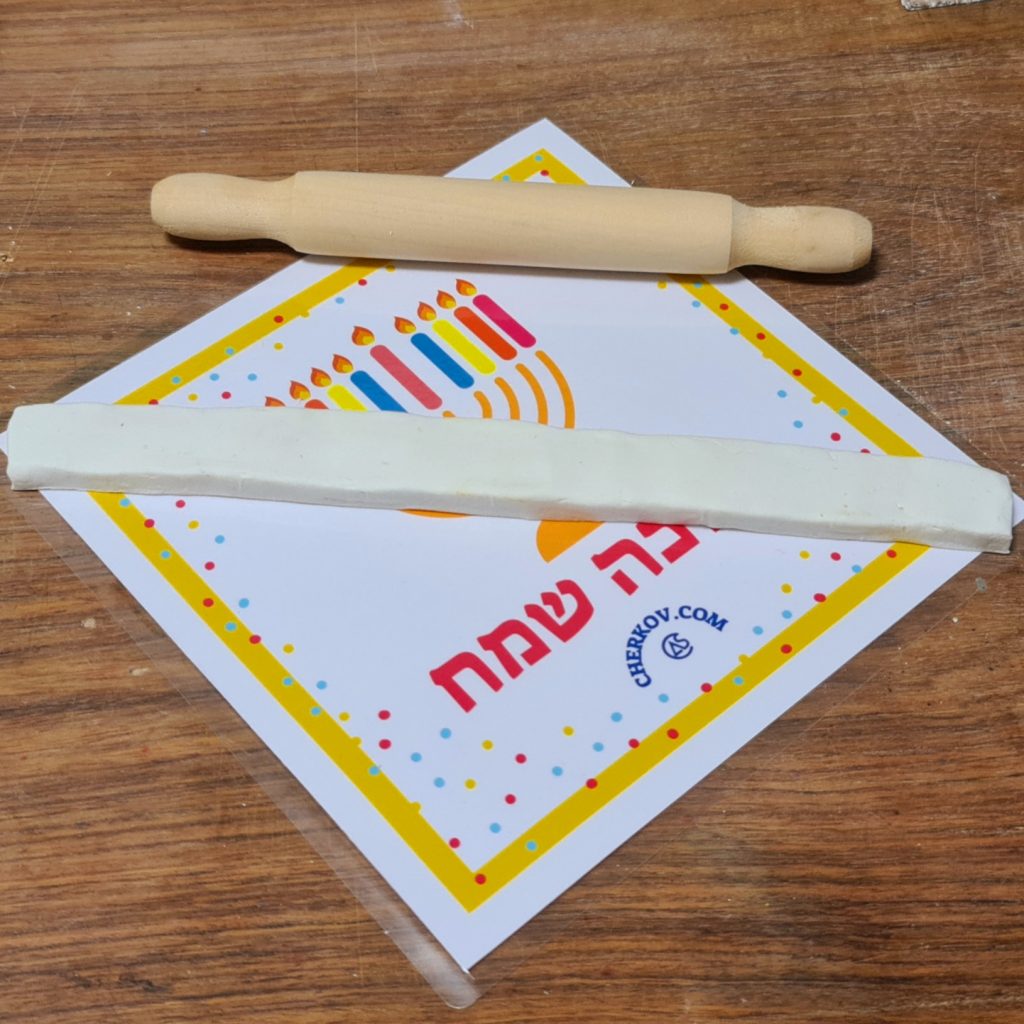
- Rolling pin for rolling clay
- Water spray or water in a glass
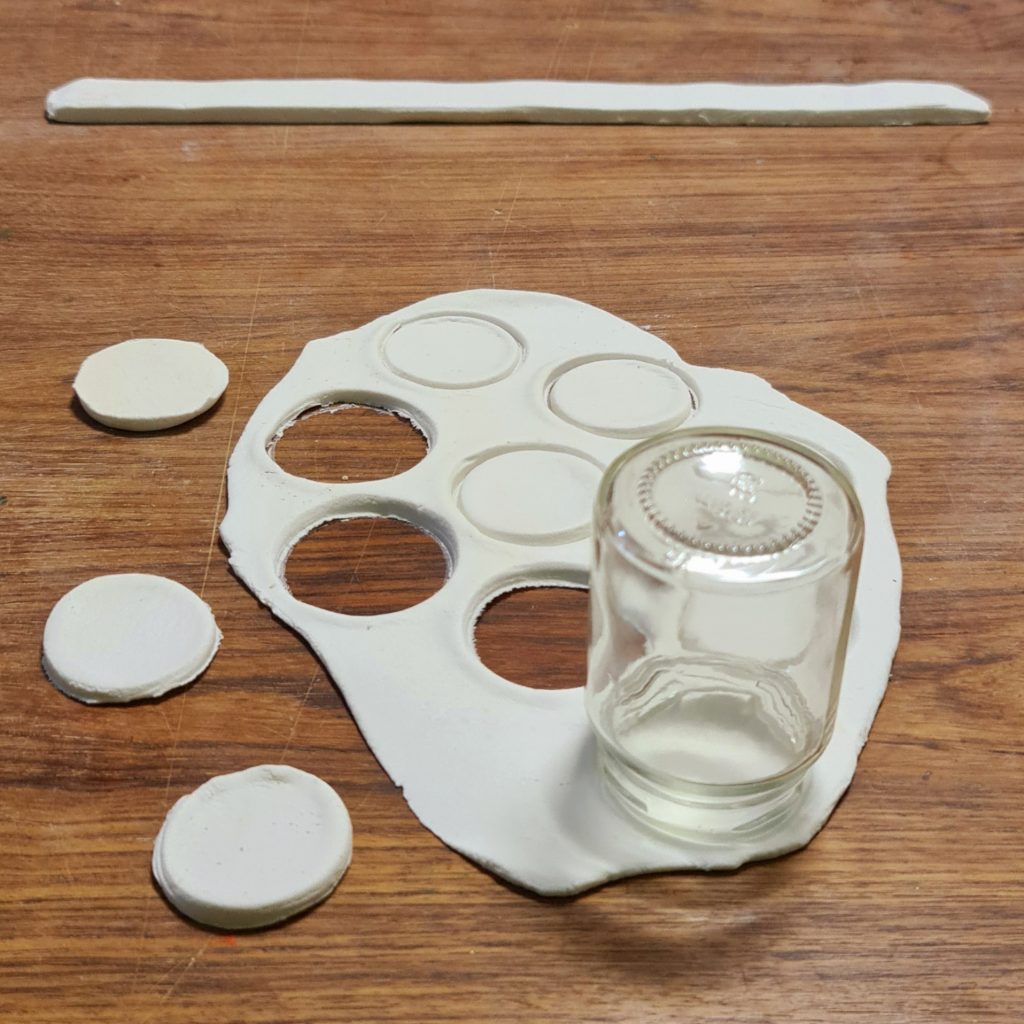
- Round cutter or small cup for cutting circles
- 9 metal reeds for candles
- Strong plastic glue
- For painting: gouache / acrylic paints, brush, jar
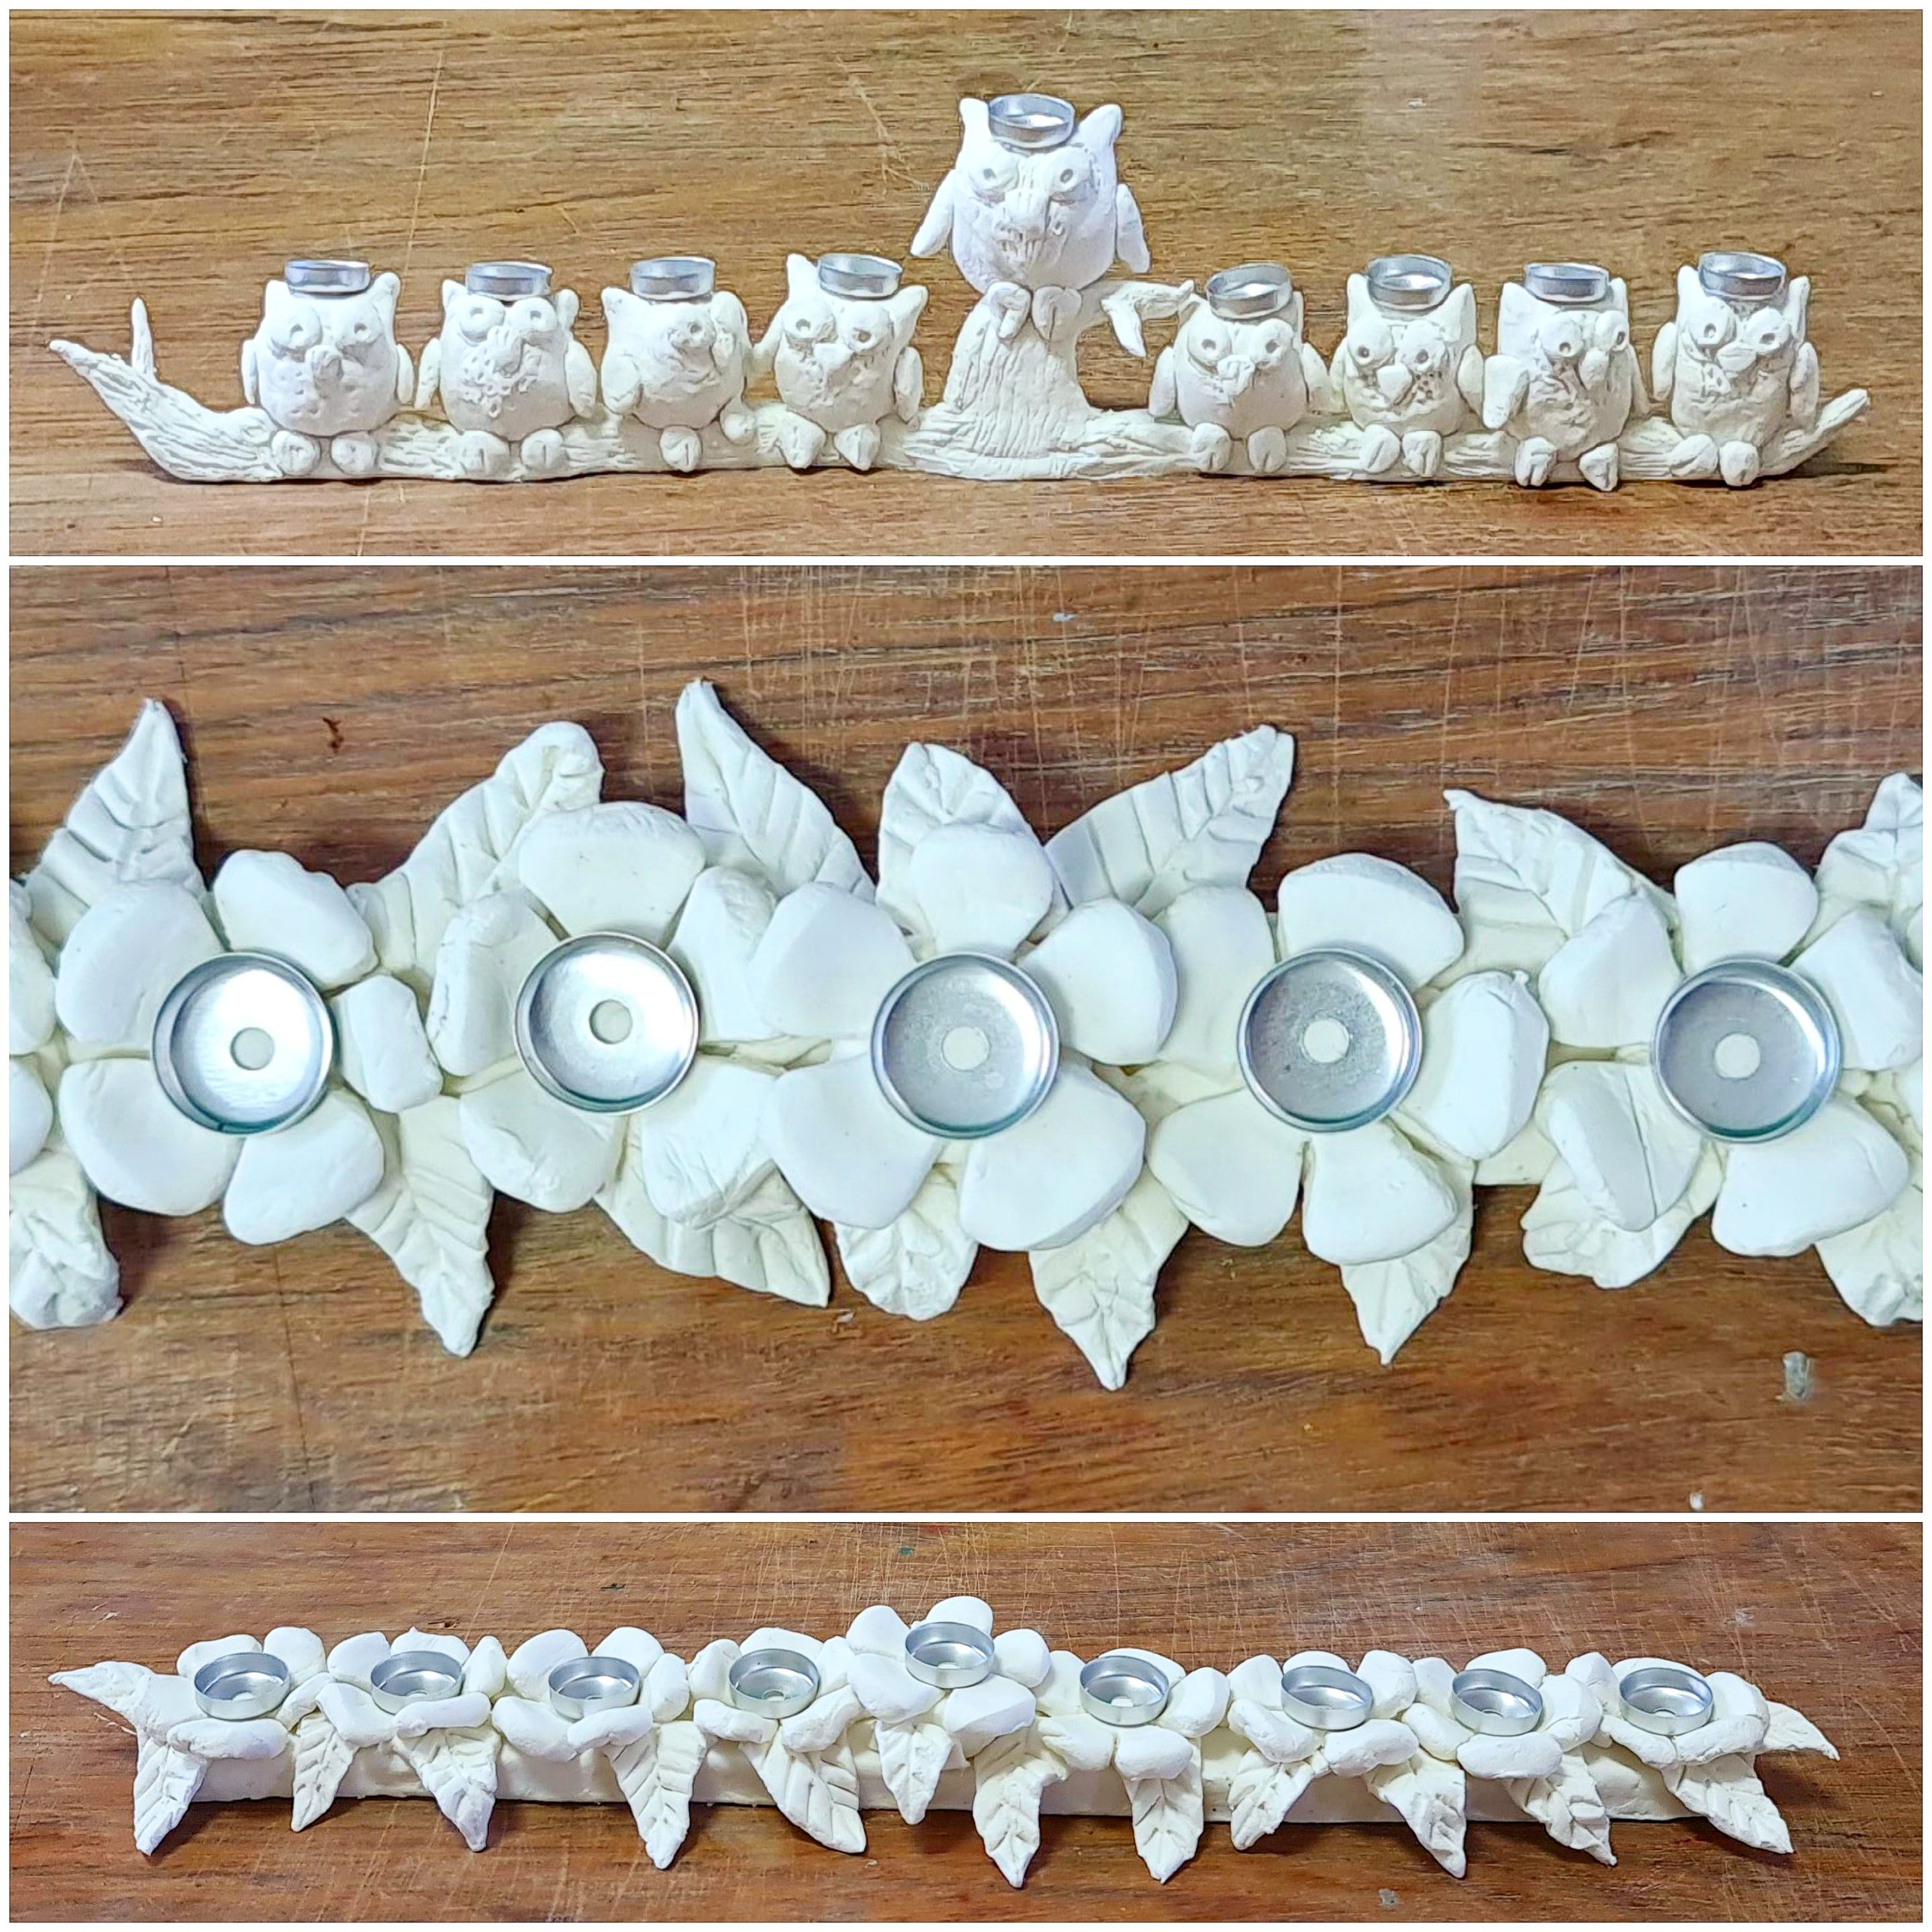
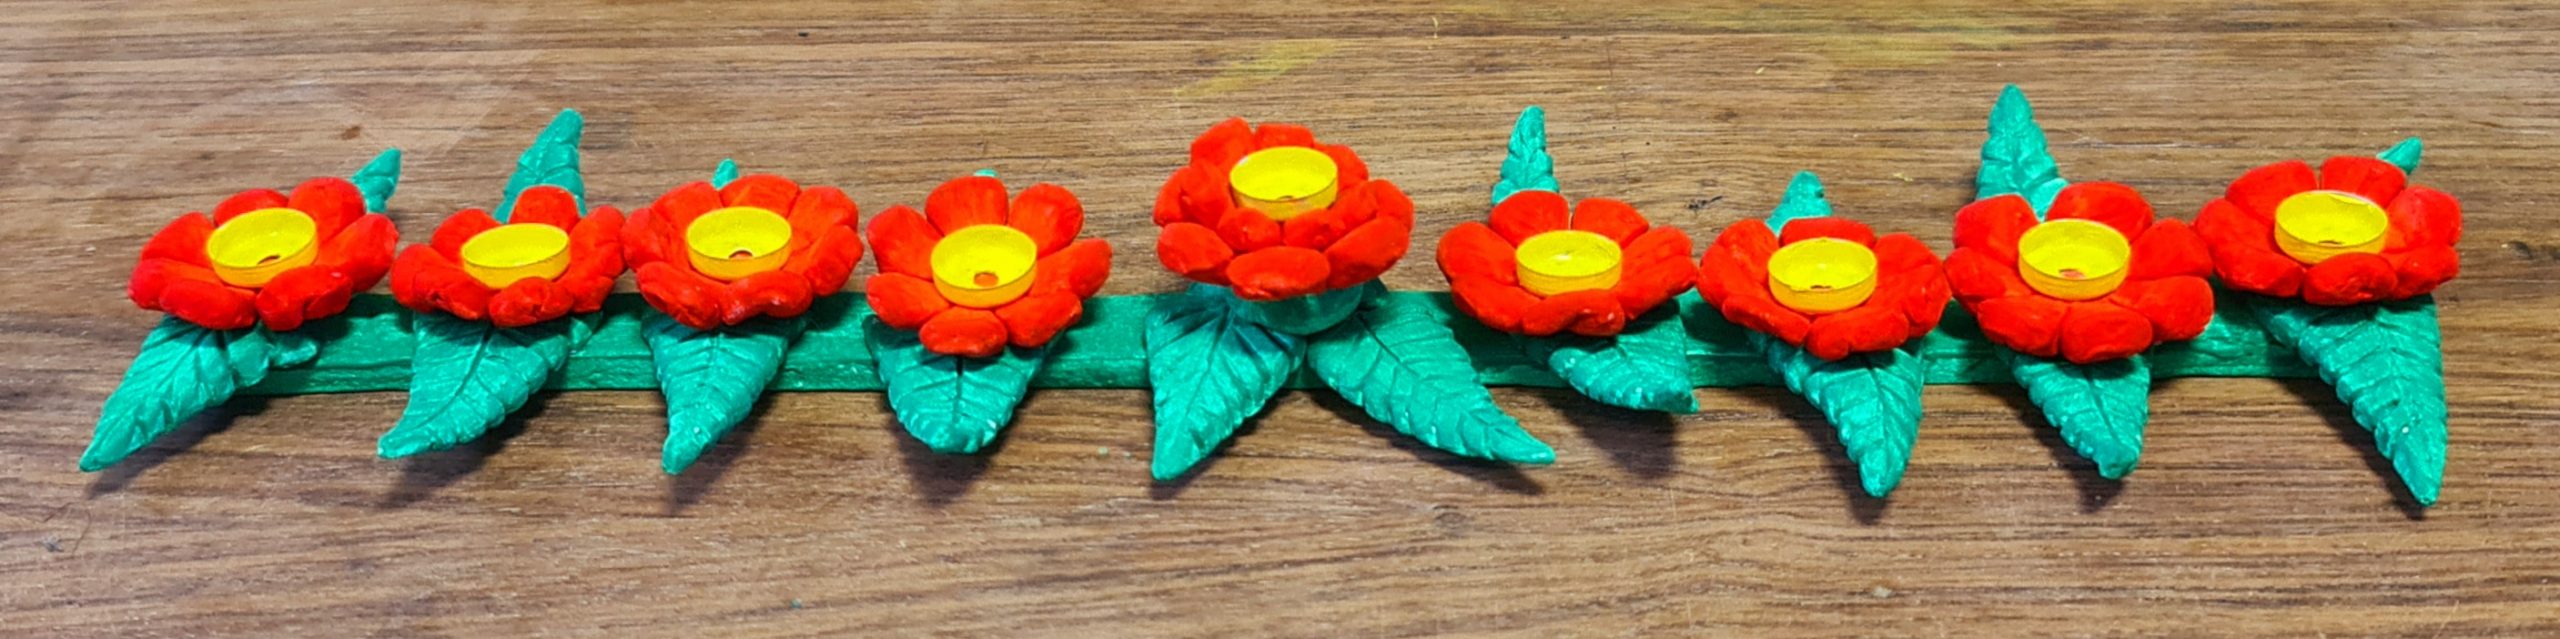
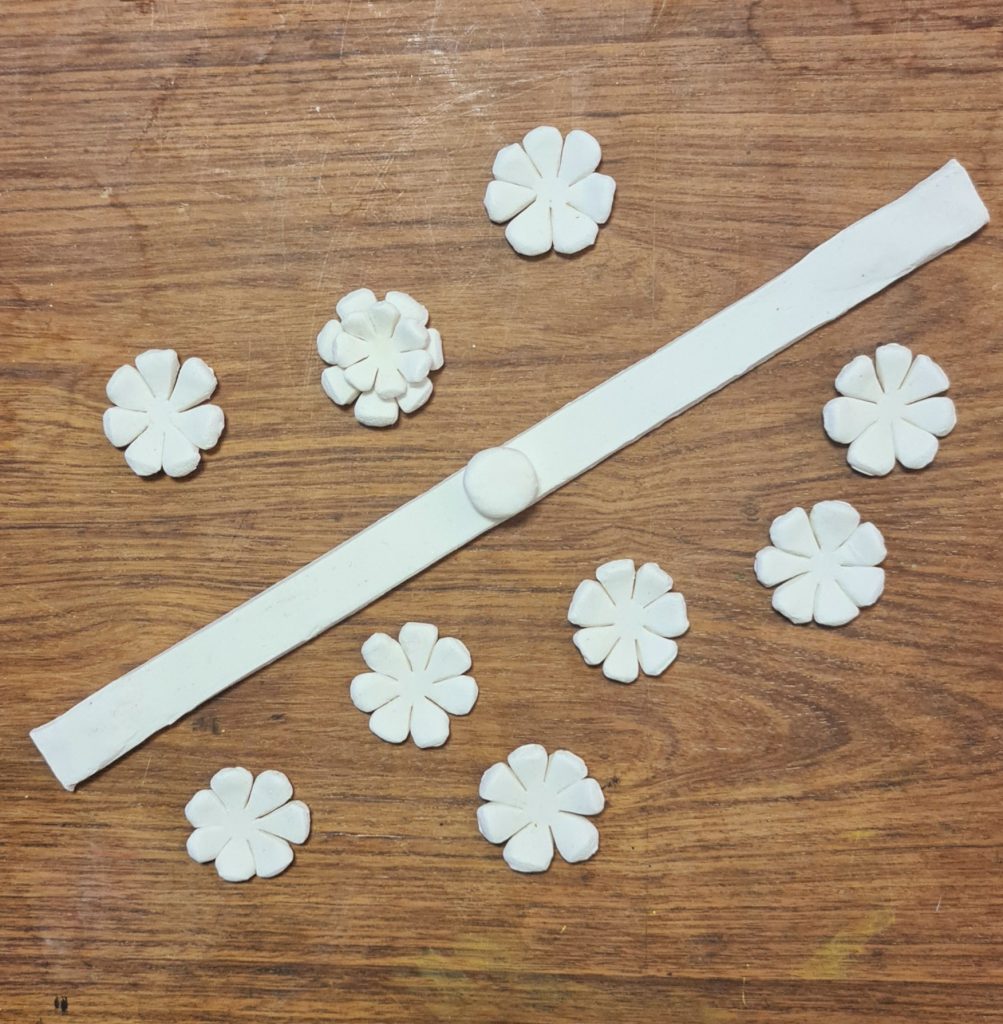
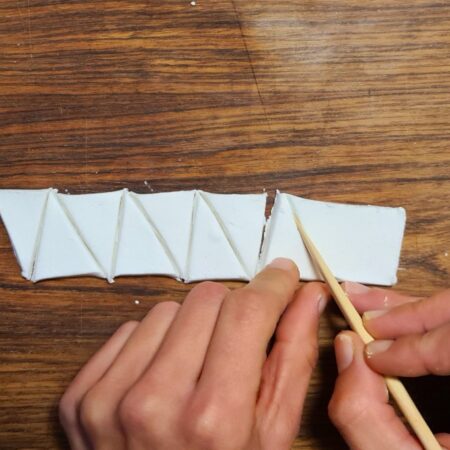
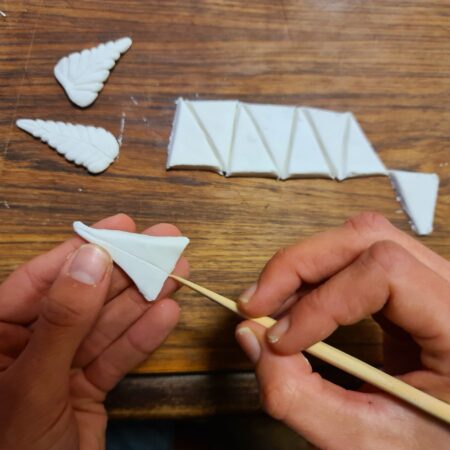
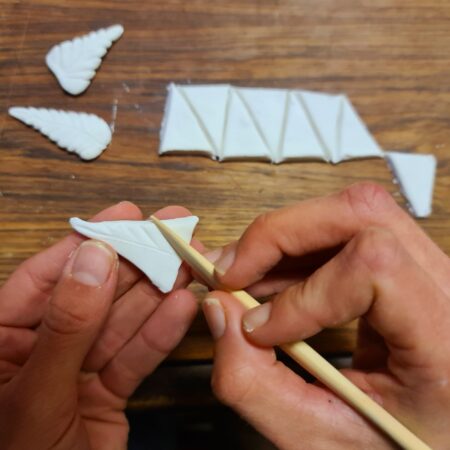
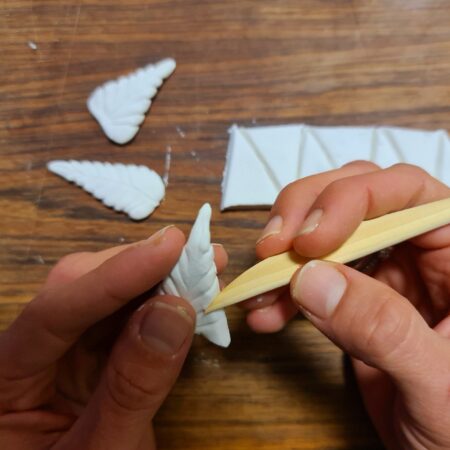
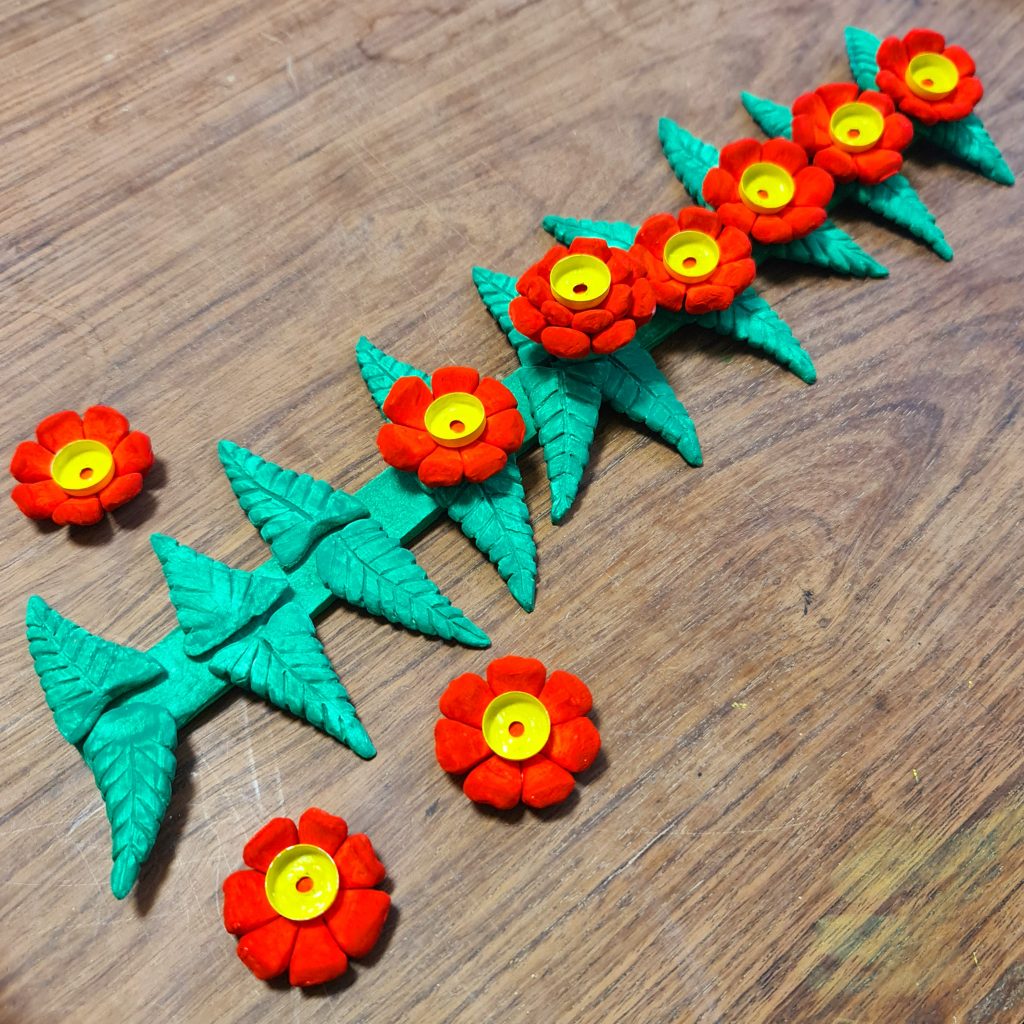
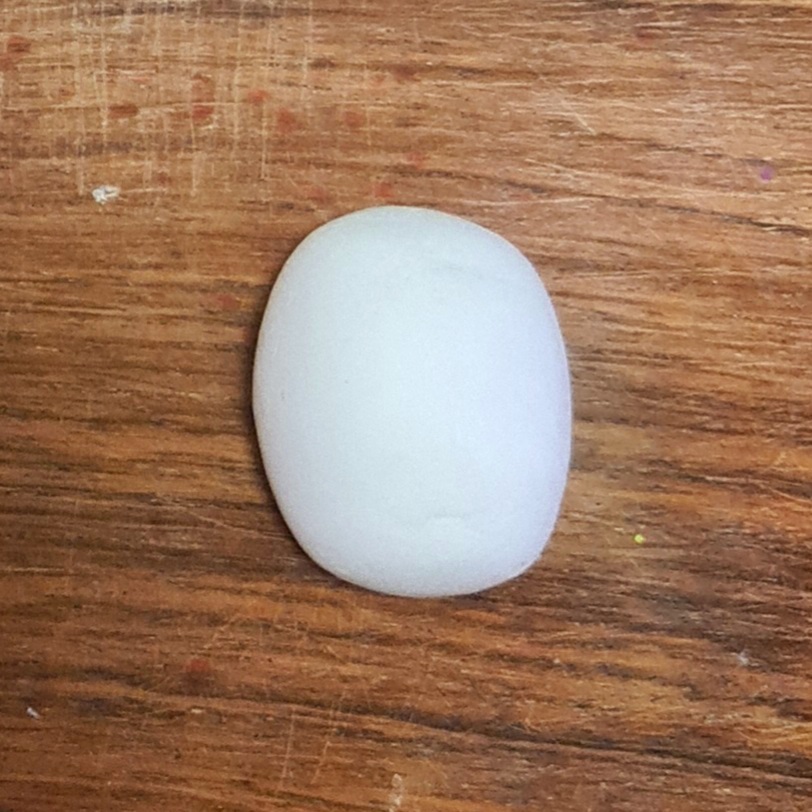
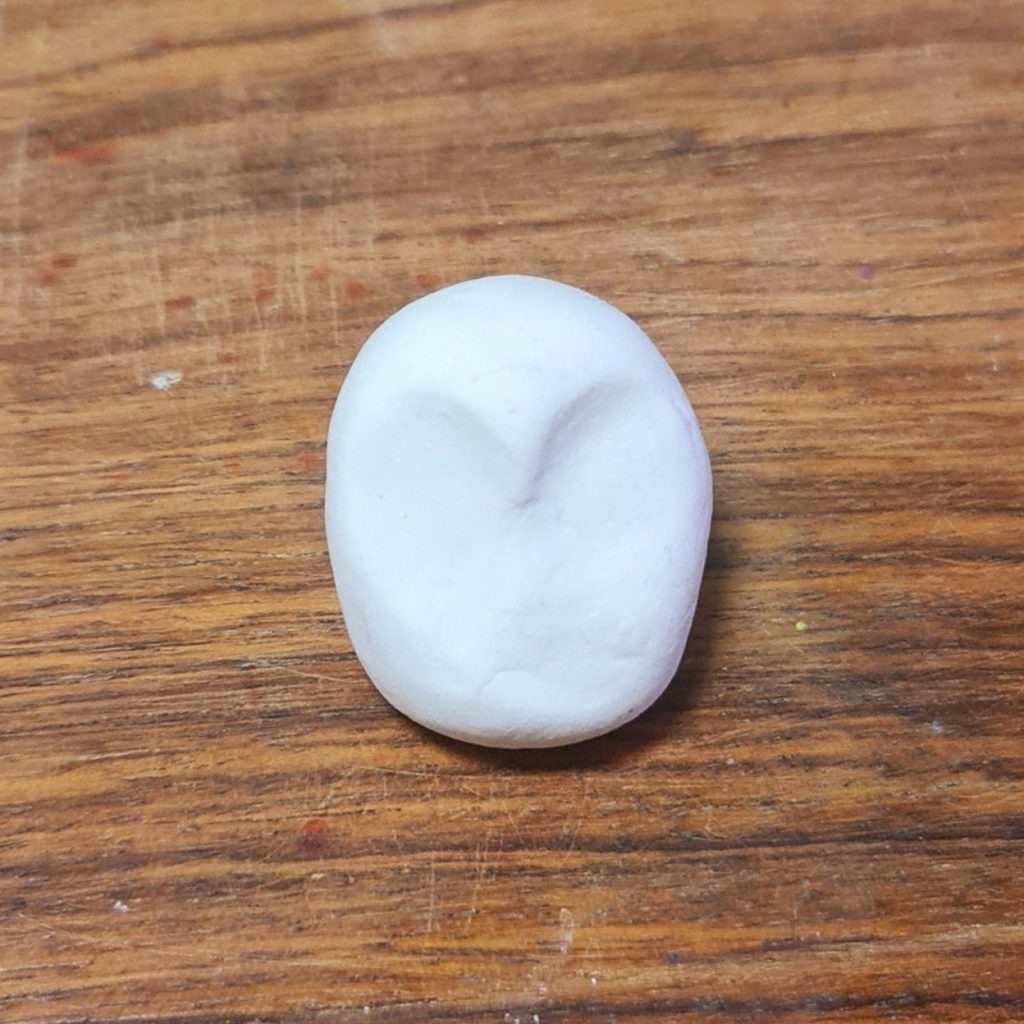
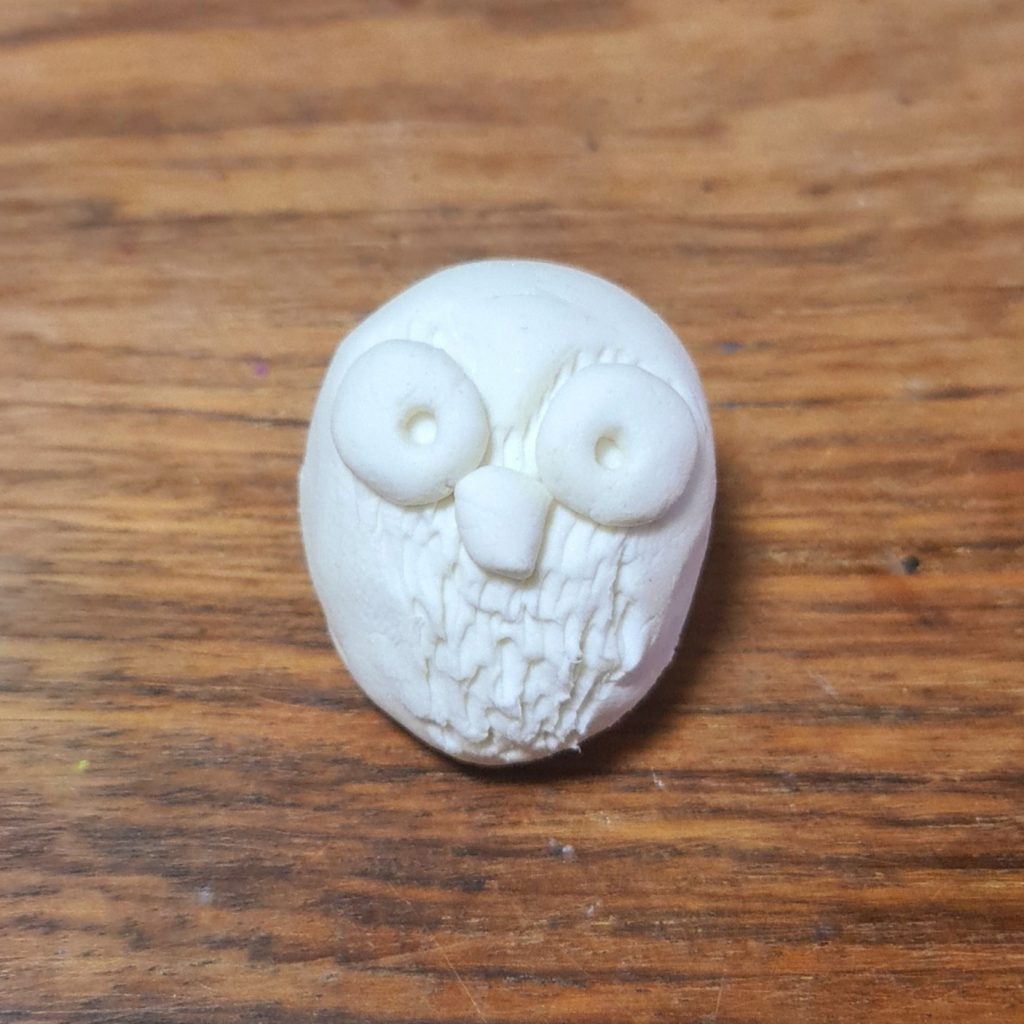
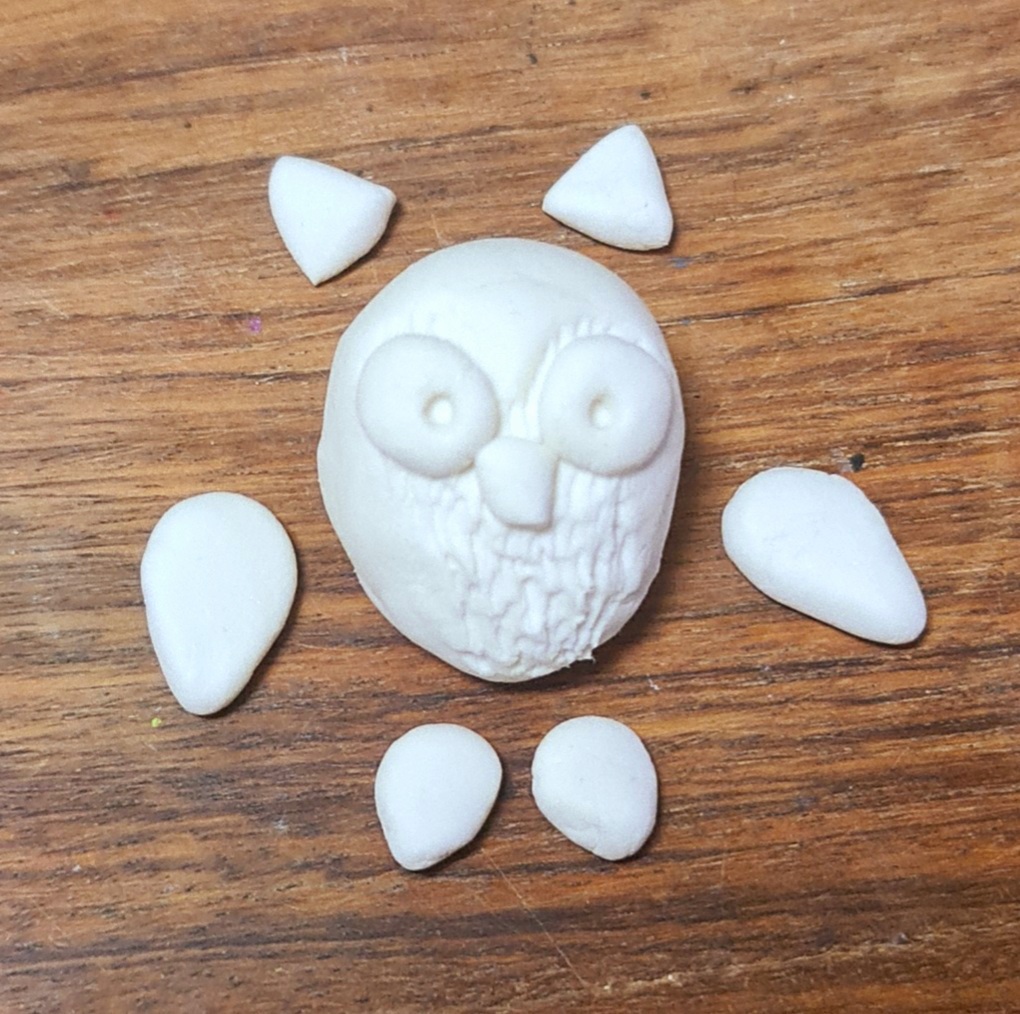
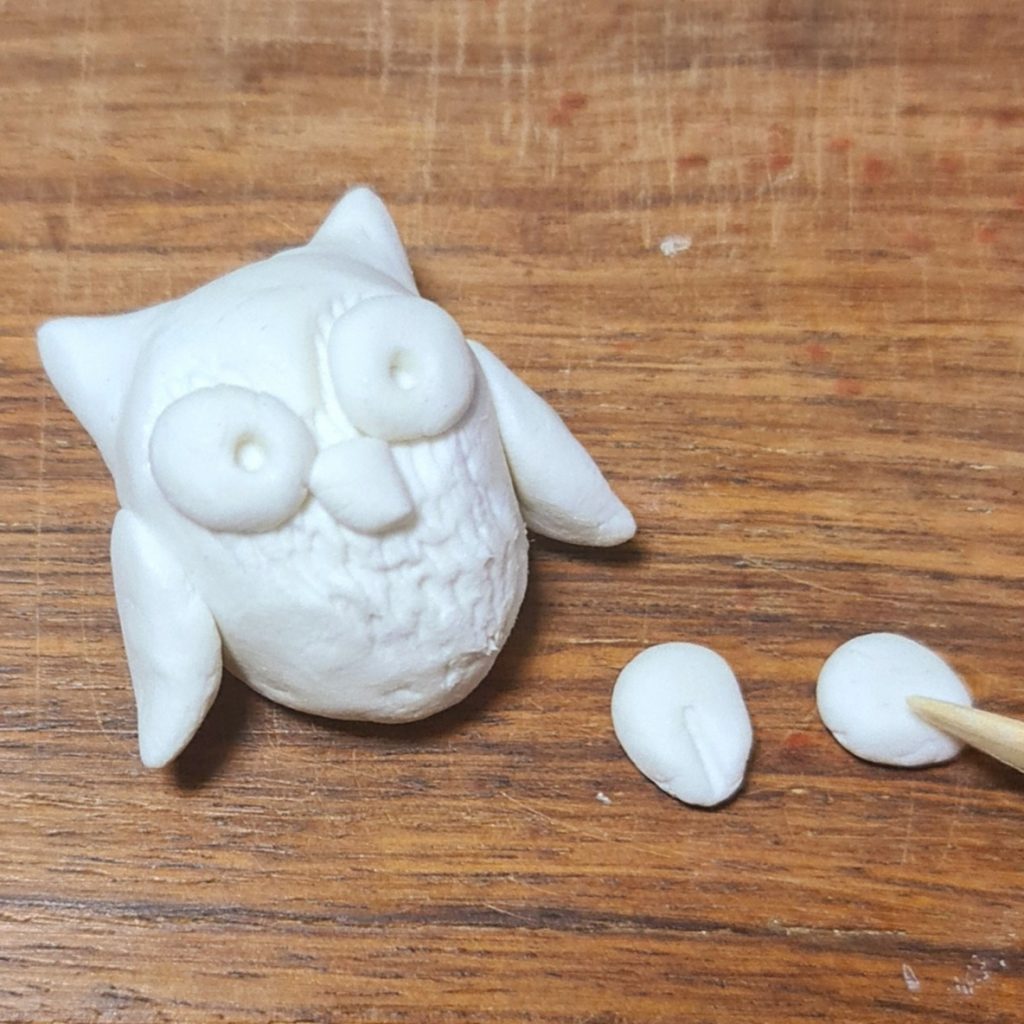
Example 1: Sculpting menorah flowers from dry clay
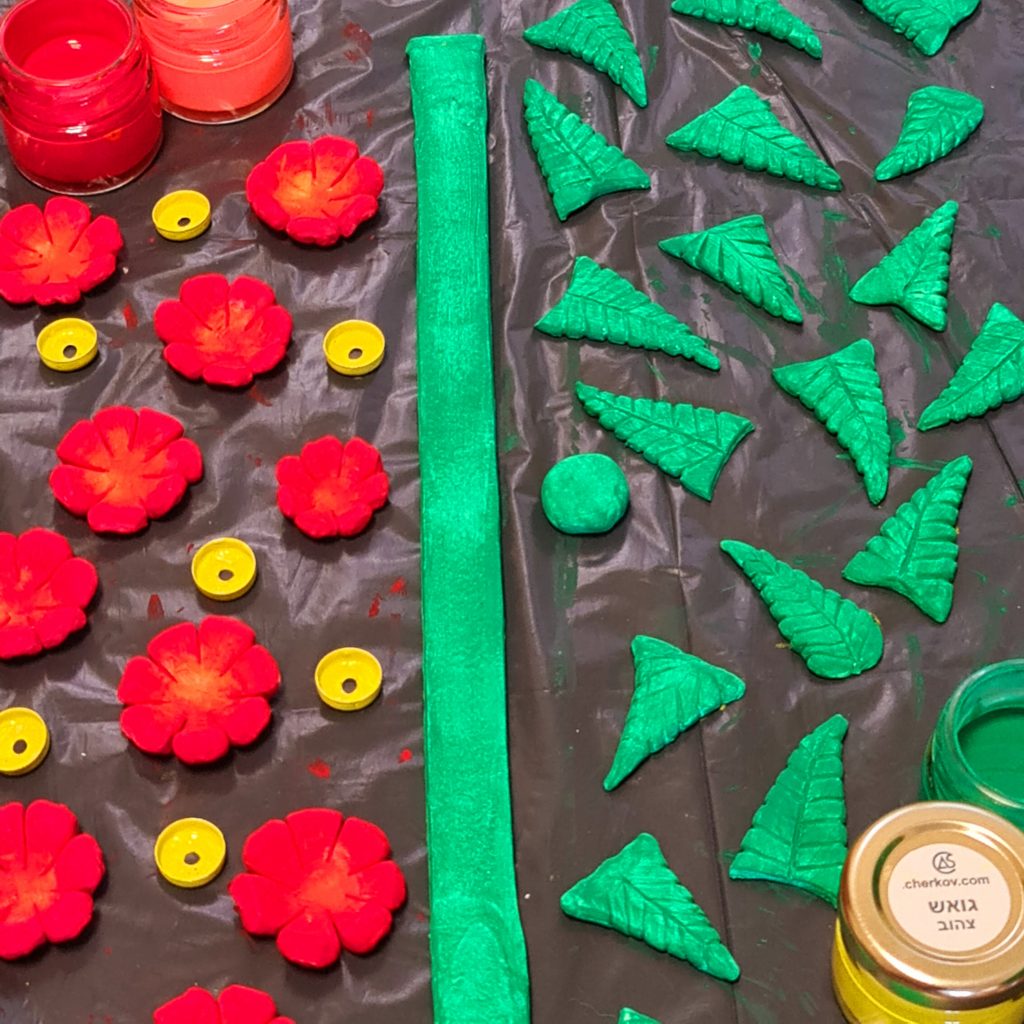


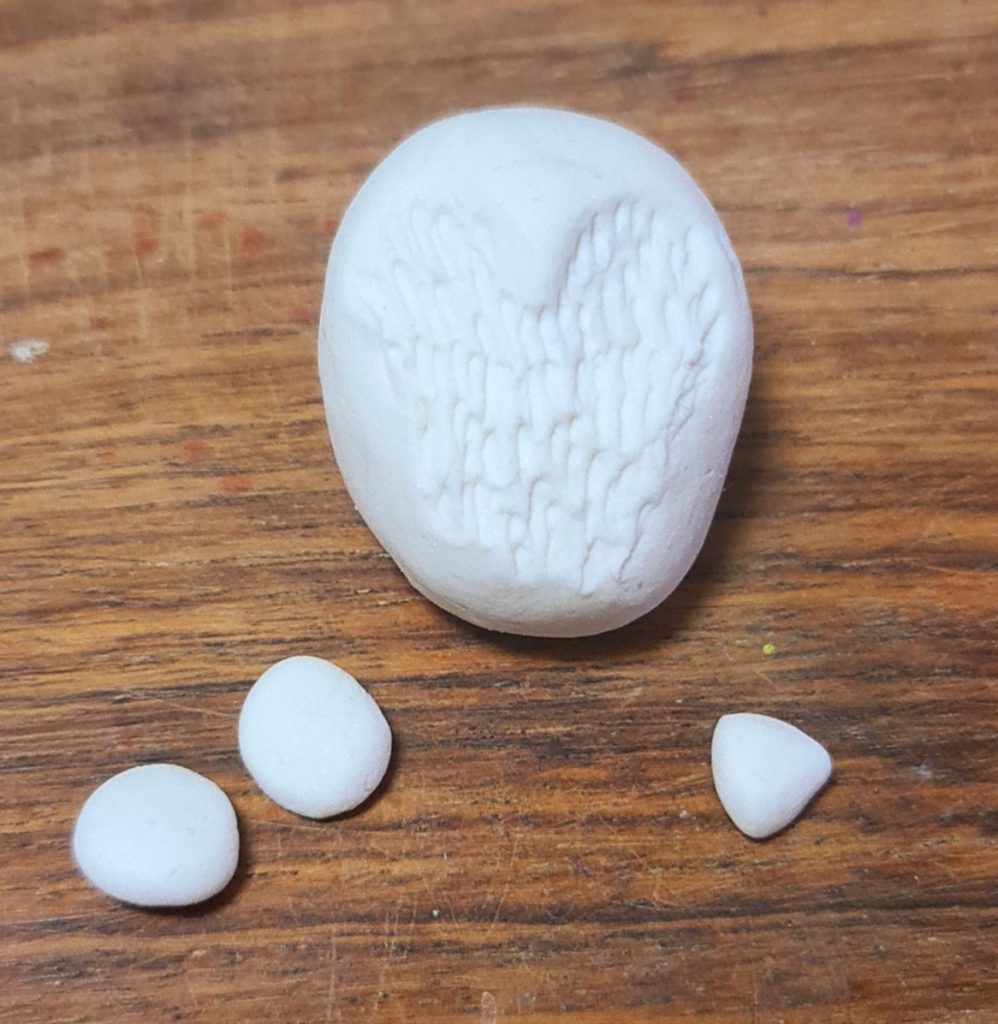


Note: The owls can be attached to the base before painting using water and left to dry for one day and only then paint and paste the reeds. If you use a variety of colors and not a uniform color for the entire menorah - we recommend painting the parts separately and then pasting. In this way, it is easier to paint and a more aesthetic result is obtained.
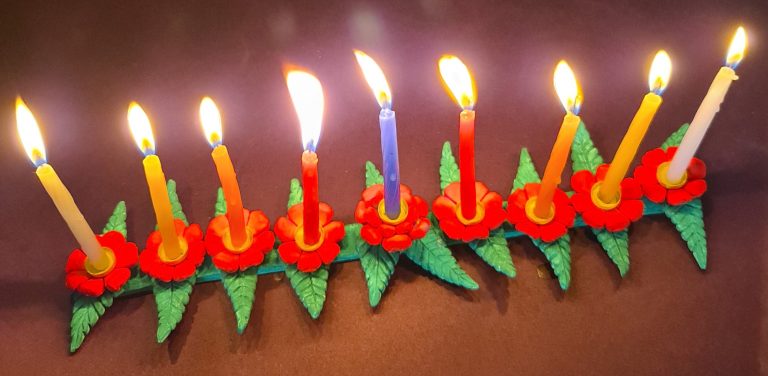
7. After the paint dries, glue all the owls to the branch. At the end, stick metal canes on the heads of the cute owls.
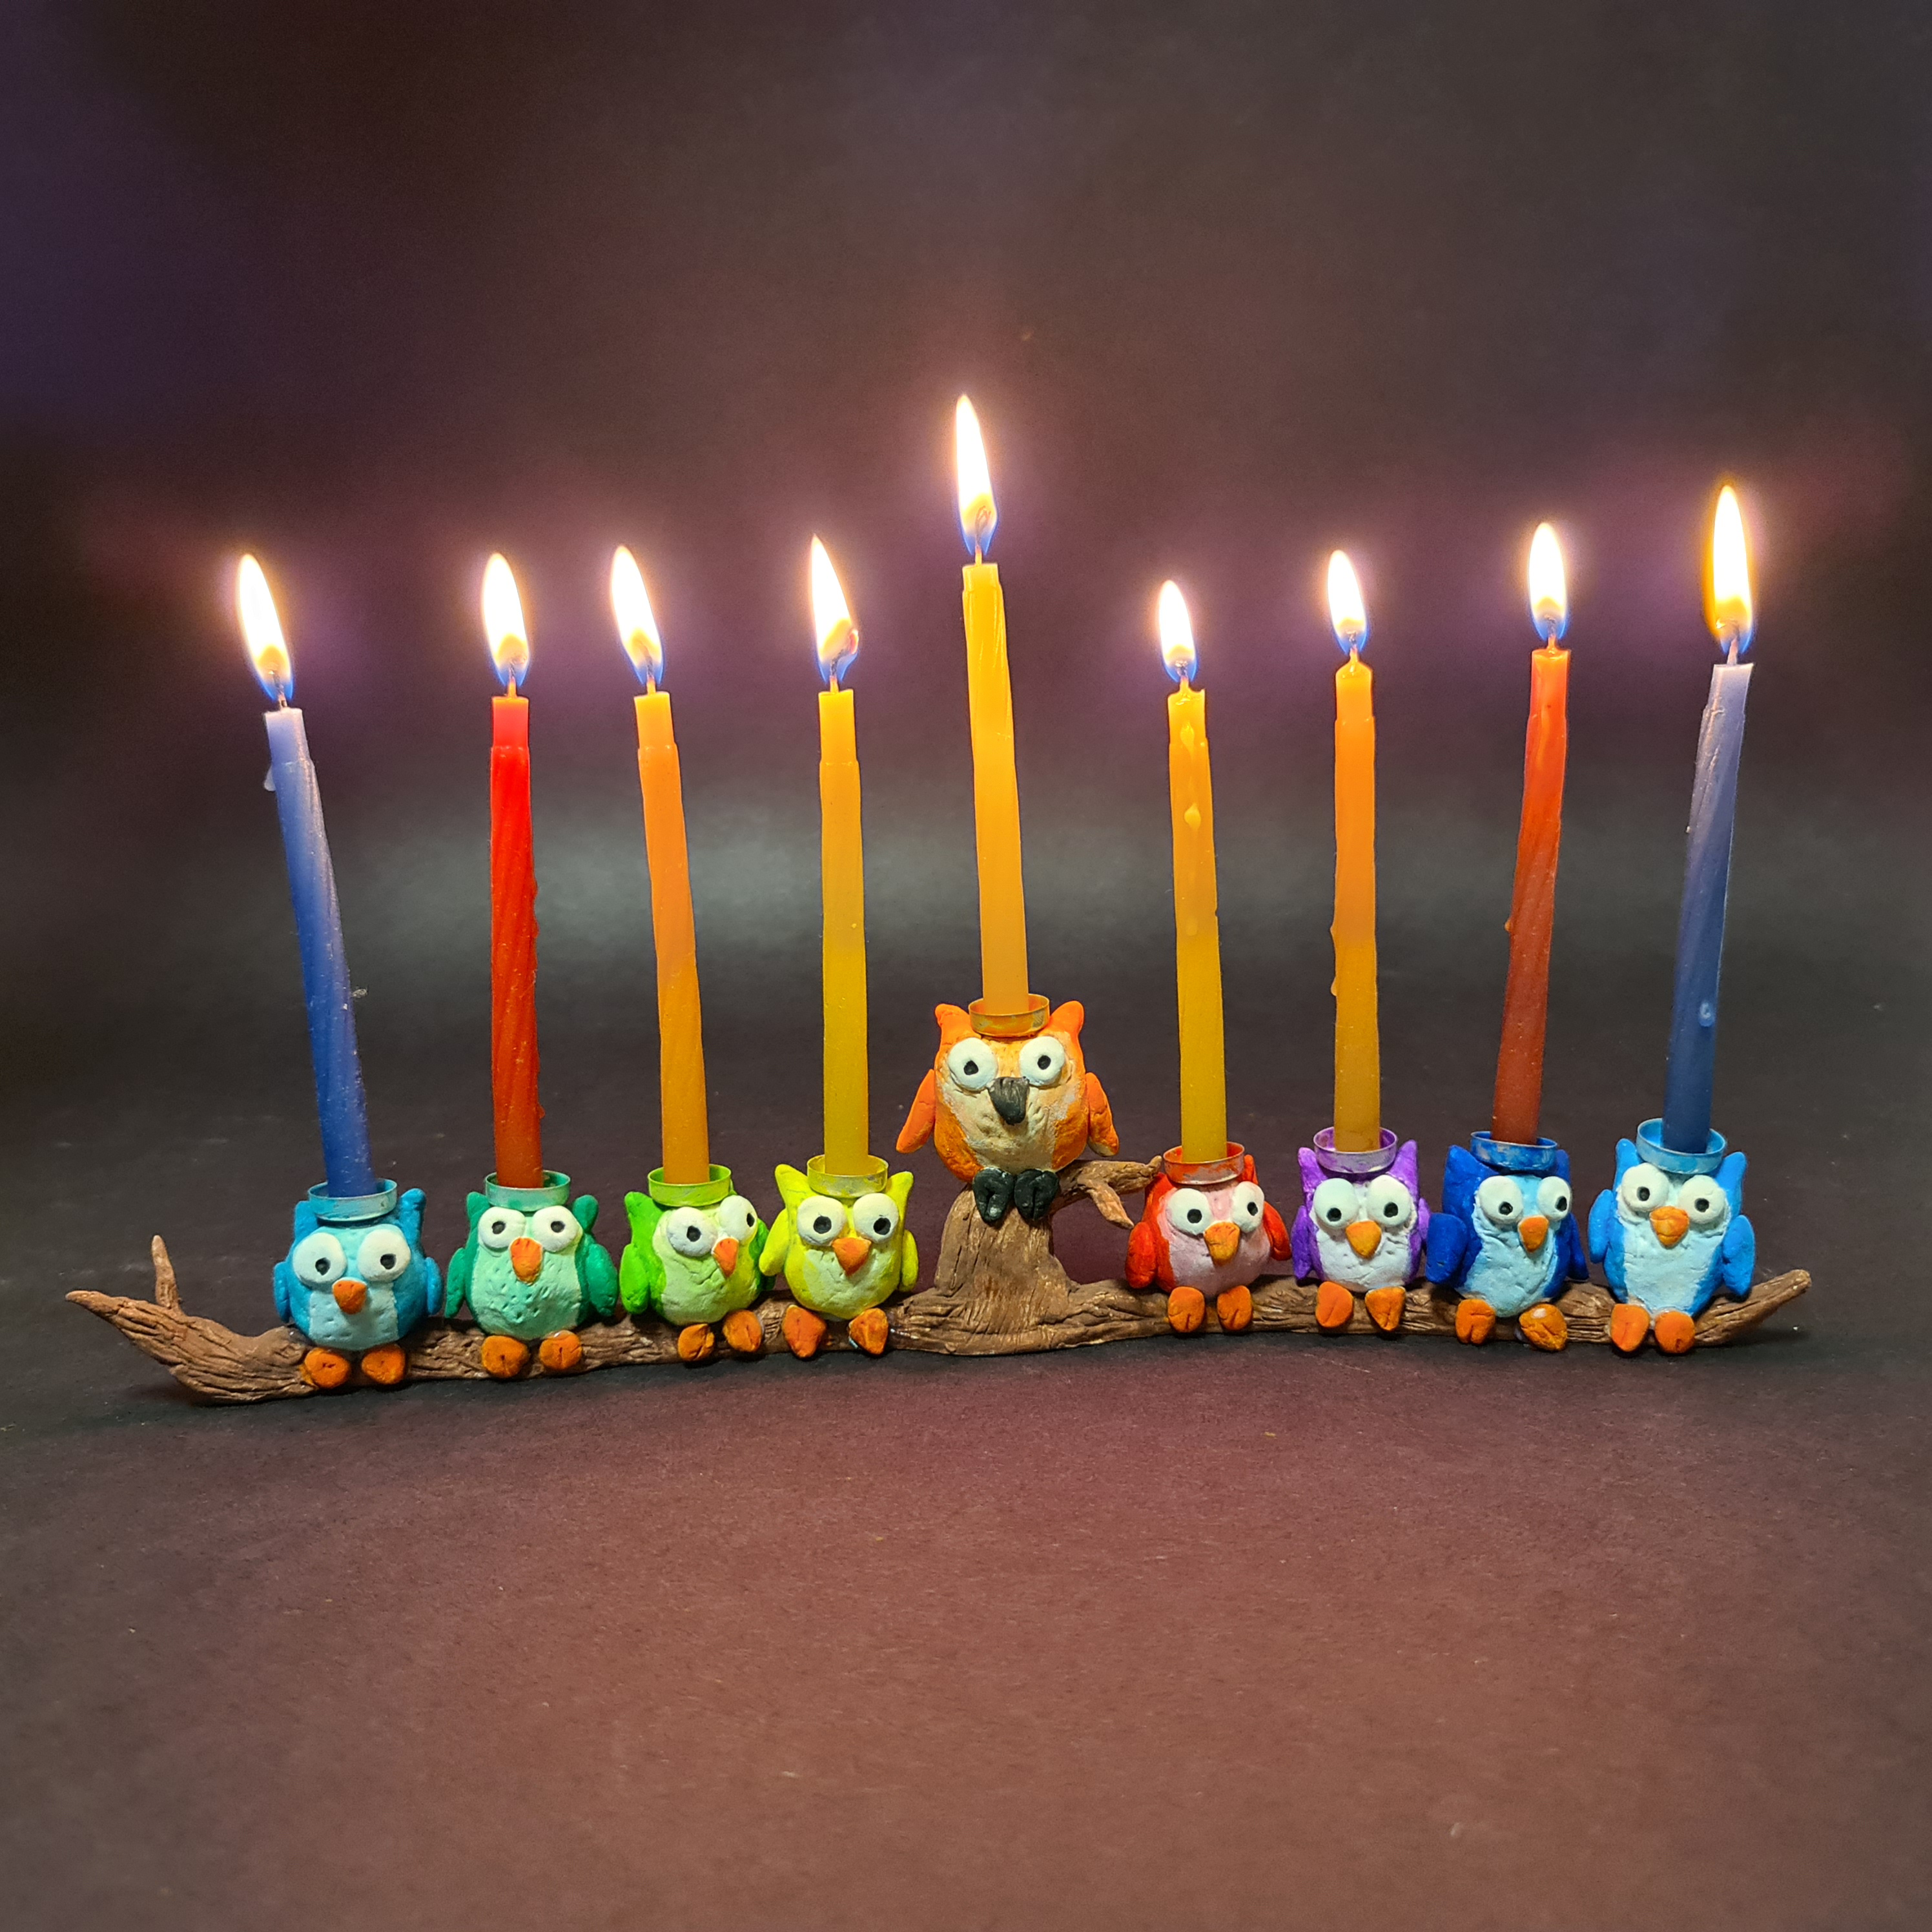
Fun creation and a happy holiday!
-

- out of stock
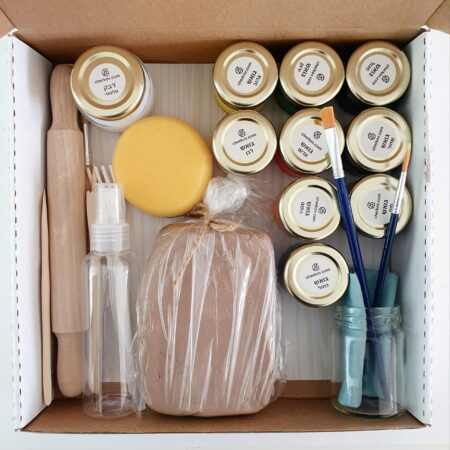
Clay sculpture kit for children
- ₪100
- Read more
-
-
- out of stock
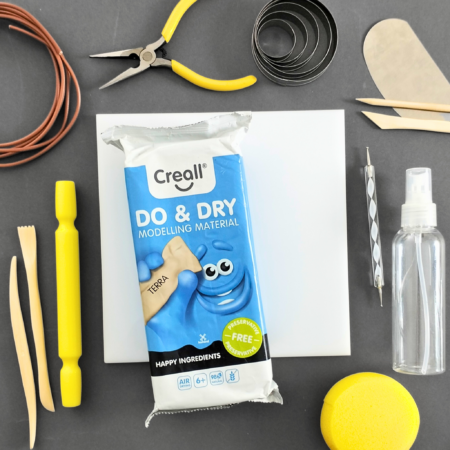
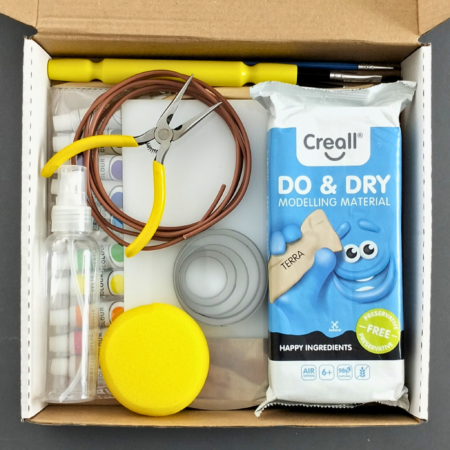
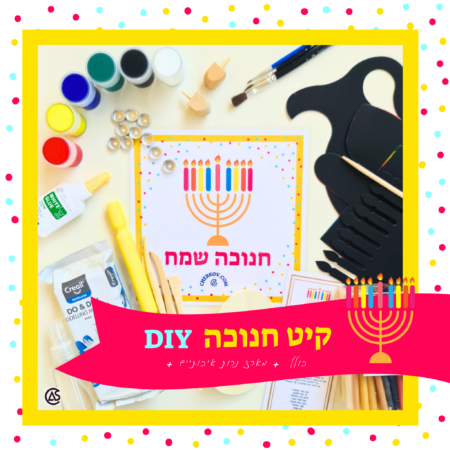
DIY Chanukah creation kit
- ₪105
- Read more
-