
Making a Sculpture for a Fire by Alexander Cherkov, from the book Introduction to the World of Art "Sculpture, painting, drawing and more"
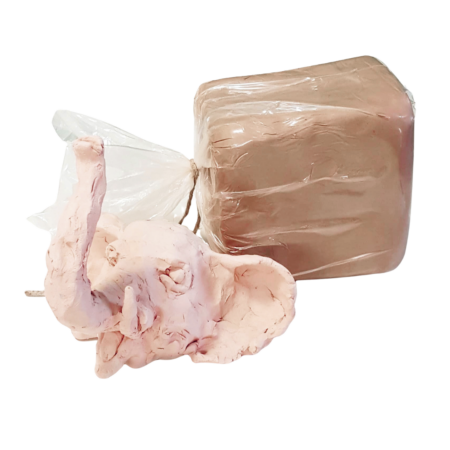
To preserve a statue made Natural clay, It must be transferred to hard material. The easiest way is to burn a dry sculpture in a special ceramic oven. To do this, here are the instructions for preparing a statue for the fire. The point is that the excess thickness of the clay mass can lead to the explosion of the statue in the oven during the fire. To reduce the risk of explosion, add drop clay (clay that burns and works into a powder). The thickness of the clay required for burning varies depending on the size of the grains and the relative amount in percent of the clay mass.
The following is an approximate breakdown of the ratio between the size of the drop and the thickness of the clay allowed to burn at 25% presence of drop in the clay:
Clay without a drop - up to 1 cm
With a 0.5 mm drop - up to 2 cm
With a 1 mm drop - up to 3 cm
With a 2 mm drop - up to 5 cm
You will find more accurate and detailed data in the professional literature on burning ceramic products.
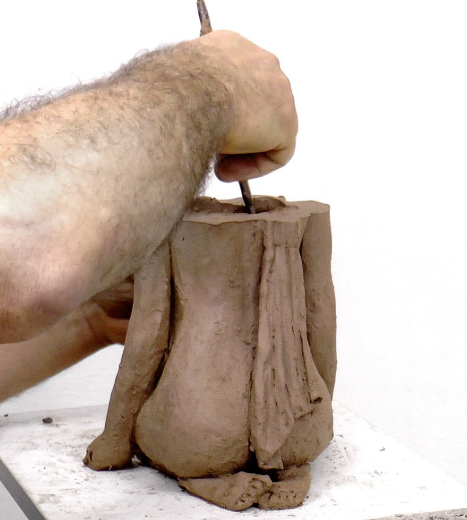
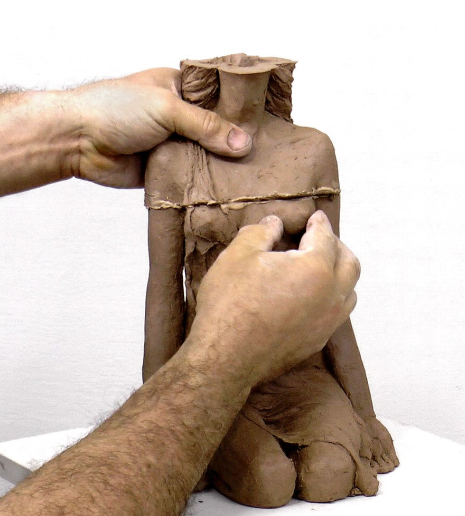
And one more note: the preparation for the fire should be done after an initial sculpting of details, but before the final finishing process. Firstly because the clay is still soft and secondly because the process of preparing the sculpture for burning is very traumatic to the details.
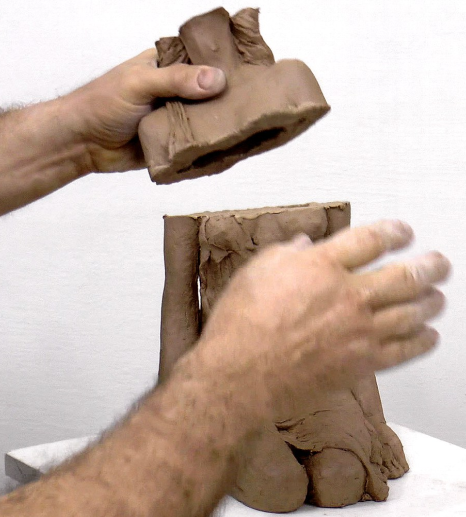
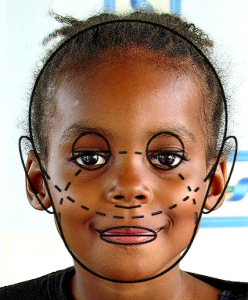
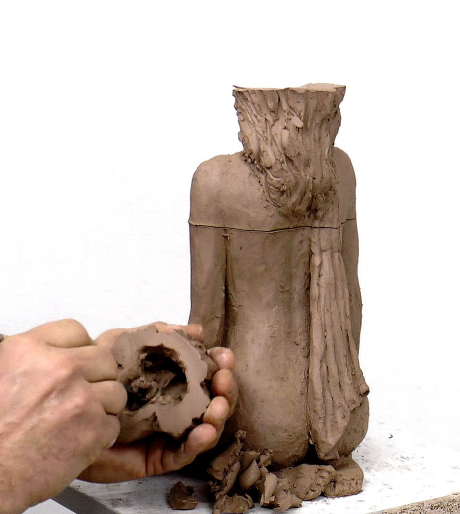
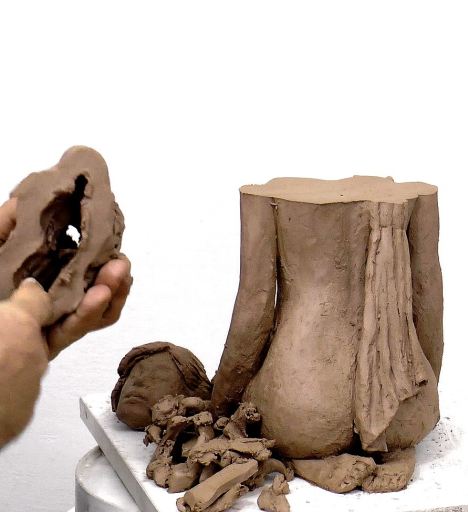
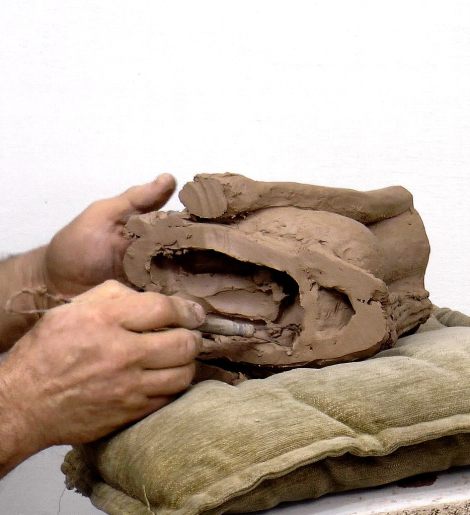
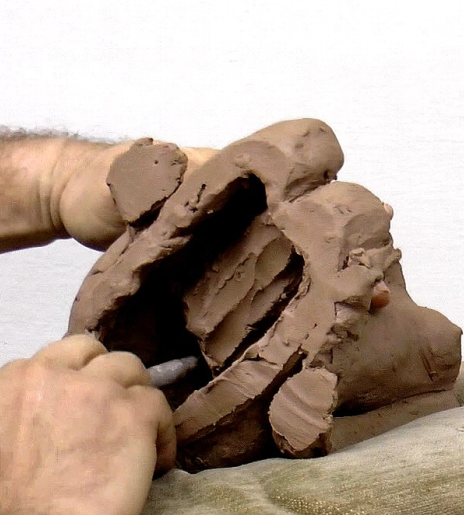
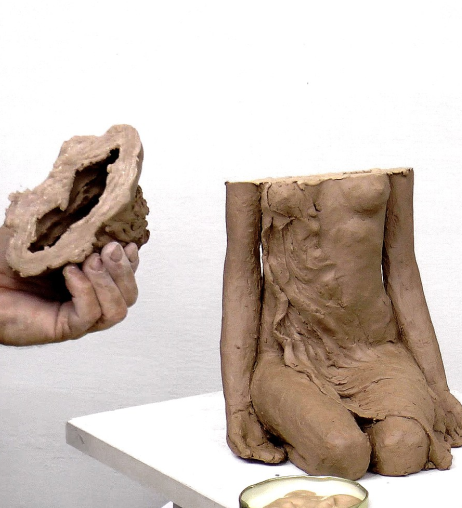
In the statue of a woman figure Made of clay with a 0.5 mm drop, the thickness of the sides of the statue should not exceed 2 cm. Cutting the sculpture into convenient parts for emptying the clay from the inside, try to do in places with less detail. When gluing the statue pieces using liquid clay, the connection points should be rubbed. Ensure tight gluing of parts and squeeze excess fluid from the material. When finished, slide the adhesive points.
Watch a video illustrating the process of preparing a sculpture for burning (cutting and emptying) 2:53
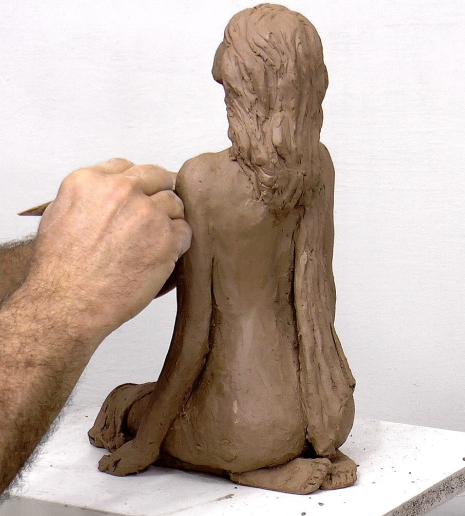
Once the sculpture has been emptied and the finishing and finishing work on the details has been completed, it should be left to dry completely. The length of the drying time depends on the type of clay and the room temperature. When the clay is completely dry, its color fades and does not feel moist in contact with the clay. It's time to move it to the fire. If you do not have a ceramic kiln, try contacting a ceramicist in your area and ask to burn the statue with him or get help fromSculpture burning service In our studio.
After the fire you can move toColoring the statue And give it a more noble look, such as bronze or wood.
Male torso sculpture exercise
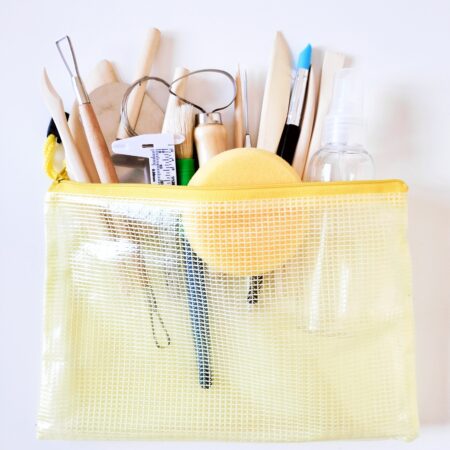
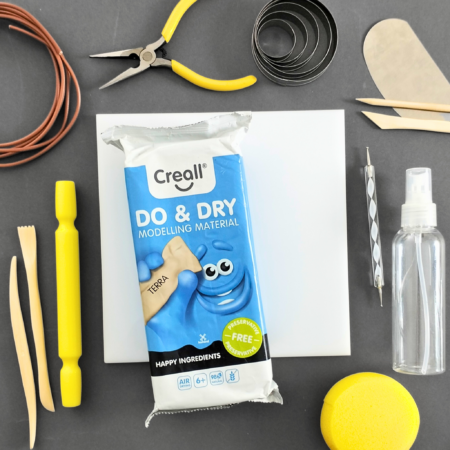
Sculpture products
-
- out of stock
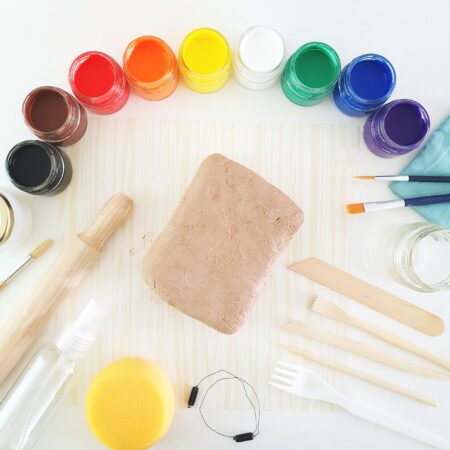
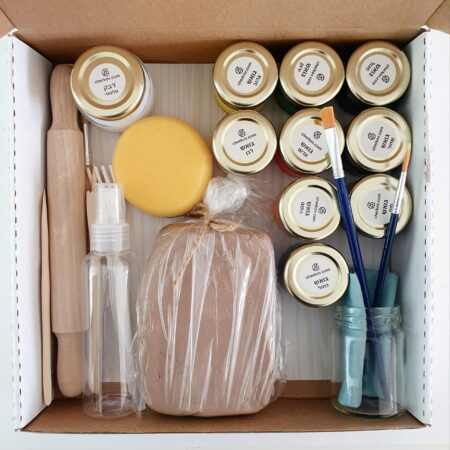
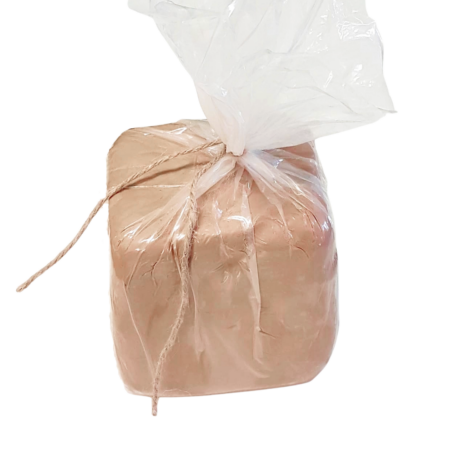
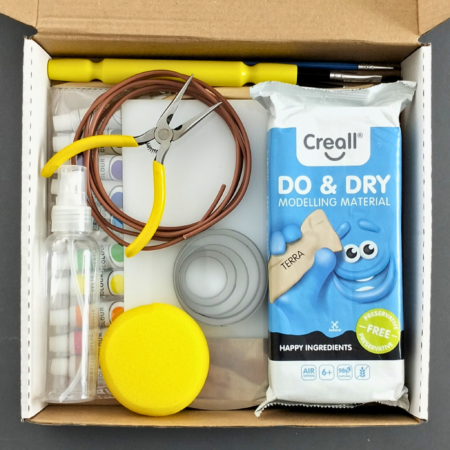
Clay sculpture kit for children
- ₪100
- Read more
-


