Here are detailed step-by-step instructions for sculpting bears from paper pulp. In addition, details of the necessary materials, instructional video, tips and tricks for the job.
The piece is suitable from the age of 9 independently, under the age of 9 accompanied by an adult. Enjoy the creation! ♥
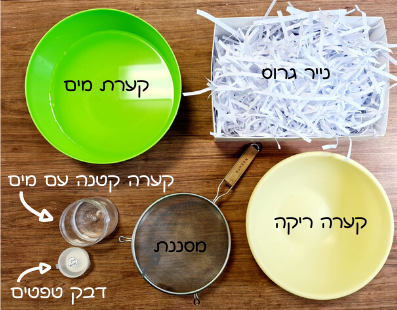
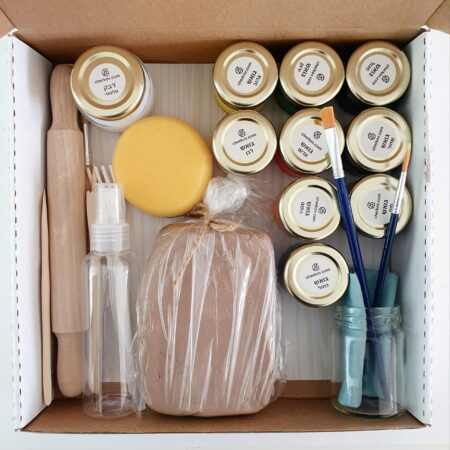
Equipment and materials needed to sculpt bears from paper pulp
shredded paper
A large bowl with pleasant water
A large empty bowl
strainer
Bowl for filtering the water (optional, preferably above the sink)
Watch the video Guide to Sculpting a Bear from Pulp | 4:24
Steps of sculpting bears from papier-mâché
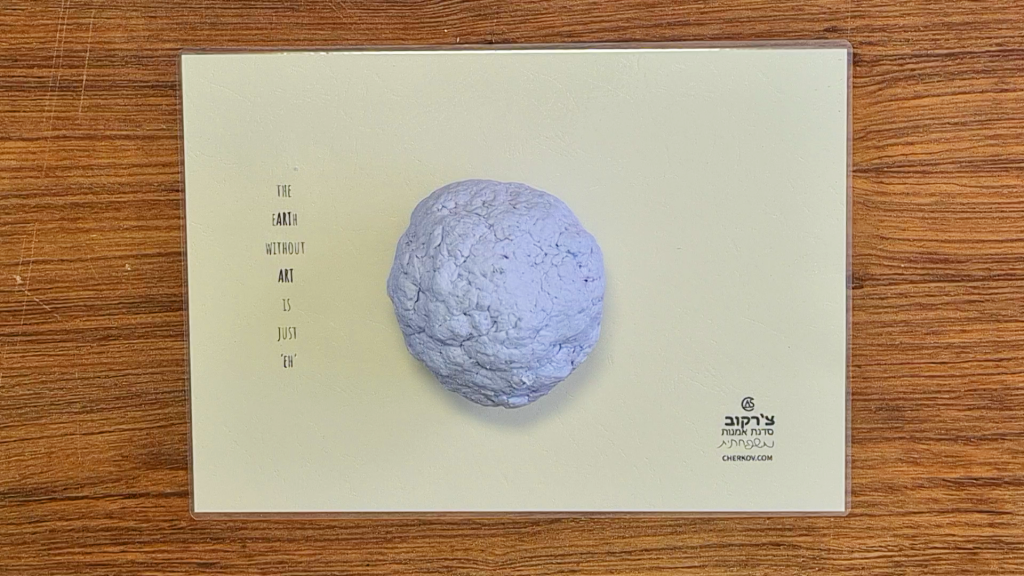
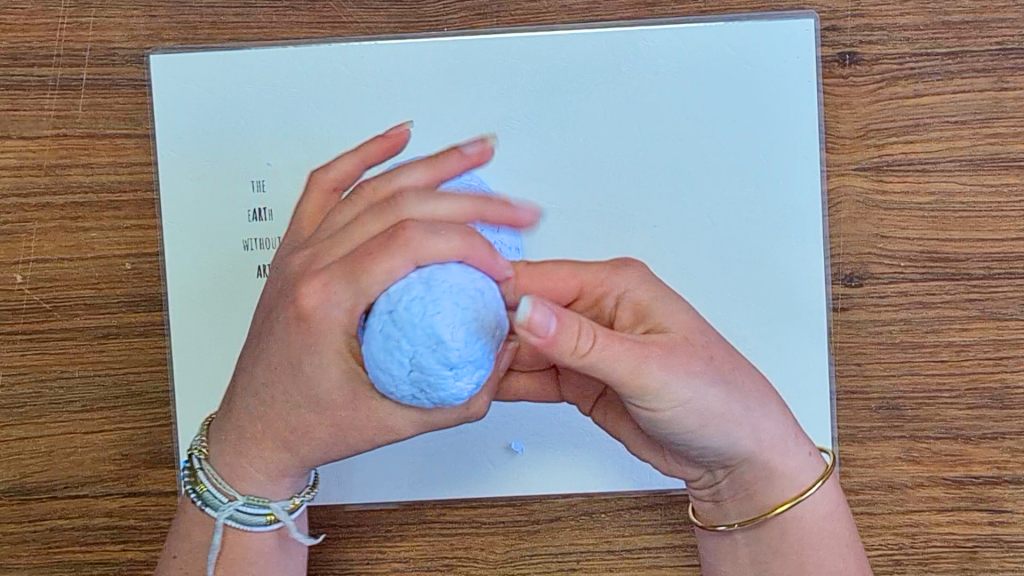
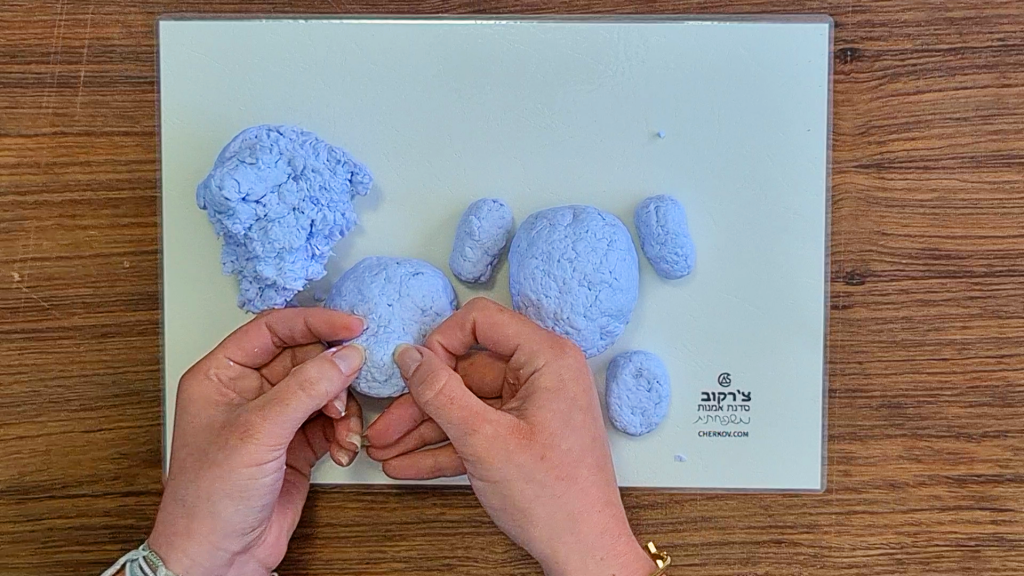
1. After you have made a paper pulp for sculpting, prepare your desktop.
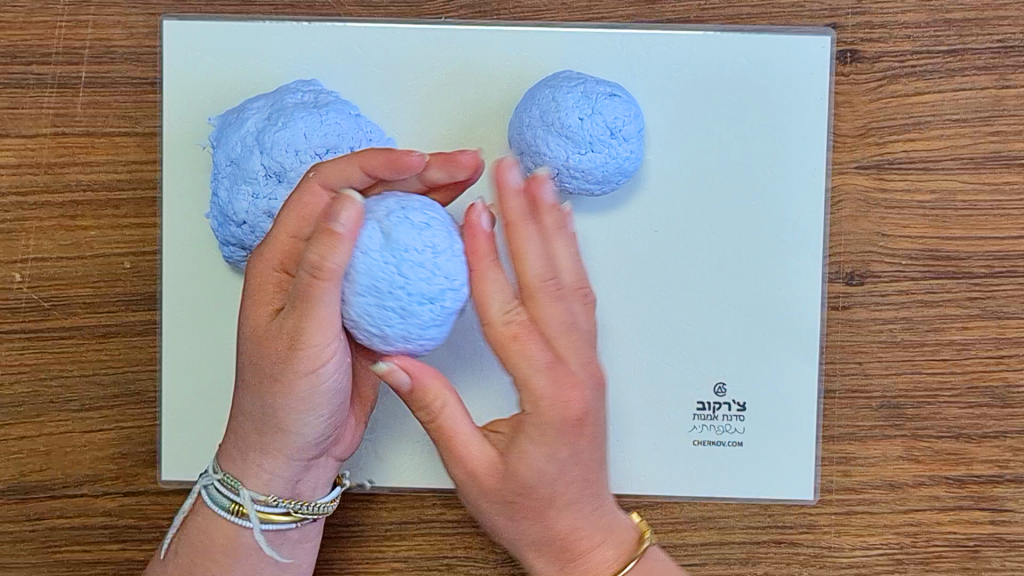
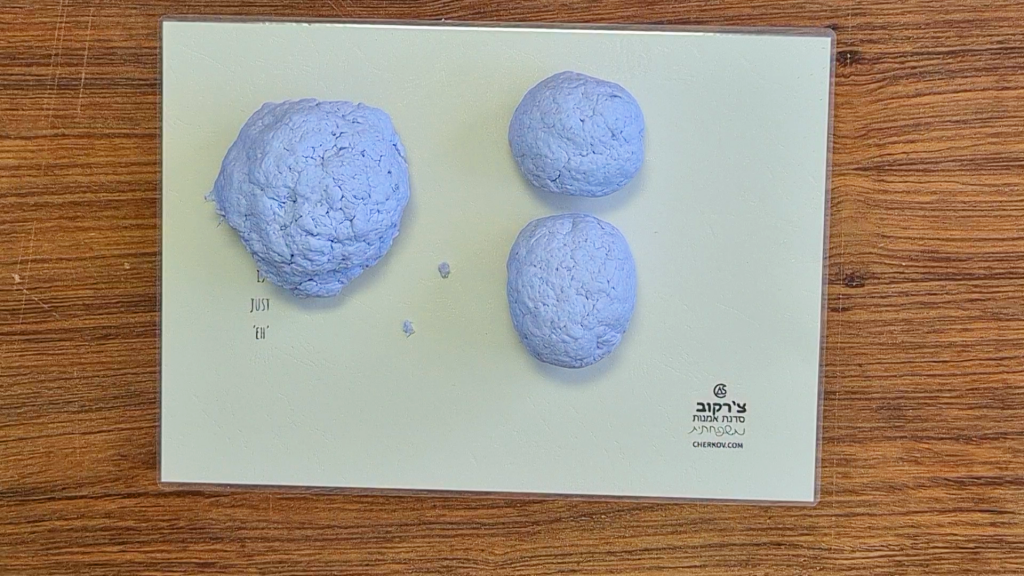
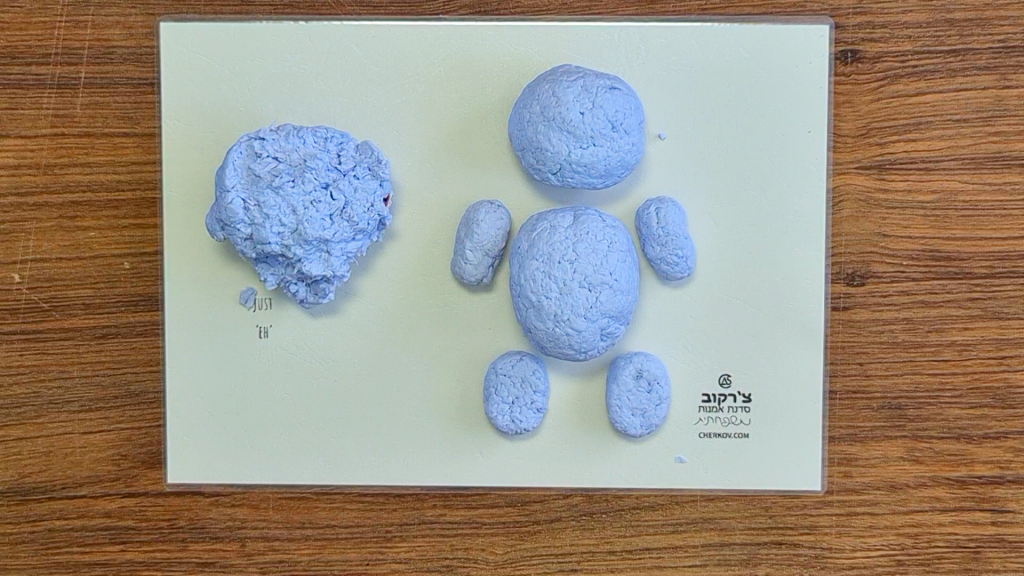
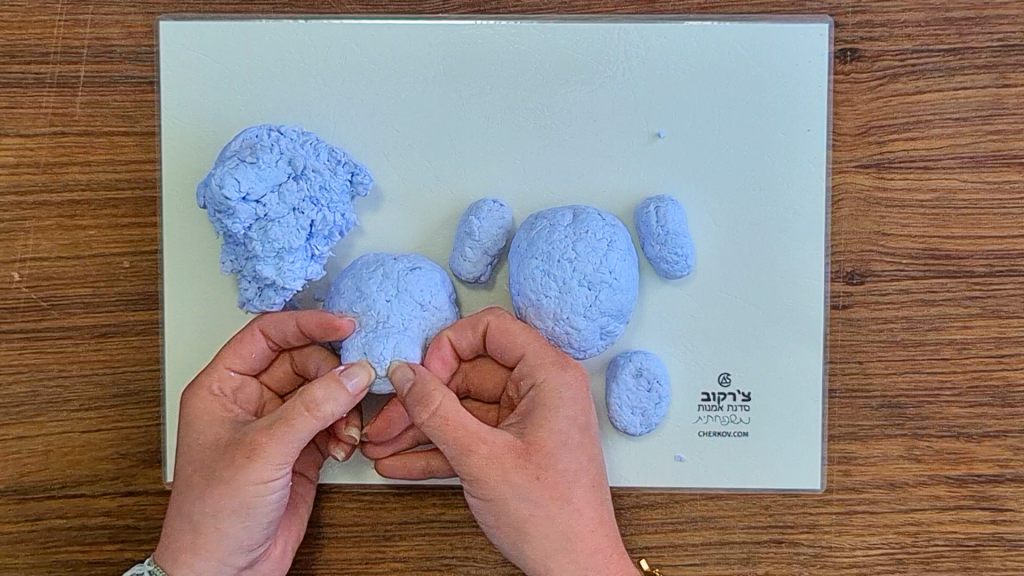
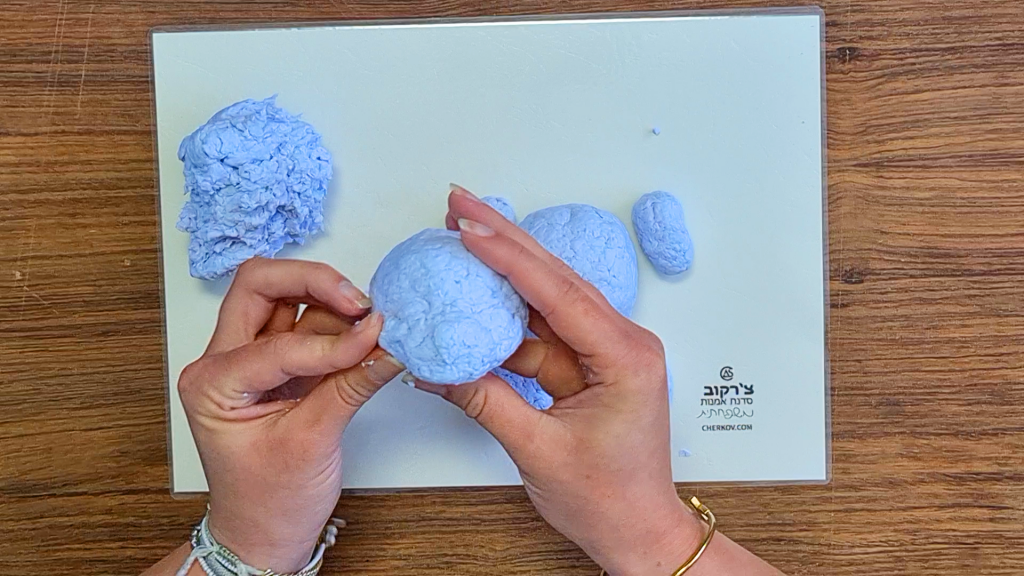
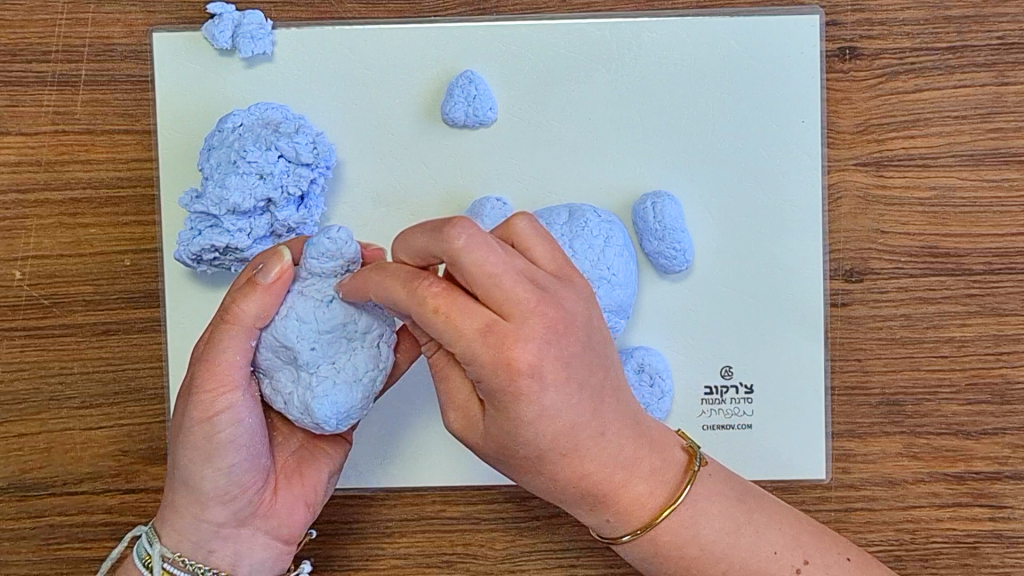
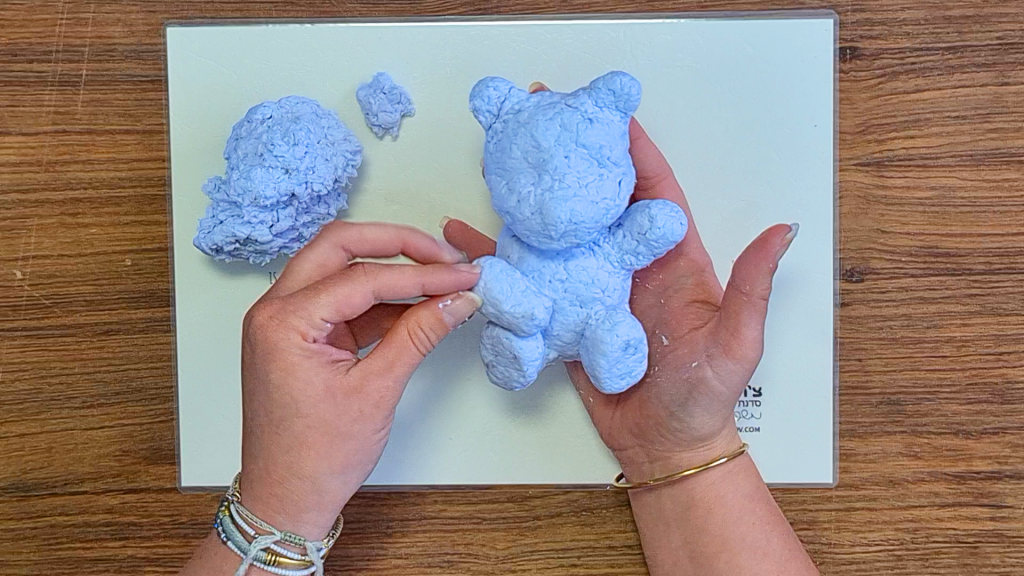
2. Depending on the amount of paper pulp you have created, or the desired bear size, take a paper pulp and make a ball out of it for the bear's head. Be sure to leave enough paper pulp for the rest of the pieces.
3. Take a quantity of paper pulp, a larger drop for the bear's body, and make an oval shape out of it.
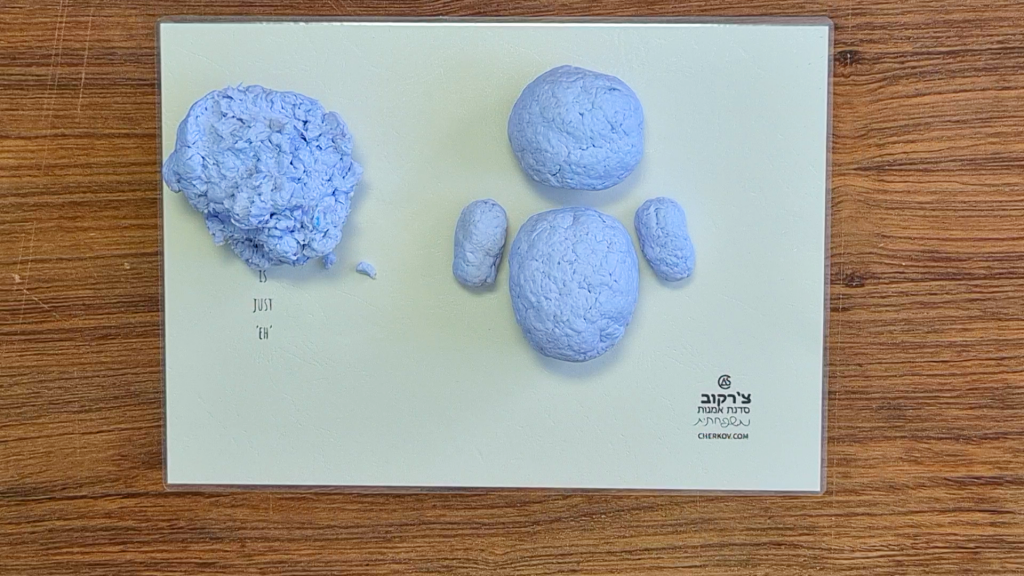
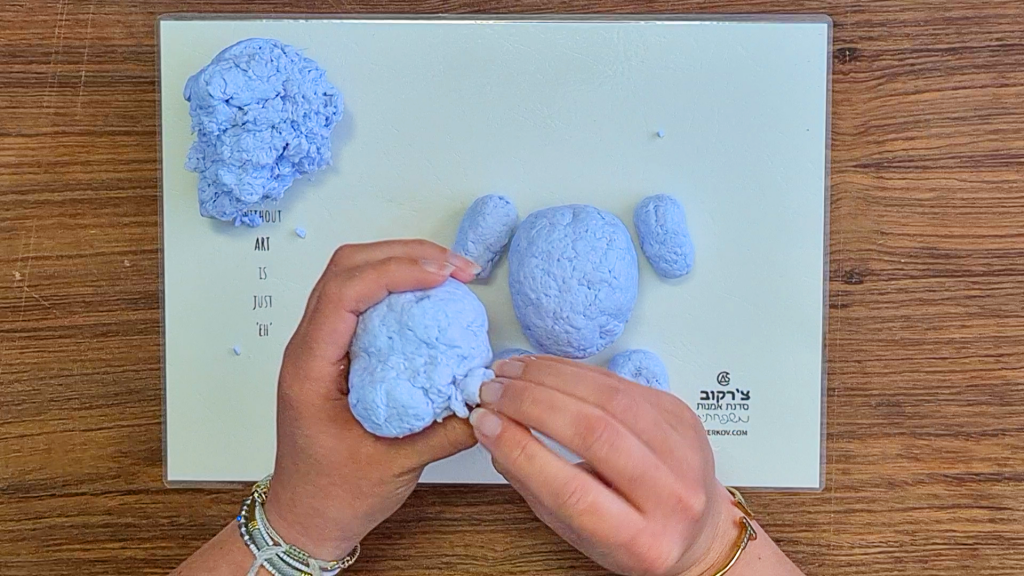
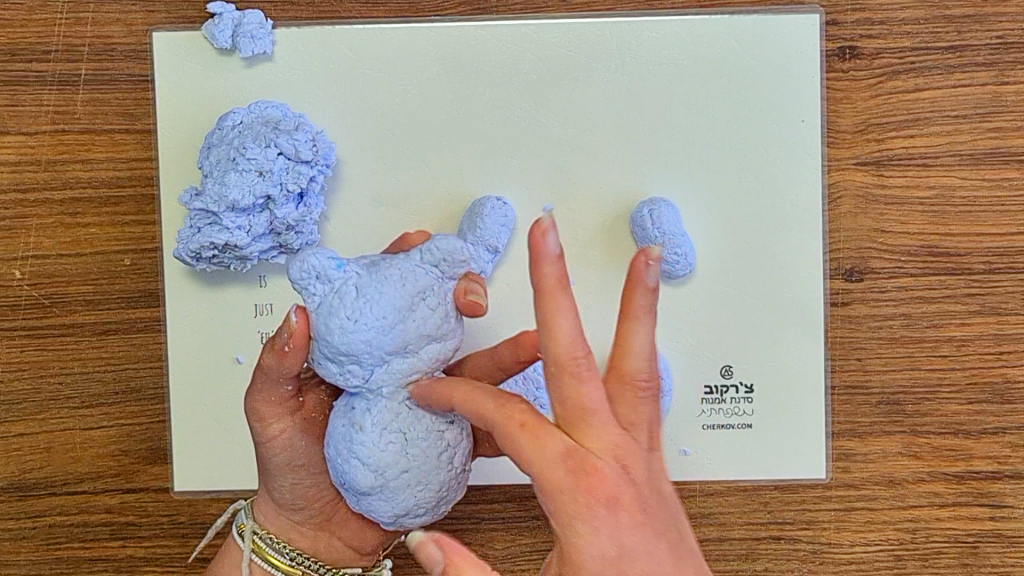
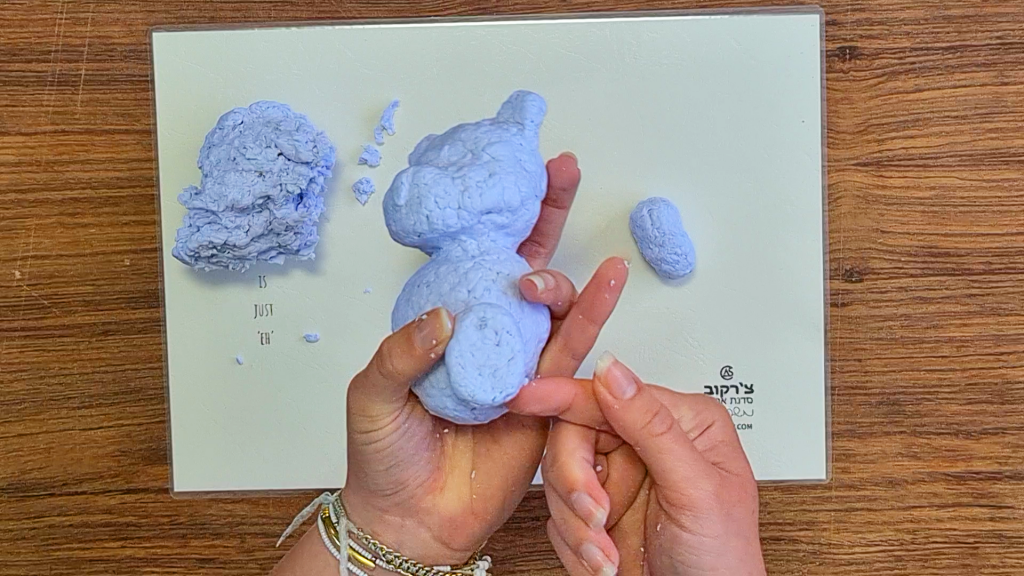
Make 4 round rolls at each end for the bear's hands.
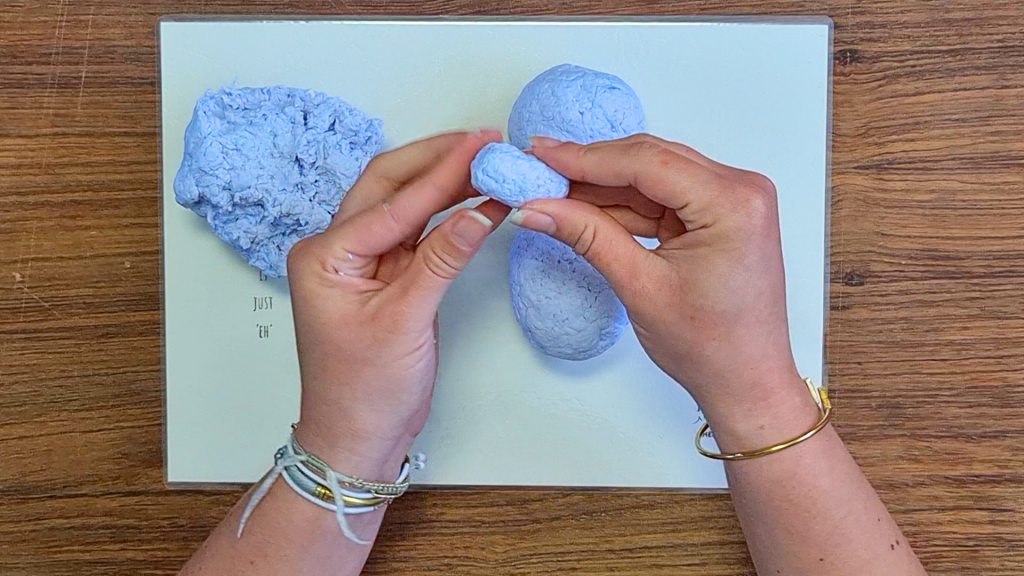
5. Make 2 balls, crush them, so that 2 flat circles are formed for the feet of the bear.
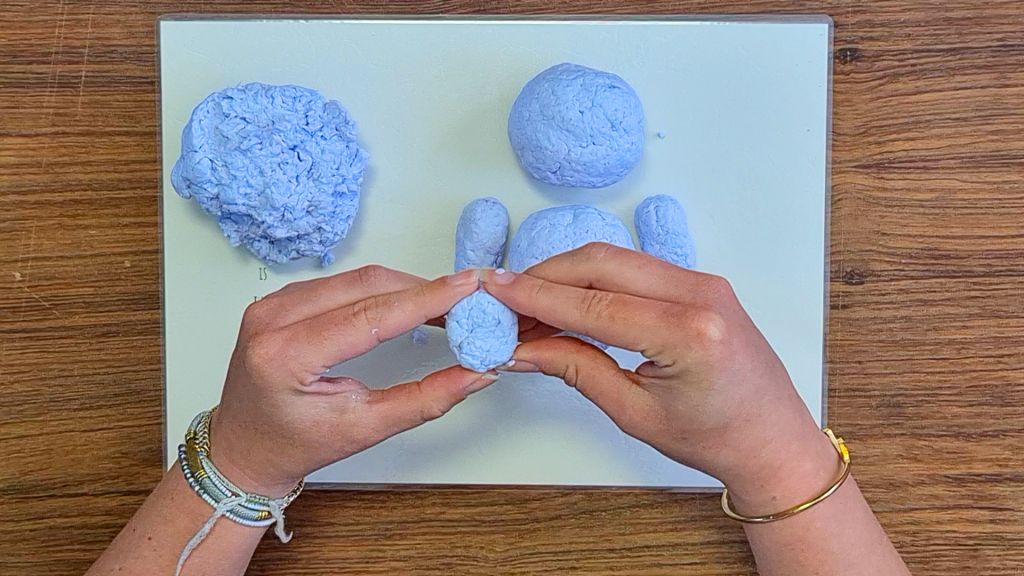
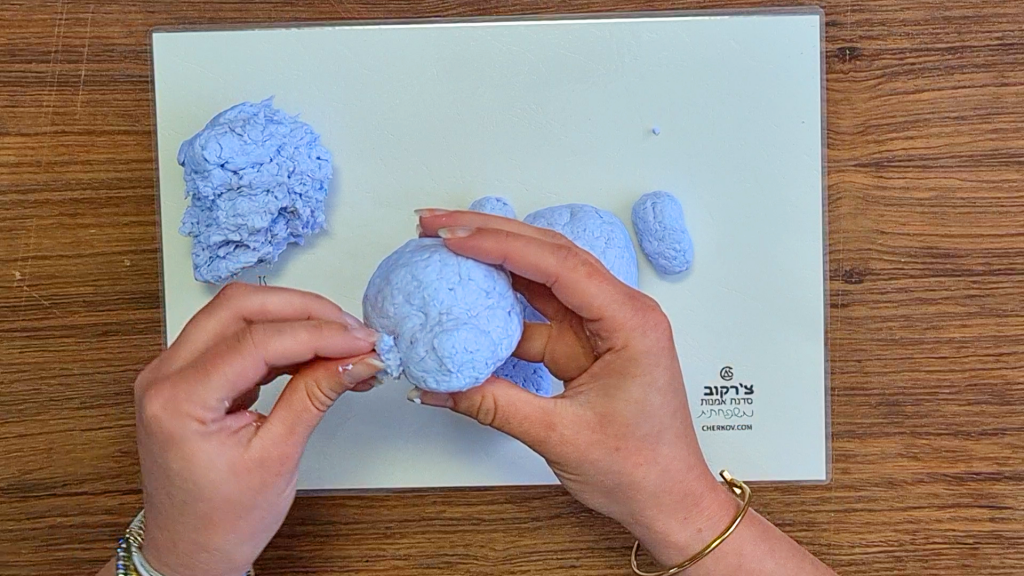
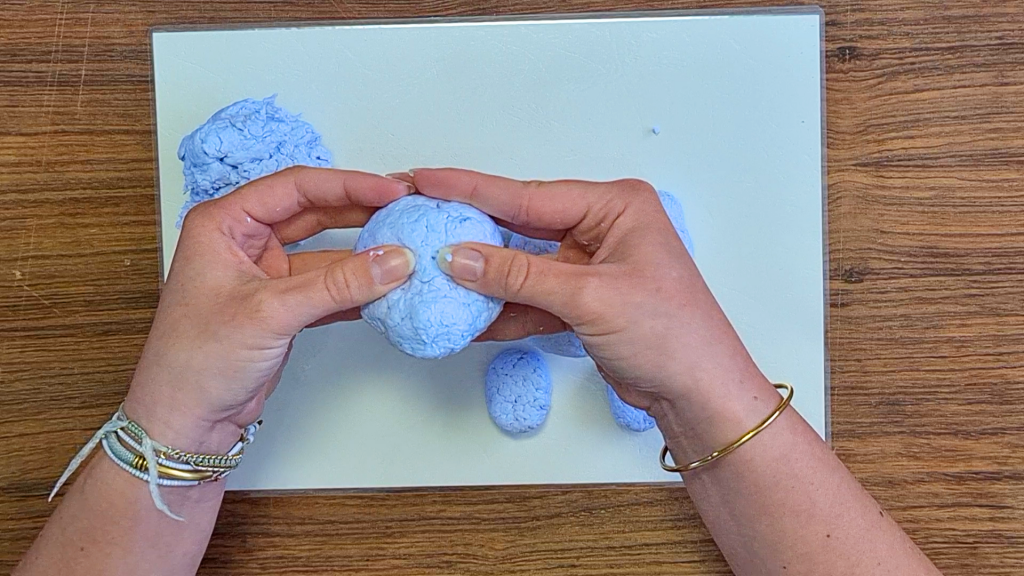
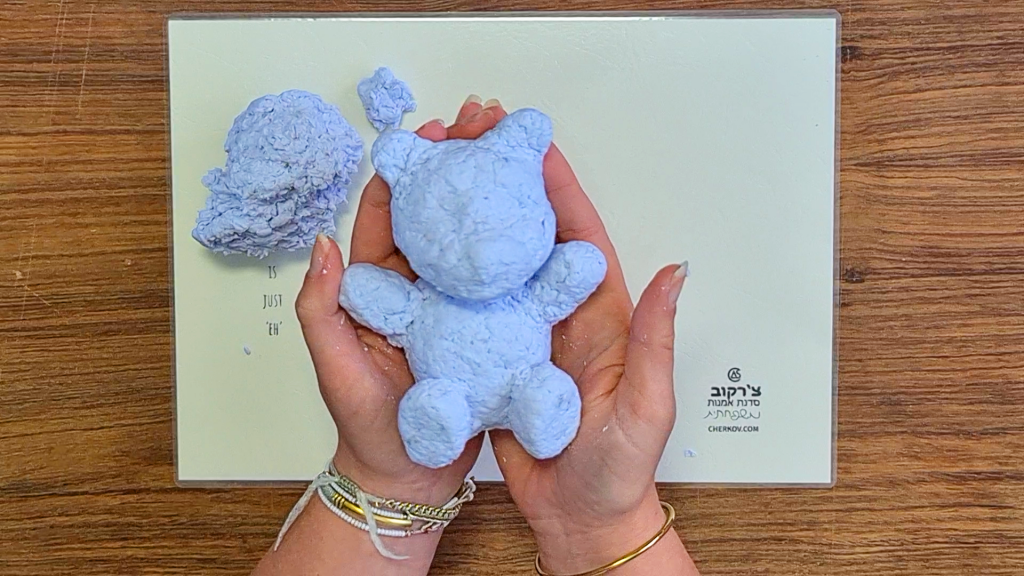
6. Make a small oval from the paper pulp and add to the bottom of the ball (head) by tightening and spreading the paper pulp.
7. Form an inverted triangle in the center of the ellipse for the bear's nose, through clicks.
8. Add a little paper pulp on both sides of the ball-shaped ellipse to fill the sockets and create a more round shape.
9. Above the ellipse on the ball, make 2 depressions through clicks for the bear's eyes.
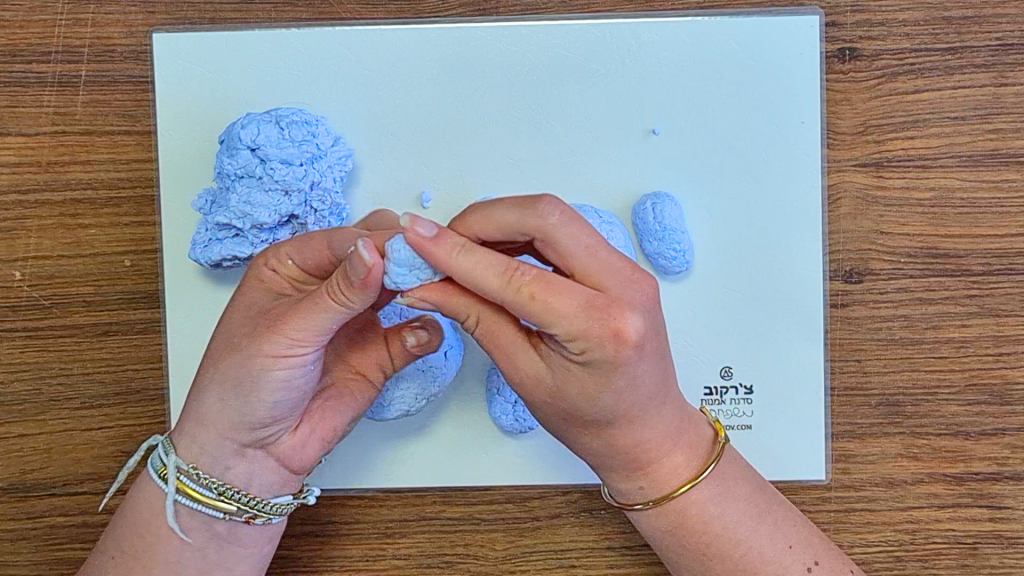
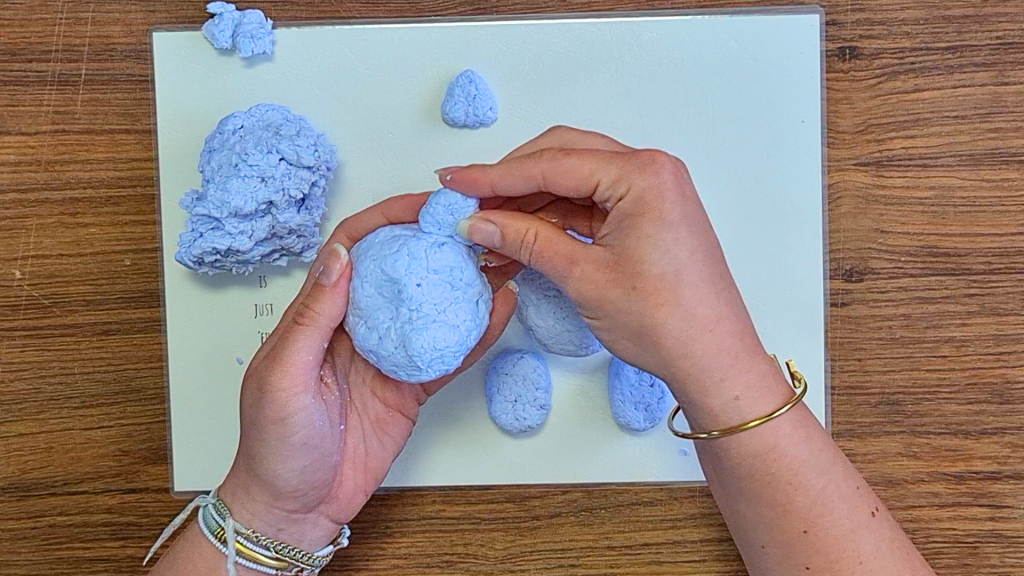
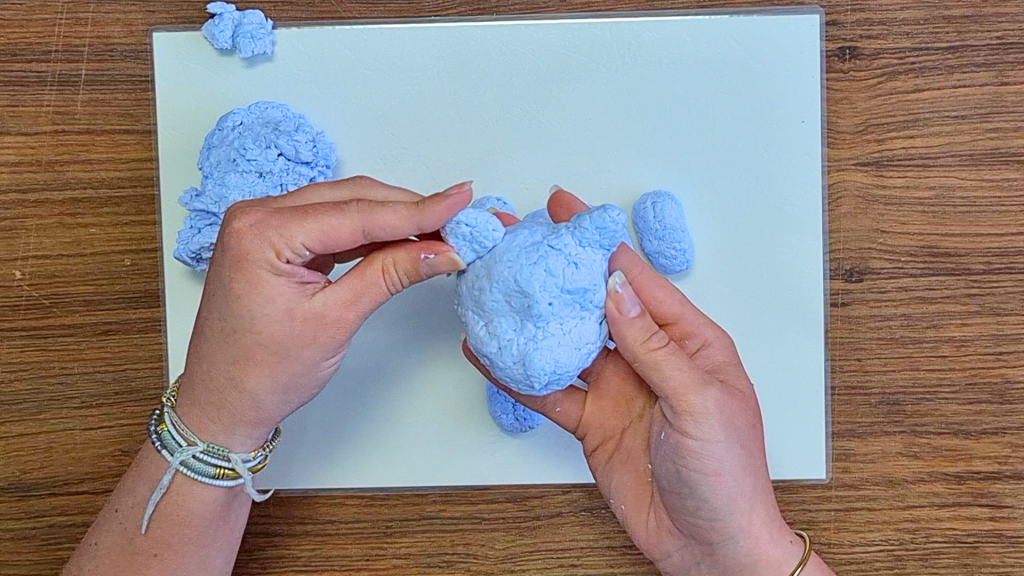
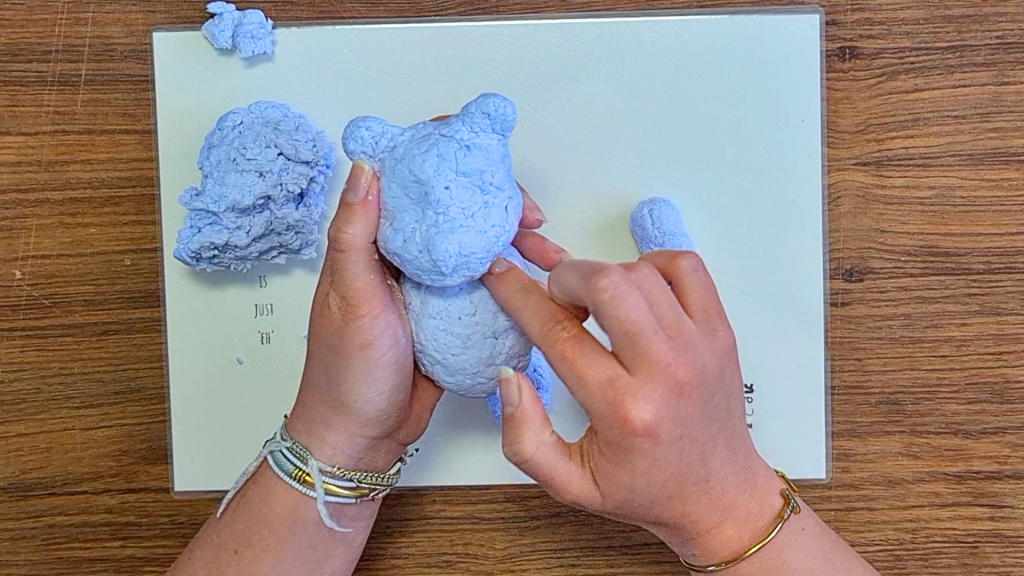
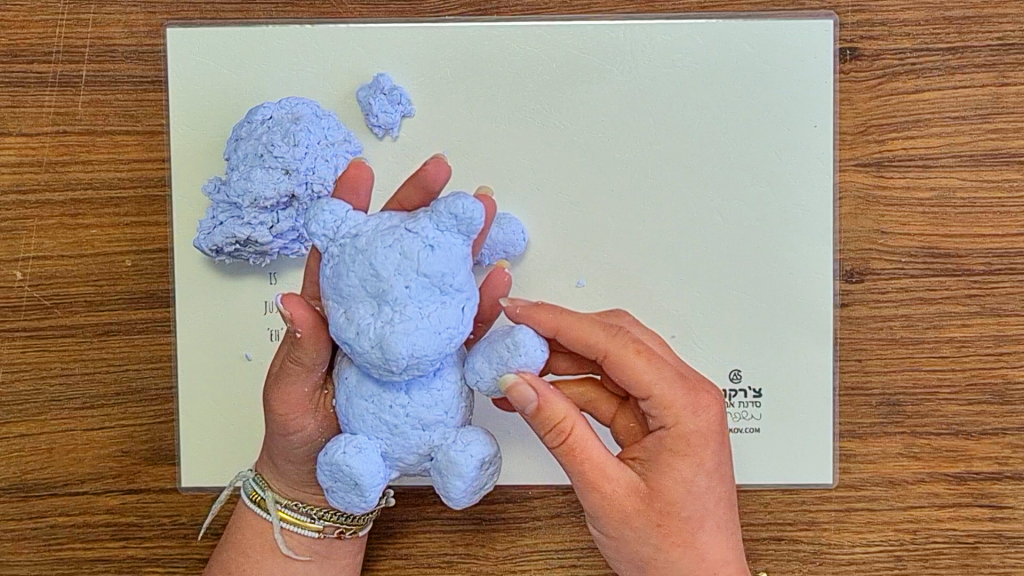
10. Make 2 small triangles for the bear's ears.
11. Attach each ear to the bear's head by tightening and spreading the paper pulp.
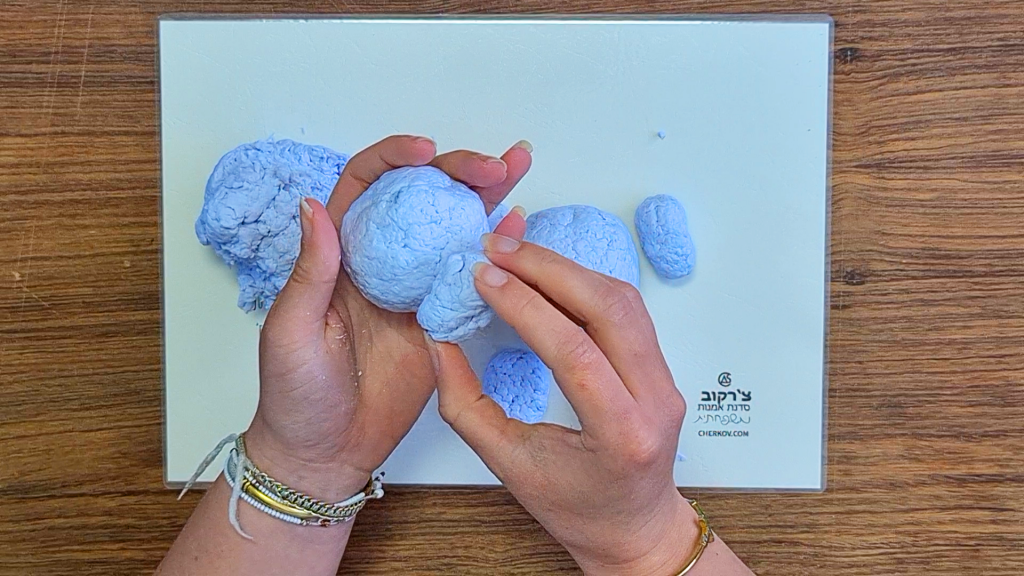
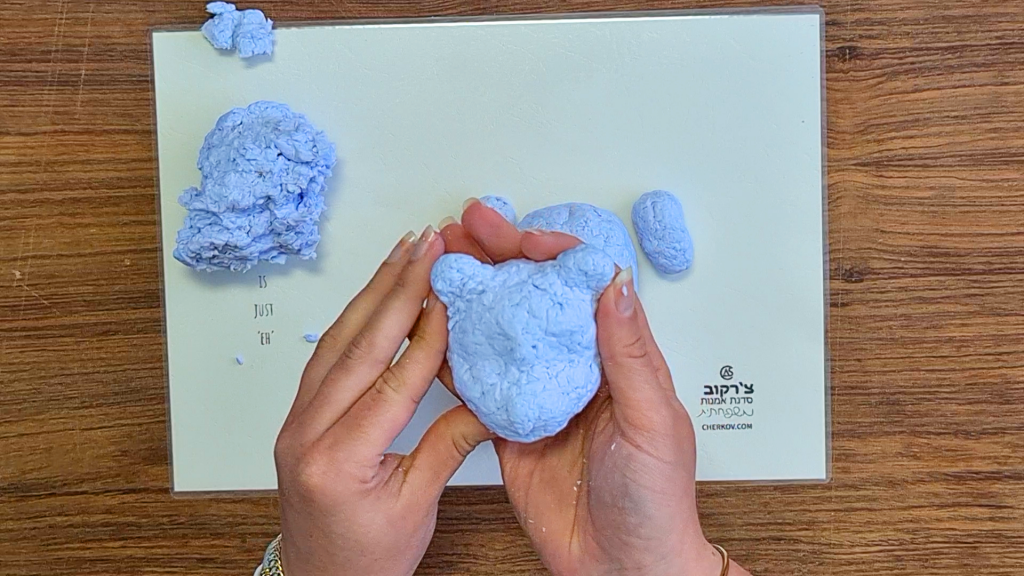
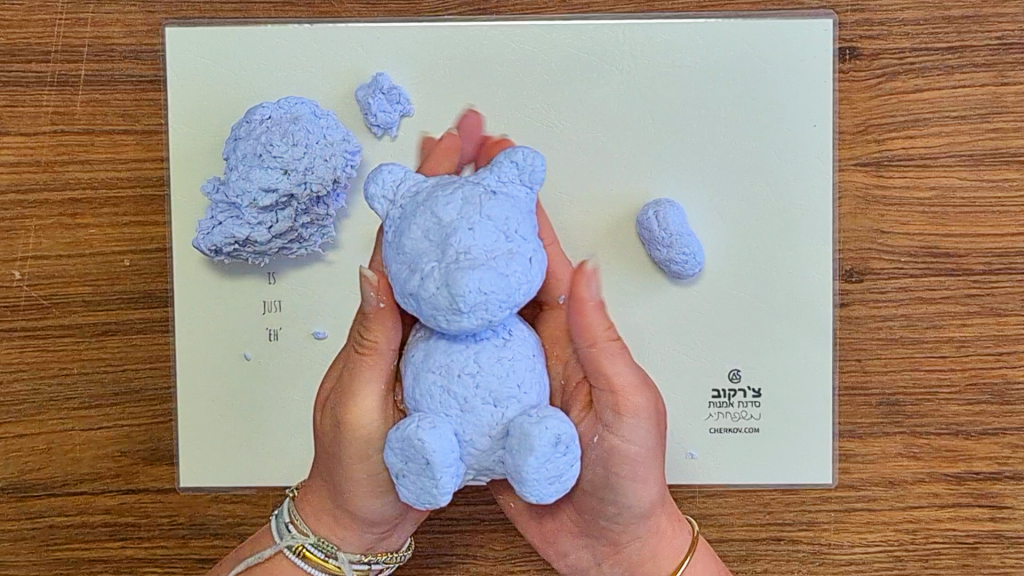
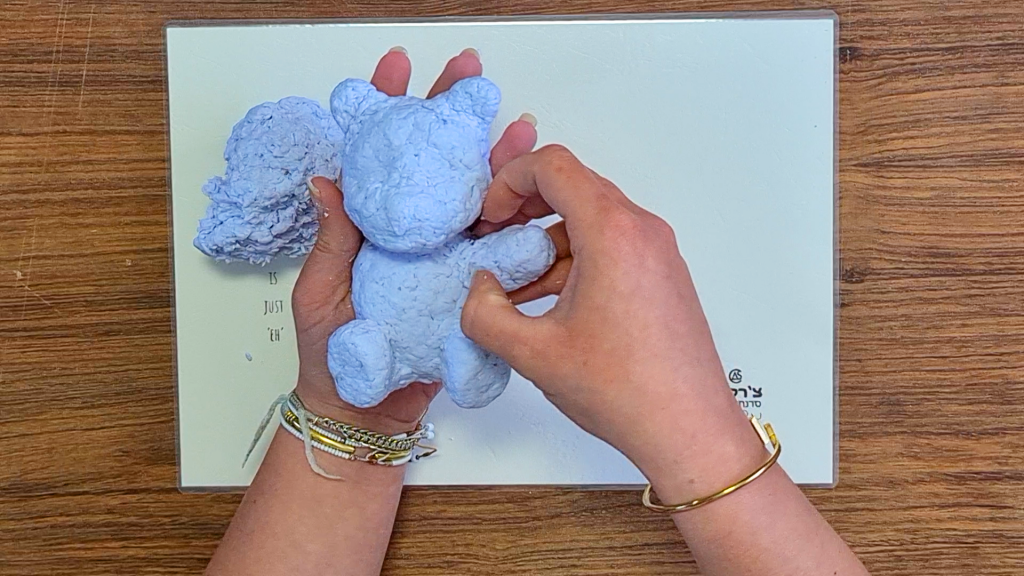
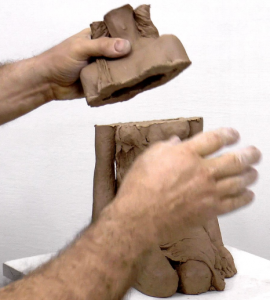
12. Connect the bear's head and body by tightening the two parts and spreading the paper pulp at all connection points.
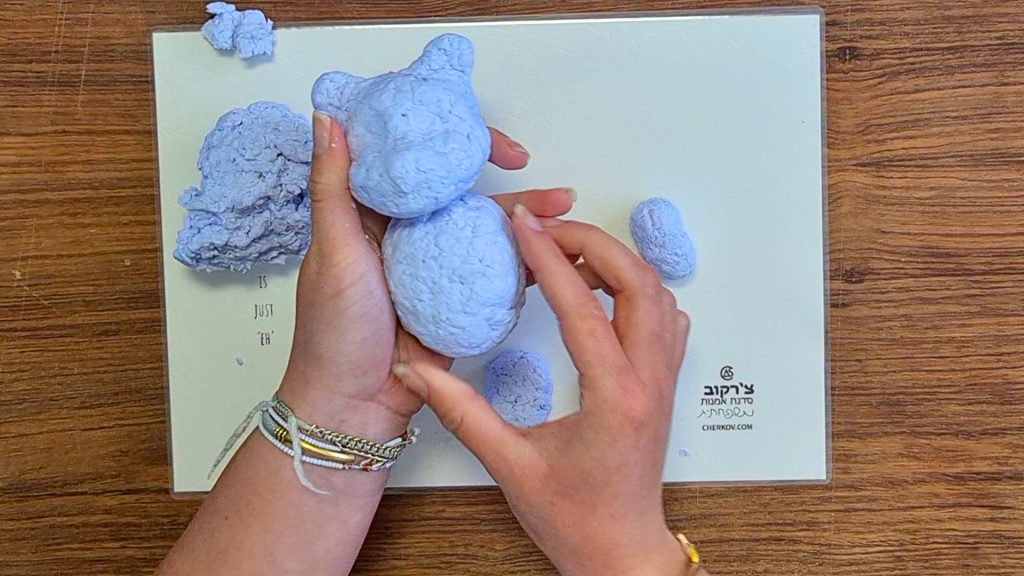
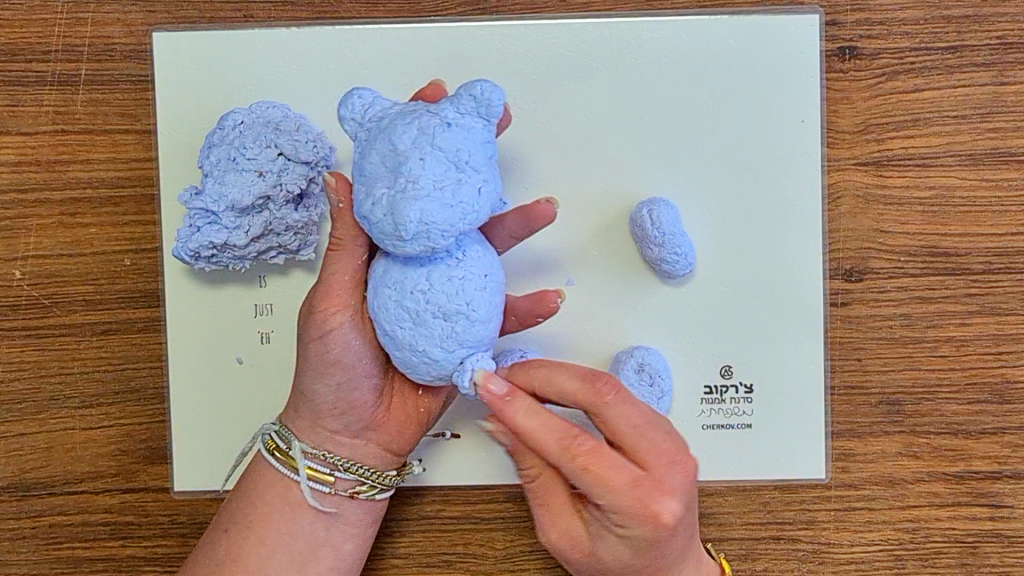
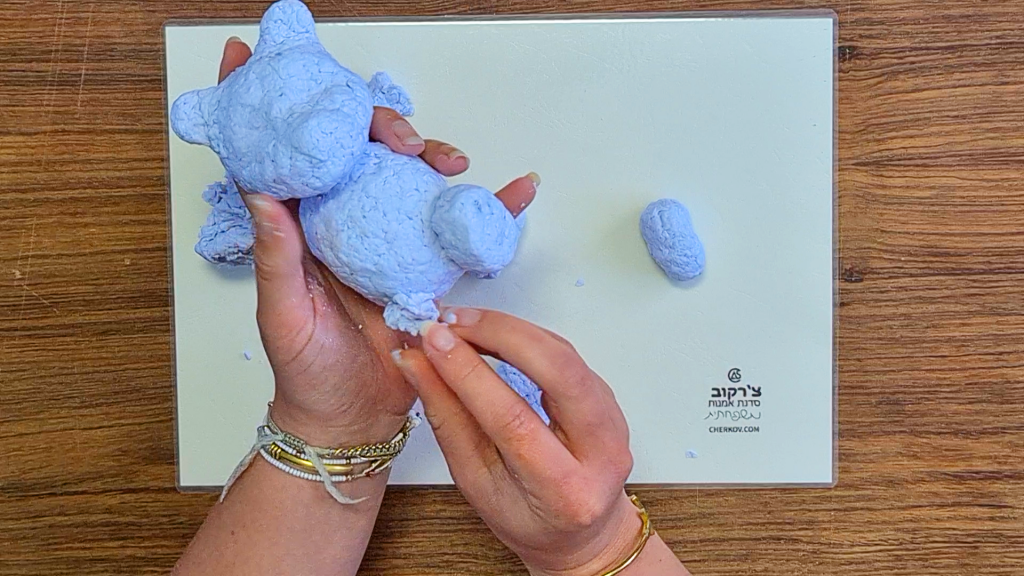
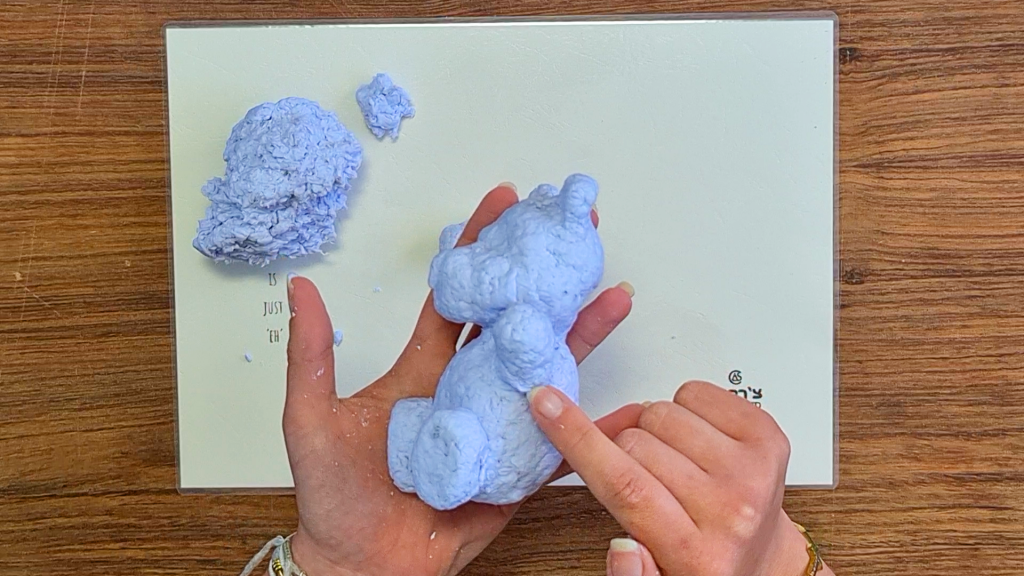
13. Add a little paper pulp at the bottom of the body, instead of connecting with the foot. Connect the foot and body by tightening and applying the paper pulp.
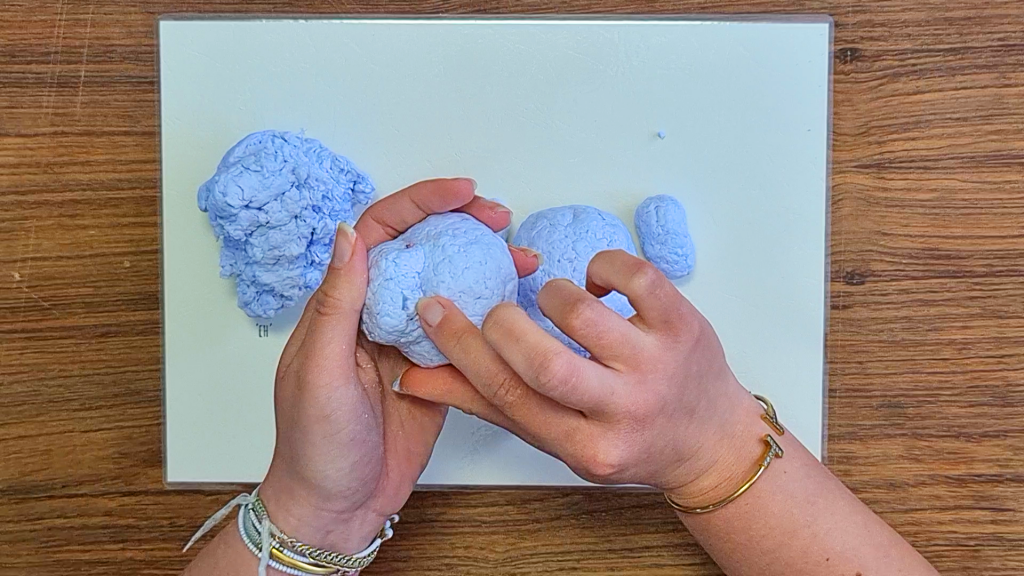
14. Repeat the steps you did in step 13 with the other foot of the bear.
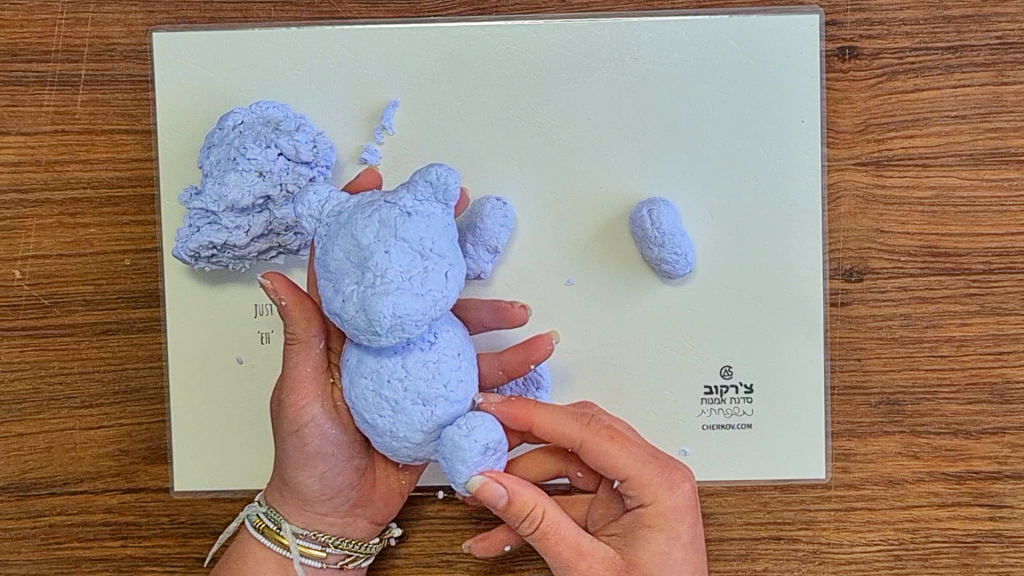
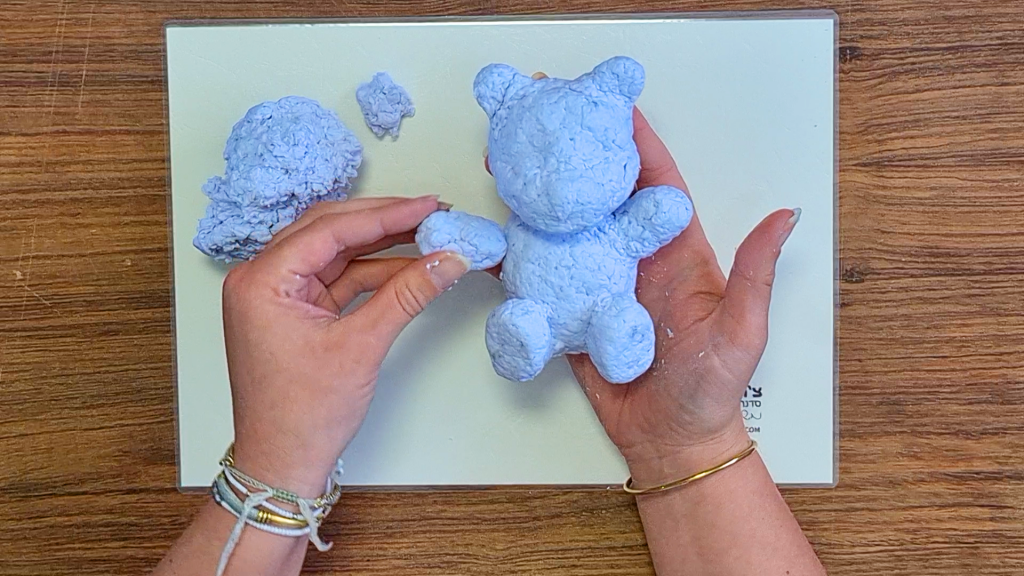
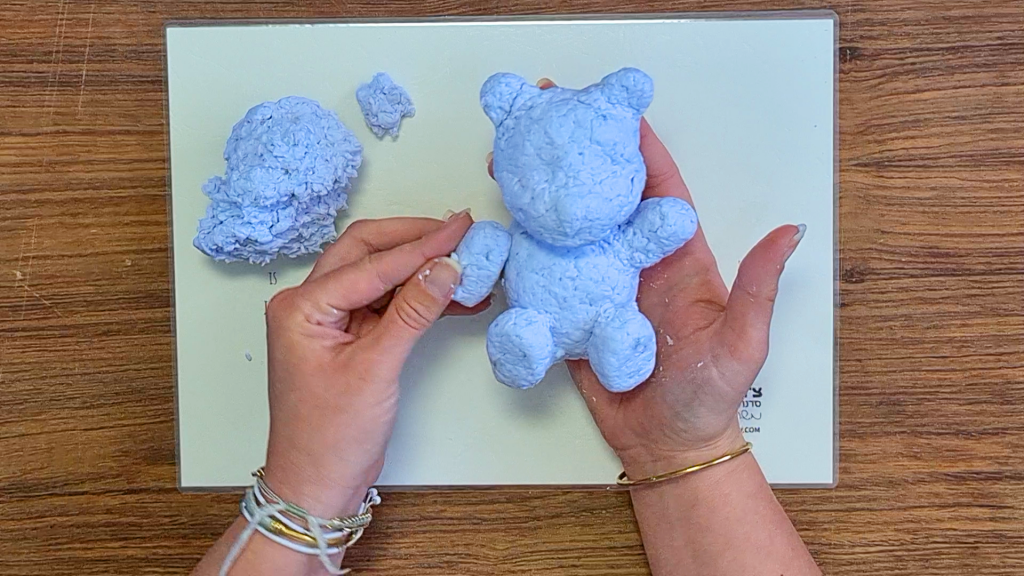
15. Connect the hand with the bear's body by tightening and spreading the paper pulp at all connection points.
16. Connect the other hand with the body of the bear as you did in step 15. Note that the hand can be connected in different positions.
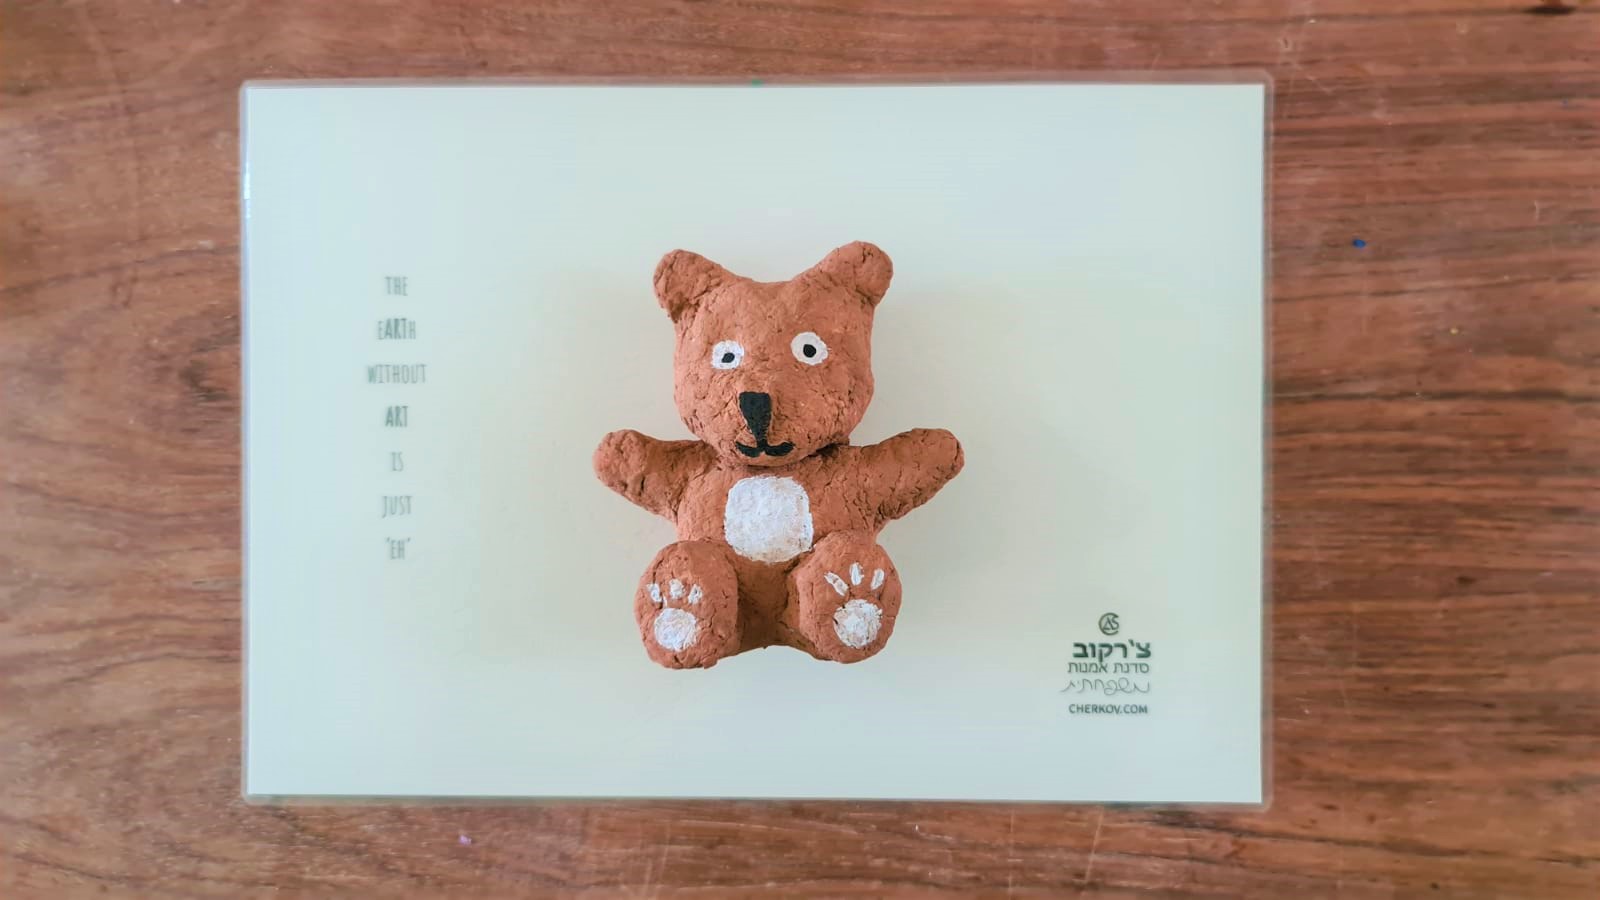
17. When finishing the work on the sculpture, let it dry. The drying time of the sculpture ranges from one day to a week, depending on the weather and the density of the paper pulp in the finished sculpture.
18. It is recommended to paint the finished sculpture in gouache paints. The painted paper pulp sculpture can be covered with an additional layer of glue to strengthen it.
Did you like the article? Want to share with someone?
About Us
Our studio specializes in the fields of art, sculpture, painting and drawing for educational purposes, leisure, perception development and art therapy. We offer workshops, diverse art services and also provide equipment and materials for art and creation.
The best way to preserve a sculpture made of natural clay is by burning it in a special ceramic oven. To do this, the statue must be prepared for burning. Here are the instructions for making a sculpture for burning with a video.
Charcoal drawing can express a wide range of emotions and expressions. Here is an explanation of charcoal, its composition and properties, emotional dimension, how to use it, tips and techniques of charcoal drawing.