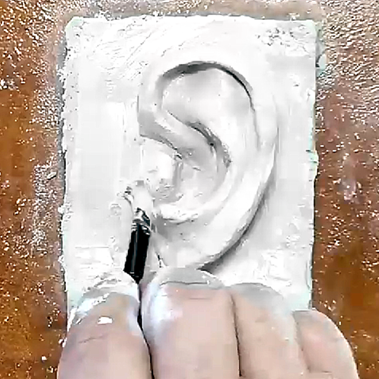
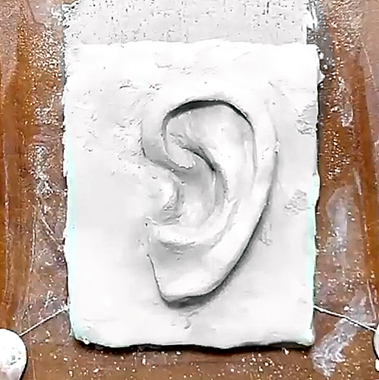
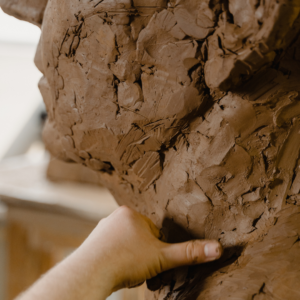
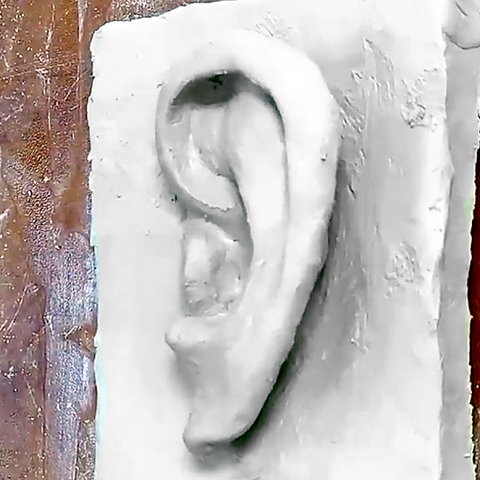
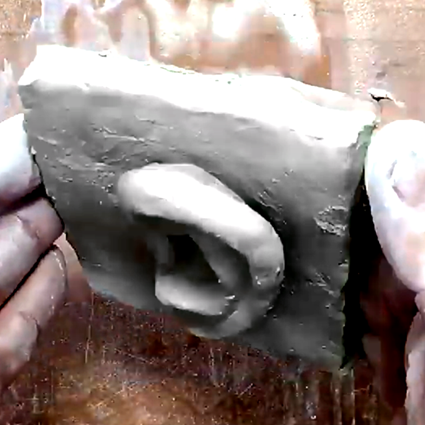
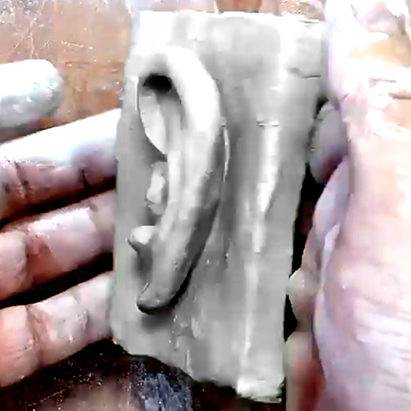
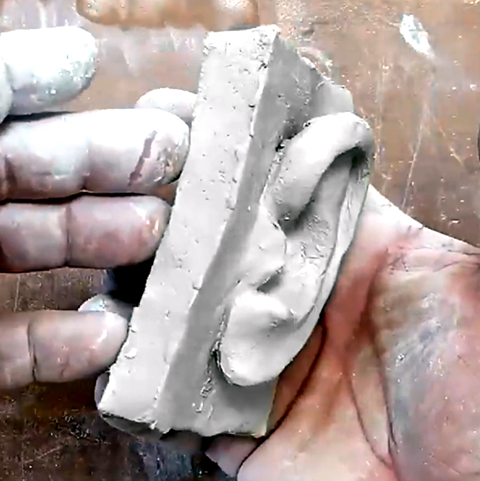
An ear sculpting exercise by Alexander Cherkov, from the book Introduction to the World of Art "Sculpture, painting, drawing and more"
Before starting atHead sculpting, It is advisable to perform a number of exercises in sculpting major interior parts with Ceramic clay או plasticine. This is an opportunity to get to know and understand the structure of the different parts of the face: eye, mouth, nose and ear, this will be very easy later when you sculpt a life-size head.
Step-by-step ear sculpting exercise
The ears, like other parts of the face, have the same structural elements: an outer arch a, an inner split arch b, two symmetrical cartilage protrusions around the ear opening c and the ear lobe d. The size of the elements varies, but the shape is very similar.
Make a flat rectangle measuring 8x10 cm from ceramic or plasticine.
Mark 3 lines: 1 vertical and 2 horizontal, so that 2 intersection points are formed as in the figure.
Draw an arc that starts at one intersection and ends at the other, as in the illustration in front of you.
Add clay on top of the bow you marked. An empty top circle and a full bottom circle.
Mark the opening of the ear on the lower circle as in the illustration in front of you.
Remove excess clay from the ear canal so that a dent is formed.
Add clay to the empty top circle so that a bump is formed.
Go through all the bumps as in the illustration that will be prominent and clear.
Use a sculpting tool to separate the wing and raise it.
It is now possible to move on to work on accuracy and detail, as well as cutting a straight frame. You can use aids such as a sponge or a brush and a little water for skating.
Stop when it will satisfy your eyes.