Drawing with graphite pencils is convenient, accessible and available to everyone, allowing the creation of professional and complex sketches and drawings. Pencil is the most common means of writing and drawing in the world. Unlike a regular writing pencil, drawing pencils come in varying degrees and provide a variety of options for drawing lines and creating ratings and shadows. Drawing pencils are ideal for beginners in drawing to perform exercises and learn basic drawing principles. Here you will find an explanation of drawing pencils, techniques, helpful tips and recommendations for initial drawing exercises.
Facts and Features of Drawing Pencils
- Pencils are a common writing tool for writing or drawing. The pencil consists of a graphite rod, which is usually coated with wood.
- Pencils have evolved as a solution for a more convenient and clean writing medium than an inkwell. In Roman times the use of lead engraving for writing on papyrus began. These engravings were called penicillus, hence the English name for the pencil, pencil. In the middle of the 16th century, graphite reservoirs were discovered, and were mistakenly considered a type of lead, hence the Hebrew name pencil. At the beginning of the 19th century mass production of graphite pencils as we are known to this day began.
- The pencil drawing can be erased, allowing for accurate correction and accurate work.
- You can combine drawing in graphite pencils with charcoal / charcoal pencils or pastel pencils.
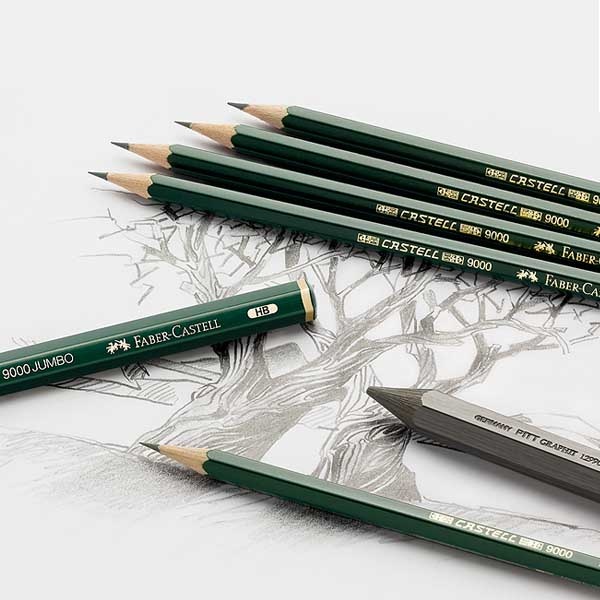
- The drawing pencils come in different degrees of difficulty, which affect the sharpness and shade of the drawing. The different grades range from H (from the word Hardness) for drawing to B (from the word Blackness) for drawing and semi-soft pencil F (between HB and H). Graphite pencils in degrees of difficulty from H to 9H used for sketching, with little use in artistic drawing. As far as the soft pencils are concerned, the higher the grade of softness B of the pencil, the darker the gray color of the pencil and the lower the sharpness of its line.

Emotional dimension and personal expression that allows drawing in pencils
A pencil is a linear means used for drawing from external or internal observation. A pencil is also a means of making sketches and thus organizes the inner visuals and gives a sense of control to the creator.
The strength of the line and its shades express a lot of the creator's personality. The registration process requires time, slow work in creating layers of shades, thus strengthening the ability to reject gratifications, creating inner concentration and helping to process thoughts. The registration process is a kind of meditative work.
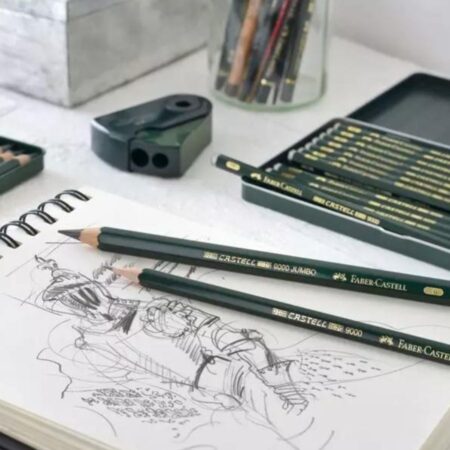
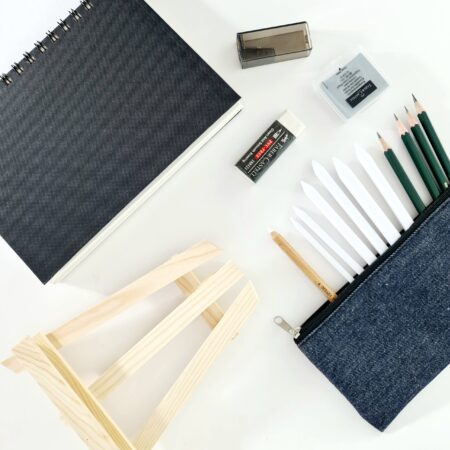
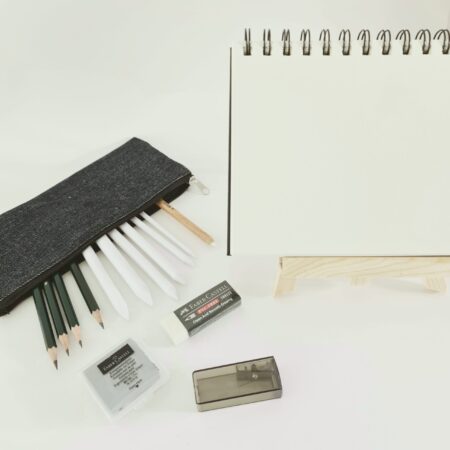
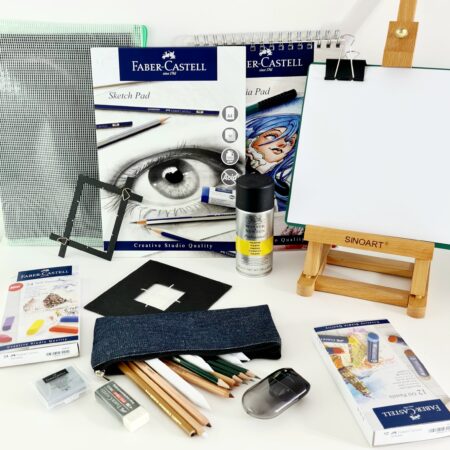
Drawing with graphite pencils - equipment and related materials
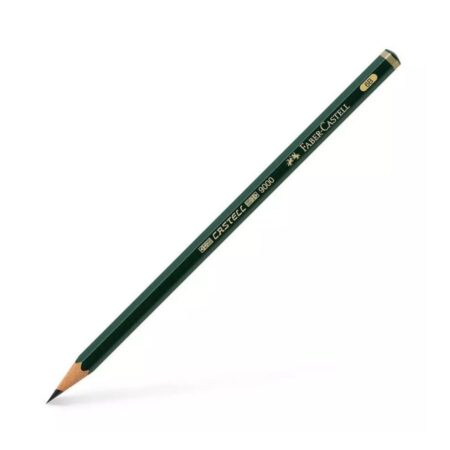
The classic drawing pencil is a 6B graphite pencil. It is excellent for creating ratings and shadows for expressing light and shadow in drawing and expressing volume. When sharpened well it is also good for drawing lines and creating contours. We recommend it for execution Drawing exercises Many, and for starters this drawing pencil alone may suffice.
To expand the shades of gray-black and the options for drawing and accuracy, it is recommended to equip yourself with a softer pencil 8B, as well as harder pencils 2B, 4B. Also, an HB pencil used for writing and drawing will be useful for adding sharpness and contrast to drawing.
- Registration paper - For exercises aimed at achieving a high level of drawing, it is important to choose high quality acid-free (non-yellowing) paper with an erasable texture. For sketches will fit any type of paper. Beginners (as well as advanced) should choose a drawing pad and bundle all your drawings and sketches and enjoy tracking the process and progress.
- Registration board or registration yes - Depending on your preferred way of working. Yes desktop registration or yes stands for large format compliant registration. For drawing outdoors, in nature or or in the city, a drawing board that rests on the arm is suitable, or a drawing on a drawing pad with a hard cover.
- Clear - When working with drawing pencils, it is recommended to use an eraser without PVC that does not wear out and causes unnecessary smears, and a flexible charcoal eraser, which is used to create light and shadow and lighten the drawing.
- sharpener - Durable sharpener with strong metal that does not break the pencil with a standard diameter, with / without a waste collection container.
- Coal blur - They can be used to blur lines and create ratings and shadows.
- Fixed - Spray for fixing the drawing and preventing smears when working in layers.
Tips and tricks for the process of working with drawing pencils
- Get used to working on a slope, at a right angle between the page and the eye, for more accurate results. In working on a drawing substrate lying on the table, we do not see the proportions correctly. To do this, use a drawing can.
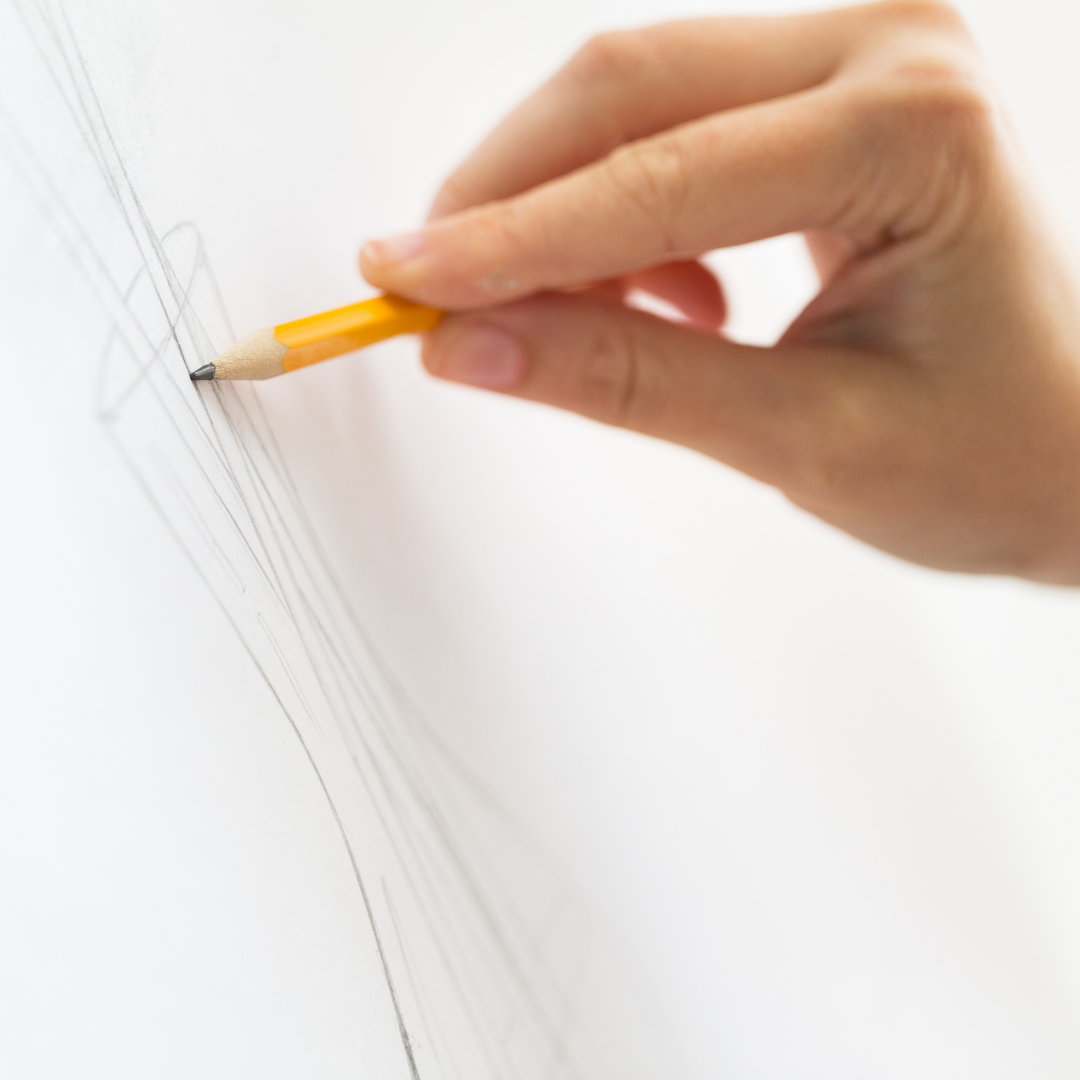
- Hold the pencil far away, because holding the pencil close activates the left lobe, which is verbal and logical, but holding the pencil far activates the right lobe, which operates in a spatial, parallel and synchronous manner.
- In drawing based on building composition, perspective and layers of tones, work with pencils in ascending order of softness (from HB). The marking of the lines in the initial organization was done only by the weight of the pencil, without applying pressure with the hand. Switch to pencil B and thus increase the grades of the pencil until the desired darkness. The darkness of the pencil is according to the softness of the graphite inside, but also in relation to the hand pressure applied to it.
- Hard pencils (H) can be used to create sharp ends or hair, the same effect can be obtained from a well-sharpened HB pencil.
Tips for holding and using the pencil correctly »
Drawing exercises in pencils
Line drawing - Hold the pencil as far away as possible. Create parallel lines, meeting lines, for example grass and leaves. It is better to have non-schematic lines, that the line will go according to emotion and not according to need. Without examples, just practice, like learning to play keyboards blindly, that your fingers will find the right keyboards without looking. Weak lines, strong, long, short, flowing, fragmented, slow, fast, parallel, vertical, from all sorts of angles. And it is also important to learn to make rounded and curling lines.
The shadows - Shading is done gradually darkening to clear from a certain direction, progressing with the pencil back and forth, and ends without a line seeing where it ends. If you want to darken then gently add more thick and short lines in layers, and no longer continue with the pencil to the end. If you want to straighten the shading or lighten a stain (there may be a bump on the paper due to the difference in the thickness of the paper texture, or something below it) then you can use a charcoal eraser to lighten, clean and even remove completely. You should practice shading vertically as well as horizontally.
Simple geometric shapes - When acquiring a certain level of control, you will practice simple shapes, for example waves, but three-dimensional. A square starts with vertical shading and continues with horizontal shading, without contours. A cylinder starts from vertical shading by applying pressure with the hand on the pencil, gradually weakening the pressure and finally strengthening again. Then complete the top, again tightening, weakening in the middle and tightening the pressure at the end. Similarly, cone shape, circle and more.
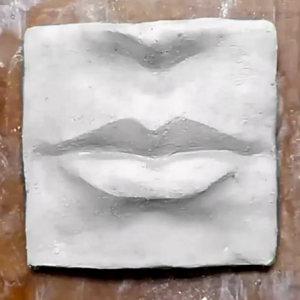
Still Life - After making simple geometric shapes, you will practice simple shapes of inanimate nature; Opaque shapes and not glass, not glossy but matte, light gray or white shapes and not black. For example, a clay jug.
For an explanation and practice on composition »
For an explanation and practice on light and shadow »
For an explanation and practice on perspective »
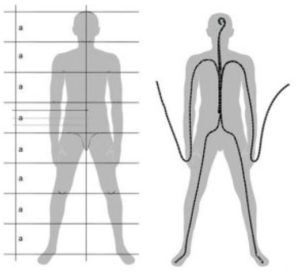
For an explanation and practice on the proportions of the human body »
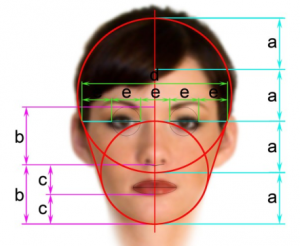
For an explanation and practice on the subject of human head proportions »
Watch drawing exercises with pencils on light and shadow 3:59
-

- out of stock
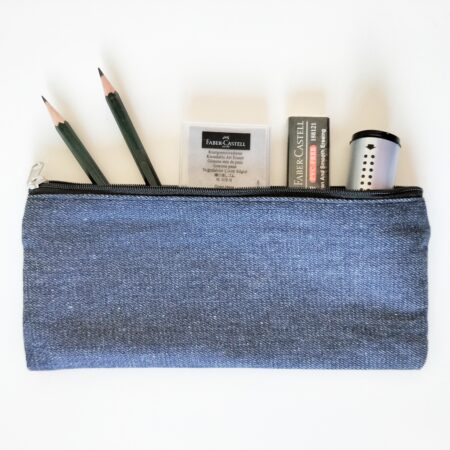
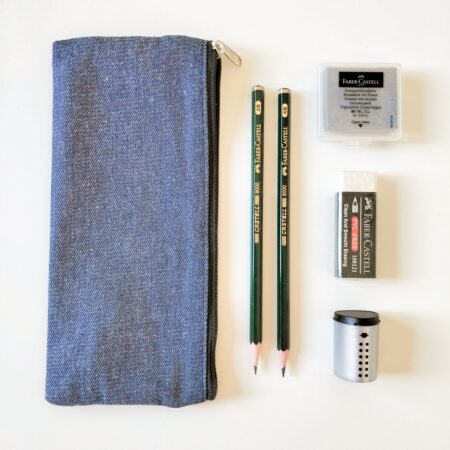
Basic registration kit
- ₪145
- Read more
-